
Making a fermented hot sauce recipe at home is one of the most rewarding kitchen projects you’ll tackle. Unlike quick hot sauces that rely on vinegar for tang, fermentation creates complex flavors through natural microbial magic—think deep, layered heat with a subtle funk that store-bought bottles can’t touch. I’m going to walk you through everything from selecting your peppers to bottling your first batch of liquid fire.
Table of Contents
Why Ferment Your Hot Sauce?
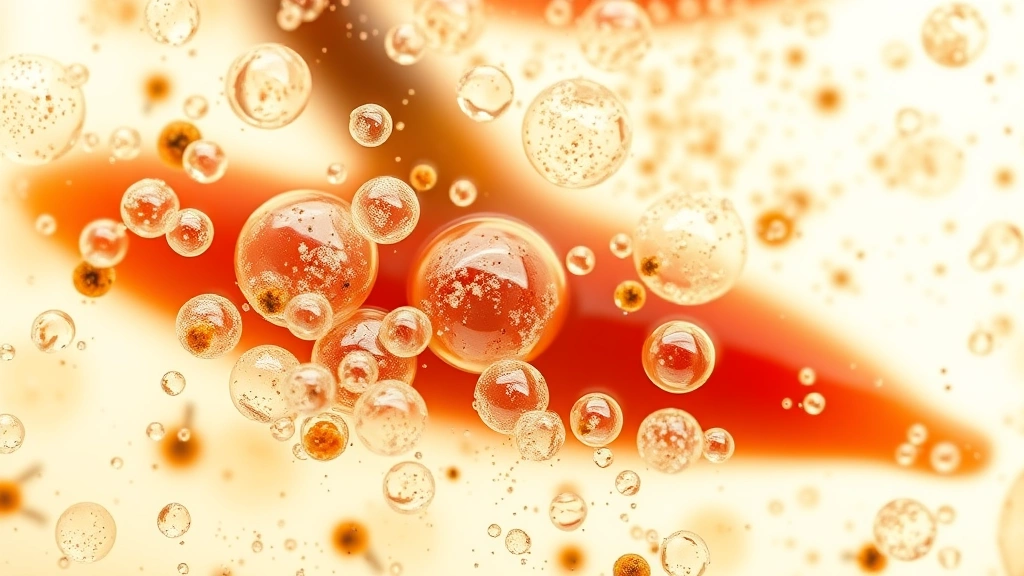
Fermentation isn’t just a buzzword—it’s a preservation method that’s been used for thousands of years. When you ferment peppers in salt brine, beneficial bacteria (mainly Lactobacillus) consume sugars and convert them into lactic acid. This process develops flavors that simply can’t happen in a day. You get tanginess without relying on added vinegar, probiotic benefits, and a sauce that tastes genuinely alive.
The magic happens at the microscopic level. Those lactobacilli are essentially doing the heavy lifting, breaking down cell walls and creating compounds that make your hot sauce taste richer, more complex, and more interesting than anything you’d whip up fresh. Plus, the natural preservation means your sauce stays shelf-stable for months without any sketchy additives.
Choosing the Right Peppers
Your pepper selection makes or breaks your sauce. You’ve got options depending on your heat tolerance and flavor goals. Habaneros bring fruity notes and serious kick (around 100,000-350,000 Scoville units). Jalapeños are milder and grassy. Scotch bonnets offer Caribbean warmth with sweetness. Ghost peppers and Carolina Reapers are for the genuinely committed heat-seekers.
Here’s my workshop approach: mix varieties. Use 70% of your primary pepper (whatever gives you the base heat you want) and 30% complementary peppers for complexity. Fresh peppers are essential—avoid anything soft or moldy. Aim for peppers that are ripe but still firm, typically when they’ve reached their final color.
Essential Ingredients and Prep
You need surprisingly few things for a solid fermented hot sauce recipe. Beyond peppers, grab non-iodized salt (kosher or sea salt works), filtered or dechlorinated water, and optional aromatics like garlic, onion, or spices. Chlorine in tap water can inhibit fermentation, so filtered is genuinely worth the extra step.
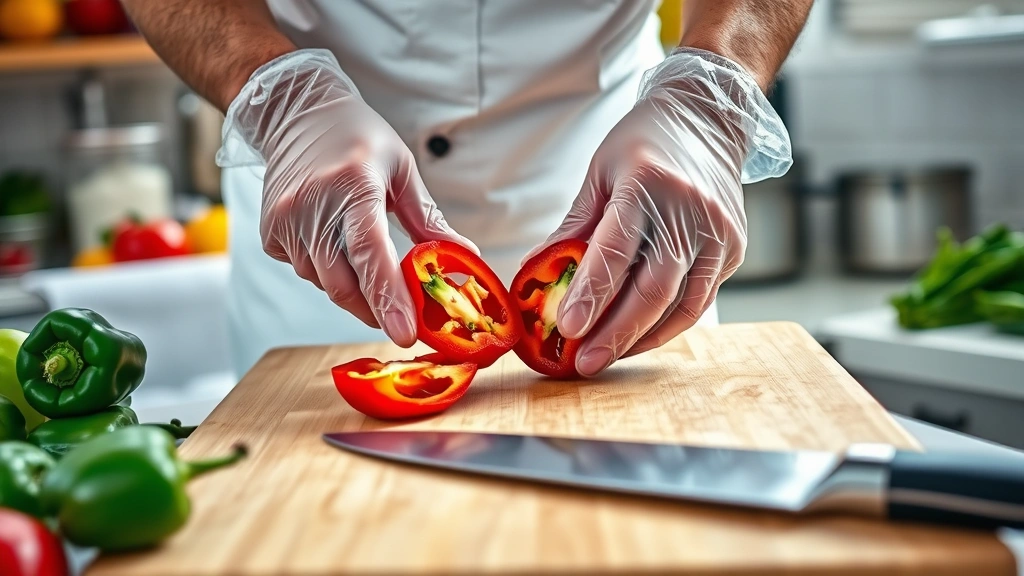
Prep work is straightforward but matters. Wash your peppers thoroughly, then remove stems. You can ferment them whole, halved, or chopped—I prefer halving them to expose more surface area to the brine. Wear gloves unless you enjoy capsaicin-stained hands for three days. Garlic should be peeled and left whole or sliced. Don’t overthink this stage; just keep everything clean.
Building Your Salt Brine
Salt concentration is critical. Too little and you risk mold; too much and fermentation stalls. The sweet spot is 5% salt by weight of your peppers. If you’ve got 2 pounds of peppers, that’s 1.6 ounces of salt (about 3 tablespoons). Mix this salt thoroughly with filtered water until completely dissolved.
The math is simple but worth getting right: measure your peppers, multiply by 0.05, and that’s your salt weight. I use a kitchen scale because eyeballing salt is how you end up with disappointing batches. Dissolve the salt completely in cool water before adding peppers—this ensures even distribution and prevents pockets where fermentation might stall or mold could develop.
The Fermentation Process
Pack your peppers and any aromatics into a clean glass jar, then pour the brine over everything. The critical part: keep peppers submerged. Anything exposed to air becomes a mold target. Use a fermentation weight, a smaller jar filled with brine, or even a cabbage leaf weighted down. Seriously, don’t skip this step.
Cover loosely with a cloth or use an airlock lid if you’ve got one. The bacteria need oxygen initially, but you want to prevent dust and insects from crashing your fermentation party. Room temperature (68-75°F) is ideal. Avoid direct sunlight and temperature swings. Mark your jar with the start date—you’ll want to track this.
Monitoring Fermentation Progress
Within 24-48 hours, you should see bubbles rising. That’s your bacteria getting to work. The brine will turn cloudy—that’s normal and actually a good sign. You might notice a white film (kahm yeast) forming on top; skim it off gently. It’s not dangerous, but it can affect flavor if left alone.
Taste a pepper after 3-4 days. It’ll probably taste salty and slightly funky—good. Keep tasting every few days. The fermentation timeline depends on temperature. At 70°F, expect 2-3 weeks for full fermentation. At cooler temps, it might stretch to 4-6 weeks. You’re looking for a complex, tangy flavor where the raw pepper heat has mellowed slightly and developed depth.
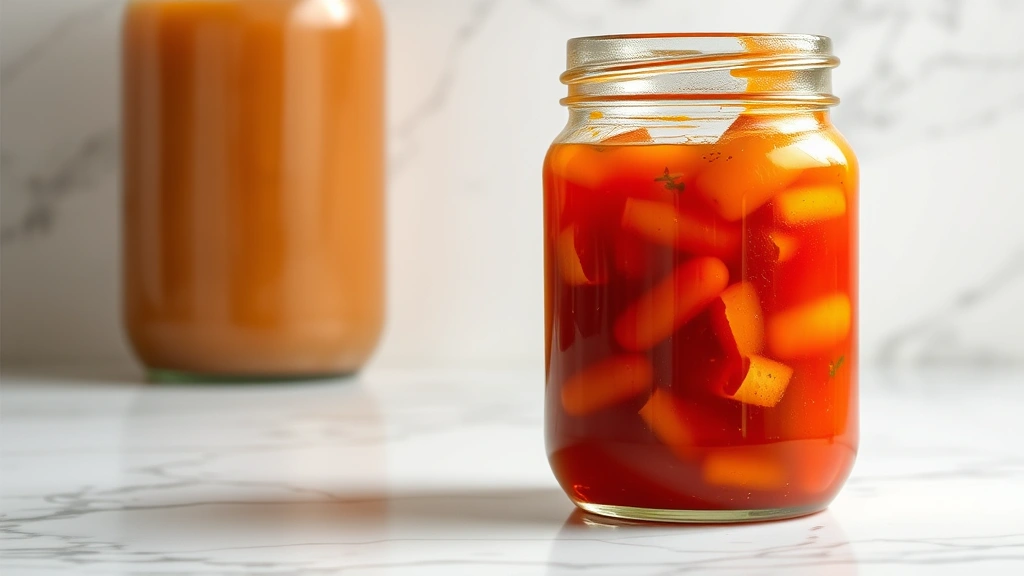
Blending and Bottling
Once fermentation reaches your desired flavor (trust your taste buds here), it’s time to process your sauce. Drain the peppers, reserving the brine. Blend the peppers with a portion of the brine until you reach your preferred consistency. Some folks like chunky sauce; I prefer smooth. Add back brine gradually to hit the right thickness.
This is where you can get creative. Strain through cheesecloth for a silky texture, or leave it rustic. Bottle in clean glass containers and refrigerate. The cold slows fermentation dramatically, so your sauce stays stable. If you want shelf-stable bottles at room temperature, you’ll need to process them in a water bath canner (check USDA guidelines for proper technique), but refrigerated storage is simpler and works great for home use.
Creative Flavor Variations
The base fermented hot sauce recipe is just your starting point. Add roasted garlic for depth, incorporate mango or pineapple for tropical notes, or blend in carrots for sweetness and body. Some folks add spices like cumin or coriander during blending—add these cautiously since fermentation already packed in flavor.
I’ve experimented with everything from adding bourbon for smoky complexity to incorporating apple for subtle sweetness. The fermented base is forgiving—it’ll absorb and complement most additions. Just remember that anything you add after fermentation (fresh herbs, spices) won’t develop the same layered complexity, so consider adding them during the initial pepper prep.
Storage and Shelf Life
Refrigerated fermented hot sauce keeps for months, easily 6-12 depending on your storage conditions. The cold essentially pauses fermentation, keeping flavors stable. Keep it in clean glass jars with tight-sealing lids. Avoid plastic if possible—hot sauce can leach chemicals from certain plastics over time.
If you’re gifting bottles or want room-temperature storage, you’ve got options. Water bath canning (following USDA guidelines for hot sauce safety) works, but it requires proper technique and equipment. Freezing is another option—fermented sauce freezes beautifully and thaws without losing character. Label everything with the fermentation date; it helps you track batches and know what you’re working with.
Troubleshooting Common Issues
White fuzzy mold on top? That’s kahm yeast or surface mold. If it’s just a thin white film, skim it off. If it’s thick, fuzzy, or discolored, that batch is compromised—toss it. Prevention is easier: keep peppers submerged and avoid temperature fluctuations.
Peppers not fermenting? Check your salt concentration and temperature. Too cold and fermentation crawls. Too salty and it stalls completely. Cloudy brine that smells off (not funky-fermented, but genuinely rotten)? Trust your nose—if something smells wrong, it probably is. Fermented sauce should smell pungent but appealing, with a distinct sour note.
Overly salty sauce? You can dilute it with water or blend in some cooked peppers to balance it. Flat flavor? That usually means insufficient fermentation time or too-cold temperatures. Give it more time or move it somewhere warmer. These issues are rare if you’re following the basics, but they happen—don’t stress about it.
Frequently Asked Questions
How long does fermentation actually take?
Typically 2-4 weeks depending on temperature. Warmer conditions (70-75°F) speed things up. Cooler temps (60-65°F) slow fermentation to 4-6 weeks. You’re looking for flavor development, not a calendar date. Taste regularly and ferment until it tastes right to you.
Can I use iodized salt?
Technically yes, but don’t. Iodine can interfere with fermentation and cloud your brine. Stick with non-iodized kosher, sea salt, or pickling salt. It’s a small difference that matters.
What if I want a thicker sauce?
Reduce the brine when blending, or add cooked ingredients like carrots or garlic during processing. Some folks add xanthan gum (a tiny pinch), but I prefer keeping it simple and adjusting brine ratios.
Is fermented hot sauce actually probiotic?
Yes, but with a caveat. Raw fermented sauce contains live cultures. If you water bath can it for shelf-stable storage, the heat kills those probiotics. Refrigerated fermented sauce maintains its probiotic benefits.
Can I ferment in plastic?
You can, but glass is better. Plastic can leach chemicals over time, and you can’t see fermentation progress. Glass jars are cheap, reusable, and perfect for this project.
What peppers should a beginner start with?
Jalapeños or serranos. They’re forgiving, flavorful, and not brutally hot. Once you’ve nailed the process, branch out to habaneros or ghost peppers.
Do I need special equipment?
Nope. A glass jar, a weight (even a smaller jar filled with brine works), and a cloth to cover it. That’s genuinely it. Fermentation weights and airlocks are nice but totally optional.


