
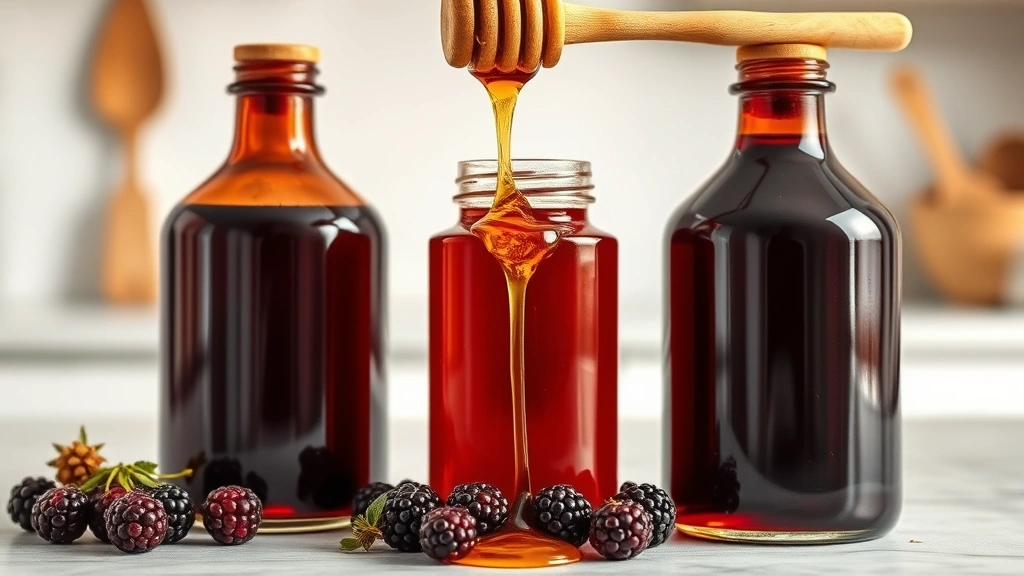
Making an elderberry syrup recipe at home is one of the smartest moves you can make for your family’s health during cold and flu season. I’ve been brewing this stuff for years, and honestly, once you nail the basics, you’ll never go back to store-bought versions. This guide walks you through everything—from picking the right berries to bottling your finished product like a pro.
Table of Contents
Why Elderberry Matters
Let’s talk about why elderberry has become such a big deal in wellness circles. These dark purple berries pack serious antioxidant power—we’re talking anthocyanins, flavonoids, and compounds that actually support your immune response. The research is solid: studies show elderberry can reduce the duration and severity of cold symptoms when taken consistently.
What I love about making your own elderberry syrup recipe is that you control every single ingredient. No sketchy fillers, no artificial sweeteners, just real berries and honey doing the heavy lifting. It’s like having a natural immunity insurance policy sitting on your kitchen shelf.
Gather Your Ingredients
Here’s what you’ll need for a basic batch that yields about 16 ounces of finished syrup:
- 1 cup dried elderberries (or 2 cups fresh, if you can find them)
- 4 cups filtered water
- 1/2 cup raw honey (never heat above 104°F to preserve enzymes)
- 1 tablespoon fresh ginger (grated or sliced)
- 1/2 teaspoon cinnamon
- 4-5 whole cloves
- 1 star anise (optional, for flavor depth)
The dried berries are your safest bet for consistency. You can order quality ones online or find them at health food stores. Fresh berries work beautifully too, but you’ll need to adjust your water ratio slightly—use just 2 cups instead of 4 since fresh berries release more liquid during cooking.
Pro tip: Buy organic when possible. Elderberries aren’t on the “Dirty Dozen” list, but since you’re making this for immunity support, quality matters.
Essential Equipment Needed
You don’t need fancy gear, but having the right tools makes this process smooth and safe:
- Medium stainless steel pot (2-3 quart capacity)
- Fine mesh strainer or cheesecloth
- Glass measuring cups
- Wooden spoon for stirring
- Glass storage bottles with tight-fitting lids (amber glass is ideal for light protection)
- Funnel (makes bottling less messy)
- Kitchen scale (optional but helpful)
Avoid aluminum pots—they can react with the berry compounds. Stainless steel or glass work perfectly. If you’re serious about this, grab a few 8-ounce dropper bottles for easy dosing.
Step-by-Step Brewing Process
Step 1: Combine and Simmer
Pour your 4 cups of filtered water into the pot and bring it to a gentle boil. Add your dried elderberries, ginger, cinnamon, cloves, and star anise. Reduce heat to low and let this simmer uncovered for 45 minutes to 1 hour. You’re looking for the liquid to reduce by about half—this concentrates all those beneficial compounds.
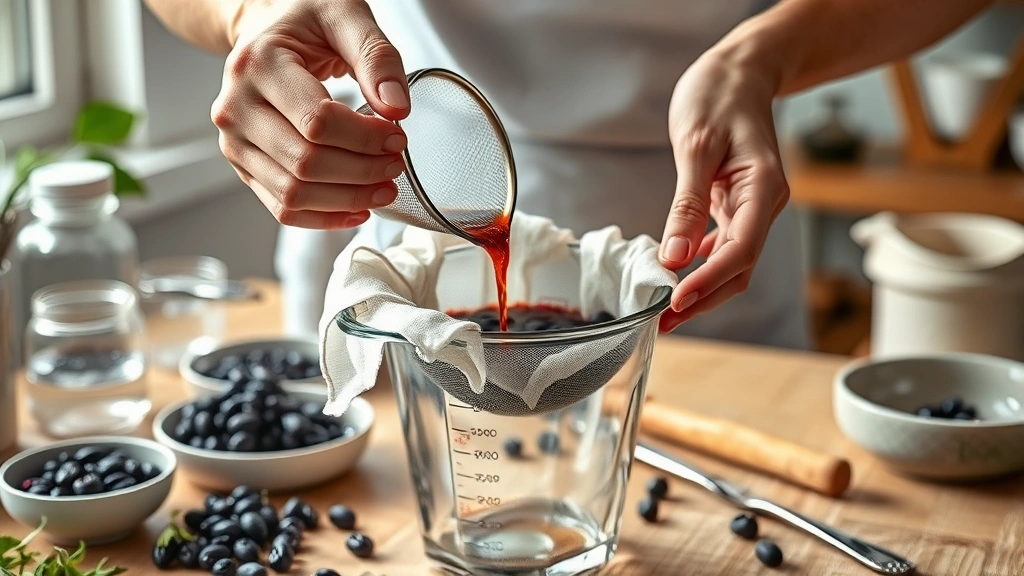
Step 2: Strain Thoroughly
Once the simmering time is up, remove the pot from heat and let it cool for 5 minutes. Line your strainer with cheesecloth and pour the mixture through slowly. Don’t rush this—let gravity do the work. Squeeze the cheesecloth gently to extract every last drop of liquid gold, but don’t pulverize the berries.
Step 3: Measure and Cool
Pour your strained liquid into a measuring cup. You should have roughly 2 cups. Let it cool to room temperature—this is crucial before adding honey. If you add honey to hot liquid, you’ll destroy all those beneficial enzymes that make raw honey so valuable.
Step 4: Add Honey
Once cooled, stir in your raw honey thoroughly. Use a ratio of about 1 part honey to 4 parts syrup. This preserves the mixture and adds its own immune-boosting properties. Stir until completely dissolved—no clumps.
Step 5: Bottle and Label
Using your funnel, carefully pour the finished syrup into clean glass bottles. Leave about 1/2 inch of headspace. Seal tightly and label with the date. Store in a cool, dark place or the refrigerator.
Storage and Shelf Life
Your homemade elderberry syrup recipe will keep for about 3-4 weeks in the refrigerator thanks to the honey’s natural preservative properties. If you want longer storage, you can freeze portions in ice cube trays and pop them out into freezer bags—they’ll last up to 6 months.
Some folks use the water bath canning method for shelf-stable storage, but that requires proper technique to avoid contamination. If you’re not experienced with canning, stick with refrigeration or freezing. It’s safer and honestly easier.
Keep bottles away from direct sunlight. Amber glass is your friend here because it filters out UV light that can degrade the beneficial compounds. Store in the back of your fridge, not the door where temperature fluctuates.
Flavor Variations to Try
Once you’ve mastered the basic recipe, have fun experimenting. Here are some combinations I’ve tested and loved:
Immune Power Blend: Add 1 tablespoon of fresh turmeric and a pinch of black pepper to your base recipe. The piperine in black pepper actually increases turmeric absorption—it’s science-backed synergy.
Throat Soother: Include 1 tablespoon of dried thyme and 1/2 teaspoon of licorice root. This version is gentler on irritated throats and tastes almost medicinal in a good way.
Citrus Brightness: Skip the star anise and add the zest of 1 lemon and 1 orange during simmering. Remove zest before straining. This version is fantastic for kids who find straight elderberry too intense.
You can also explore best summer recipes for other berry-based wellness drinks if you want to expand your repertoire beyond elderberry.
Dosage Guidelines
This isn’t medicine, but consistency matters. Here’s what works based on my experience and general wellness guidelines:
For Adults: Take 1 tablespoon (about 15ml) daily during cold and flu season. If you feel something coming on, increase to 1 tablespoon twice daily until symptoms clear.
For Children (over 1 year): Start with 1 teaspoon daily. Kids aged 5 and up can handle 1-2 teaspoons daily. Never give to infants under 1 year—honey poses a botulism risk.
For Acute Symptoms: Some folks take a spoonful every few hours at the first sign of illness. The evidence suggests this might help reduce duration by a day or two.
Take it straight, or mix into warm tea, yogurt, or oatmeal. Some people add it to water for a refreshing wellness drink. Find what works for your routine and stick with it.
Common Mistakes to Avoid
Overheating the Honey: This is the biggest mistake I see. High heat destroys the enzymes that make honey beneficial. Always cool your syrup first. Seriously, wait for it to cool.
Using Tap Water: Tap water contains chlorine and other chemicals that can interfere with preservation and taste. Filtered or distilled water makes a noticeable difference in the final product.

Skipping the Straining Step: Lazy straining leaves berry particles that can ferment over time. Take 10 minutes and do it properly with cheesecloth. Your future self will thank you.
Not Labeling Bottles: I know it seems obvious, but when you’ve got three batches going, dates matter. Label everything with the date made and contents.
Insufficient Simmering: Rushing the simmering step means weaker syrup. Give it the full 45 minutes to an hour. This is where the magic happens—the berries release their compounds into the liquid.
If you’re interested in other preservation techniques, check out how to clear histamine from your body for complementary wellness strategies.
Frequently Asked Questions
Can I use fresh elderberries instead of dried?
Absolutely. Fresh berries work great, but reduce water to 2 cups since fresh berries release more liquid. You’ll need about 2 cups of fresh berries to replace 1 cup of dried. The cooking time remains the same.
Is this safe for pregnant women?
Elderberry is generally considered safe during pregnancy, but check with your healthcare provider first. Some practitioners suggest avoiding it during the first trimester, so individual guidance matters here.
Will this help prevent colds?
Research suggests regular elderberry consumption may reduce cold severity and duration, but it’s not a guarantee. Think of it as support for your immune system, not a magic bullet. Consistent use during flu season shows the best results.
Can I use elderflower instead?
Elderflower is different and has different properties. Stick with elderberries for this recipe. Elderflower makes lovely tea, but that’s a separate project.
How do I know if my syrup has gone bad?
Look for mold, off-smells, or cloudiness. A slight sediment at the bottom is normal, but visible mold means it’s done. When in doubt, throw it out. Properly stored syrup should be clear and smell pleasant.
Can I make this without honey?
You can use maple syrup or coconut sugar instead, but honey is the traditional choice because it has natural antimicrobial properties. If you use alternatives, your shelf life shortens significantly—use within 2 weeks and refrigerate.
What’s the difference between elderberry and elderflower?
They come from the same plant but different parts. Berries are the fruit and are used for immune support. Flowers are typically used for tea and have different traditional uses. For this recipe, you need the berries.
Final Thoughts
Making your own elderberry syrup recipe is genuinely one of the easiest wellness projects you can tackle. An hour of your time yields weeks of immunity support for your whole family. The satisfaction of having a shelf full of homemade syrup ready for cold season? That’s worth it alone.
Start with the basic recipe, nail the technique, then experiment with flavors that appeal to you. Whether you’re adding turmeric for extra anti-inflammatory power or citrus for brightness, you’re building something real with your hands. That’s the whole point of doing this yourself instead of buying it pre-made.
Keep your ingredients fresh, don’t skip the cooling step before honey, and store properly. Do those things and you’ll have syrup that tastes great and actually supports your health through the tough months. That’s a win in my book.


