
Making a dulce de leche recipe at home is easier than you’d think, and honestly, once you nail this technique, you’ll wonder why you ever bought it from a jar. This caramel-like magic happens when you slowly cook sweetened condensed milk until it transforms into thick, golden, spoonable heaven. In just three straightforward steps, you’ll have a homemade version that tastes infinitely better than store-bought and costs a fraction of the price.
Table of Contents
Why Make It Homemade
Store-bought dulce de leche often contains additives and stabilizers that mess with the pure, creamy texture. When you make it yourself, you control exactly what goes into it—just milk, sugar, and time. The flavor is richer, deeper, and way more satisfying. Plus, there’s something genuinely rewarding about watching condensed milk transform into something restaurant-quality in your own kitchen. It’s one of those cooking wins that feels fancier than it actually is.
Ingredients You Need
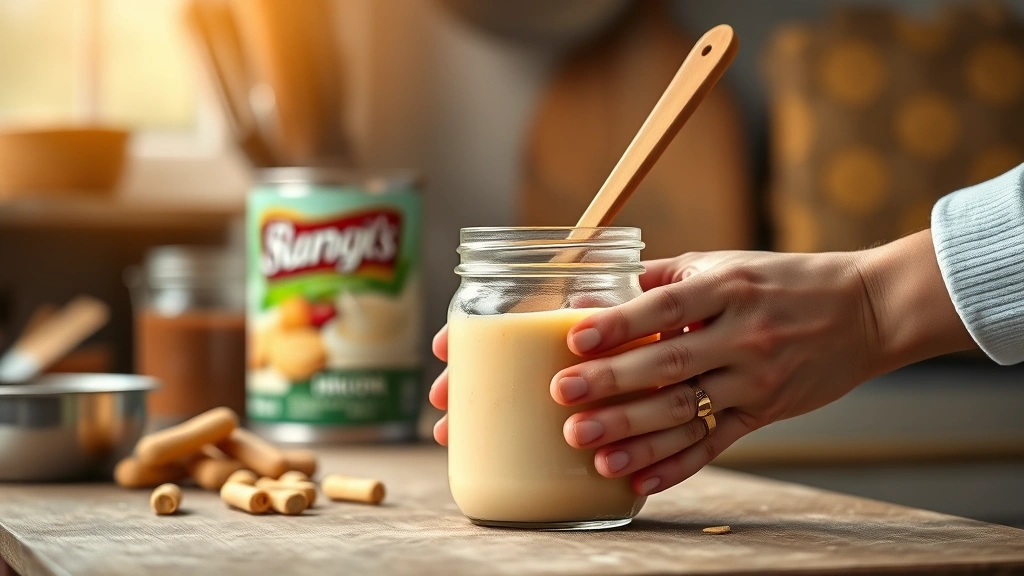
Here’s the beautiful part: you need exactly one ingredient. Yes, one. A single 14-ounce can of sweetened condensed milk is all that stands between you and homemade dulce de leche. That’s it. No butter, no cream, no vanilla—just that one magical can. The sweetened condensed milk does all the heavy lifting on its own, thanks to the Maillard reaction that happens when you heat it slowly over time.
Three-Step Method
Let me break down the entire process so you can see how straightforward this really is. The method I’m sharing is the safest, most reliable approach that won’t leave you anxious about explosions or burnt milk.
Step One: Prepare Your Setup
Remove the label from your can of sweetened condensed milk completely. Rinse it off under warm water and pat it dry. This matters because you’re about to submerge it in boiling water for hours, and you don’t want paper pulp floating around. Find a large pot that’s tall enough to hold the can standing upright with plenty of room above it—you need at least 2-3 inches of clearance. Fill the pot with enough water so that when the can sits on the bottom, water covers it by at least 2 inches. This water bath is your insurance policy against the can overheating or exploding.
Step Two: Boil and Maintain
Bring that pot of water to a rolling boil. Carefully place your can of sweetened condensed milk into the boiling water. Reduce the heat to medium or medium-low—you want a gentle, steady simmer, not a vigorous boil. This is crucial. A gentle simmer means the milk heats evenly and slowly, which is exactly what creates that perfect dulce de leche texture. Keep the water level consistent throughout the cooking process. Every 30 minutes or so, check the water level and add more boiling water if needed to keep the can submerged. Never let the can sit above the water line.
Step Three: Cool and Store
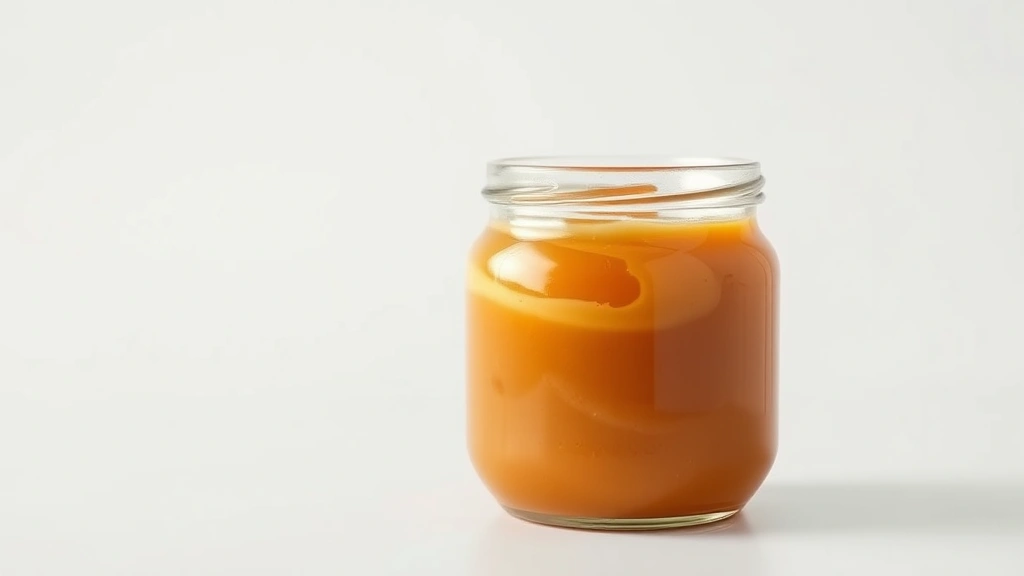
After 2-4 hours of simmering (I’ll explain the timing variations in the next section), carefully remove the pot from heat. Let the can sit in the hot water for at least 15-20 minutes before you touch it—this gradual cooling prevents the dulce de leche from separating. Use tongs to pull the can out of the water and place it on a towel or trivet. Let it cool completely to room temperature, which usually takes 1-2 hours. Once it’s cool, open the can and scoop out your dulce de leche into a glass jar for storage.
Water Bath Technique
The water bath method is the gold standard for making dulce de leche safely at home. Unlike the old method of boiling an unopened can directly in water (which is genuinely risky), the water bath keeps everything at a controlled temperature. Think of it like sous vide cooking—the water acts as a heat buffer, preventing hot spots that could cause the can to overpressurize.
The key to success here is consistency. You want the water temperature to stay between 200-212°F throughout the entire cooking process. Too hot and you risk curdling or browning the milk unevenly. Too cool and you’re just wasting time. A gentle, rolling simmer is your target. If you’re the type who likes precision, you can use a kitchen thermometer to monitor the water temperature, but honestly, most home cooks just listen for that gentle bubbling sound and adjust the heat accordingly.
Cooking Time Guide
Timing depends on how thick and dark you want your dulce de leche. This is where you get to customize based on your preference.
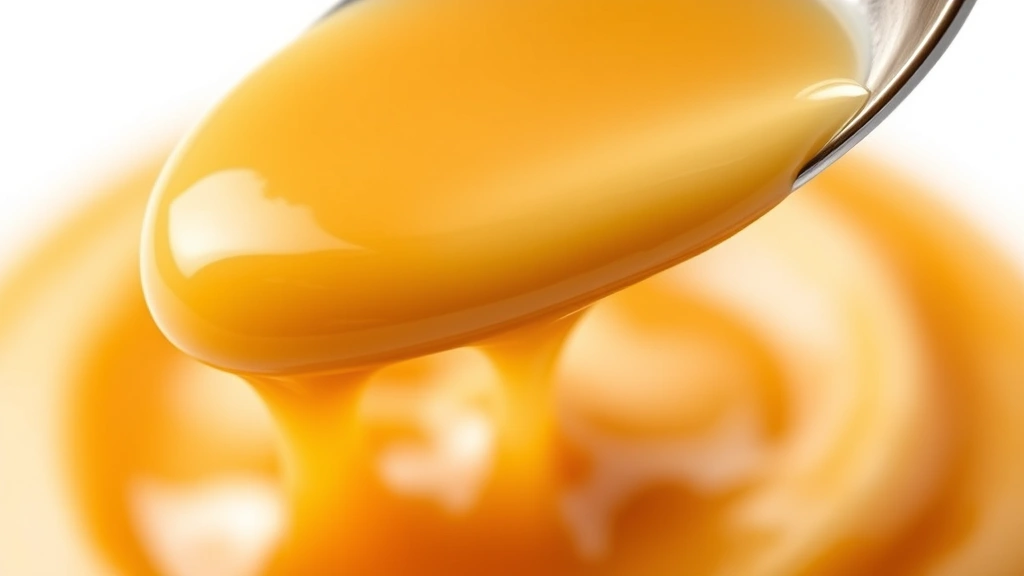
2 hours: You’ll get a lighter, creamier dulce de leche that’s closer to sweetened condensed milk consistency. It’s still delicious, but it won’t have that deep caramel color or the thick, spreadable texture.
3 hours: This is the sweet spot for most people. The milk has caramelized enough to develop that rich, medium-brown color and thick, spoonable consistency. It spreads beautifully on toast and works perfectly for alfajores recipe applications.
4 hours: Go here if you want it darker and thicker, almost like fudge. The flavor gets deeper and more complex, and it becomes almost spreadable like peanut butter. This is what I make when I want to use it for comfort food recipes that demand serious richness.
4+ hours: Beyond 4 hours, you’re getting into very thick, dark territory. Some people push it to 5-6 hours for an almost-solid texture, but you’re getting into diminishing returns. The flavor gets darker but can start to taste slightly burnt if you’re not careful.
Storage Tips
Once your dulce de leche is completely cooled, transfer it to a clean glass jar with a tight-fitting lid. Glass is better than plastic here because it won’t absorb any odors or stains. Store it in a cool, dark place—your pantry is perfect. Properly stored dulce de leche lasts for several months, though honestly, it rarely sticks around that long in my house.
If you want to refrigerate it, that’s fine too. Cold dulce de leche becomes slightly thicker and more fudgy, which some people prefer for spreading on toast. Just let it come to room temperature before using it if you want that pourable consistency.
Pro tip: If your dulce de leche separates slightly (you see a thin layer of liquid on top), just stir it back together. This sometimes happens with homemade versions, but it’s totally normal and doesn’t affect the taste or safety.
Troubleshooting Common Issues
My dulce de leche is too thin:
You didn’t cook it long enough. Next time, extend the cooking time by 30 minutes to an hour. Alternatively, you can return it to the water bath for another hour to thicken it up further.
It’s too thick or grainy:
This usually means the water temperature got too high, causing the milk to curdle slightly. Make sure you’re using a gentle simmer next time, not a rolling boil. If it’s already grainy, you can try blending it smooth with an immersion blender, though it won’t be quite the same.
The color is uneven or burnt-looking:
The can wasn’t fully submerged in water, or the heat was too high. Always keep that can covered with at least 2 inches of water and maintain a gentle simmer.
It tastes burnt:
You cooked it too long or the water temperature was too high. Four hours is usually the absolute maximum. If you like it darker, stick with 3.5 hours and monitor it more carefully.
Using Your Dulce de Leche
This stuff is ridiculously versatile. Obviously, it’s amazing straight from the jar on toast, crackers, or ice cream. But you can also use it in baking—swirl it into brownies, fill cookies, or layer it in cakes. It’s the traditional filling for alfajores recipe applications, those Argentine sandwich cookies that are absolutely addictive.
You can fold it into whipped cream for a simple dessert, drizzle it over cheesecake, or use it as a dipping sauce for fruit. Some people even use it in coffee or hot chocolate. I’ve seen it incorporated into best mac and cheese recipe variations by adventurous cooks looking to add sweetness to savory dishes, though that’s definitely outside the traditional use.
The point is, once you’ve got a jar of homemade dulce de leche, you’ll find endless reasons to use it. It’s one of those ingredients that transforms ordinary desserts into something special.
Frequently Asked Questions
Is it safe to boil a sealed can of sweetened condensed milk?
The water bath method I’ve described is safe because you’re keeping the can submerged and monitoring the temperature. The old method of boiling an unopened can directly in water without the water bath is riskier because the can can overpressurize. Stick with the water bath technique, and you’ll be fine.
Can I use regular milk instead of sweetened condensed milk?
No. Regular milk won’t work because it lacks the sugar and the concentrated milk solids that make dulce de leche possible. You specifically need sweetened condensed milk for this recipe.
Why does my dulce de leche separate?
Separation happens sometimes with homemade versions, especially if the cooking temperature was inconsistent or if it sat for a long time. It’s completely safe and normal. Just stir it back together before using it.
Can I make this in the oven instead of on the stovetop?
Yes, you can. Place the sealed can in a baking dish, surround it with water (keeping it submerged), cover with foil, and bake at 425°F for 2-4 hours. The timing is similar to the stovetop method. Some people prefer this because the oven temperature is more consistent.
How do I know when it’s done?
The color is your best guide. It should be a medium to dark caramel brown, depending on your preference. You can also test the consistency by letting a small spoonful cool on a plate—it should be thick and spreadable but not rock-hard.
What if I want to use this for cottage cheese bread recipe applications?
Dulce de leche works beautifully in bread recipes as a filling or swirl. Use the 3-hour version for a consistency that’s easy to work with in dough. For bariatric recipes, you can use dulce de leche in moderation as a flavor enhancer, though portion control matters given its sugar content.
Can I double the recipe?
Absolutely. Just use multiple cans in the same pot of water, making sure each one is fully submerged. The cooking time remains the same.
The Bottom Line
Making dulce de leche at home is genuinely one of the easiest and most rewarding kitchen projects you can tackle. Three steps, one ingredient, and a few hours of hands-off cooking time gets you a product that tastes infinitely better than anything you can buy. The water bath method is safe, reliable, and produces consistent results every single time. Start with 3 hours of cooking time, taste it, and adjust from there based on your preference for thickness and color. Once you’ve got a jar of homemade dulce de leche in your pantry, you’ll be amazed at how many ways you can use it. This is the kind of cooking hack that makes you feel like a pro without actually requiring any real skill—just patience and a pot of water.


