
A danish recipe doesn’t require fancy culinary school training or a professional pastry kitchen—you just need the right technique, quality ingredients, and patience. I’ve spent years perfecting laminated dough in my own kitchen, and I’m going to walk you through the exact process that transforms simple butter and flour into those gorgeous, flaky pastries you see in bakery windows.
Table of Contents
Understanding Lamination Basics
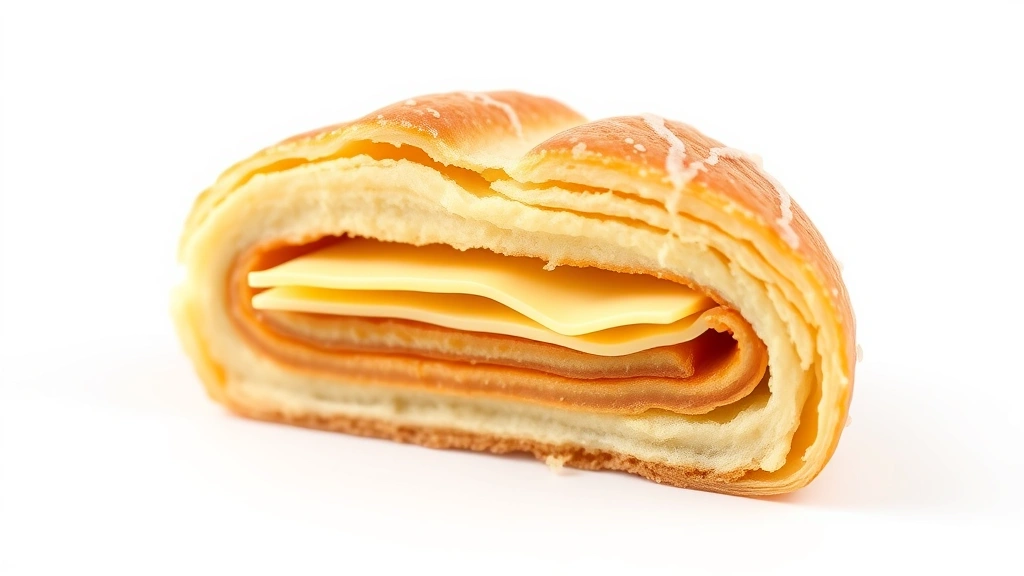
The magic behind any danish recipe is lamination—creating hundreds of thin butter layers within the dough. When you bake these layers, the butter melts and steam escapes between them, creating that signature flaky texture. It’s the same technique used for croissants and puff pastry, but danish dough includes yeast, which gives it a slightly richer, less dense crumb.
Think of it like building a delicate sandwich: dough layer, butter layer, dough layer, butter layer, repeat. The more folds you make, the more layers you create. Professional bakers can achieve 729 layers with just six simple folds—that’s the power of exponential folding. You don’t need to be a mathematician; you just need to understand that each fold multiplies your layers.
Selecting Quality Ingredients
Your danish recipe is only as good as your ingredients. I always start with European-style butter—it has a higher fat content (about 86% versus 80% in standard American butter) and creates superior flakiness. Don’t cheap out here; this is where quality genuinely matters.
For flour, use bread flour or all-purpose flour with decent protein content (around 12-13%). Cake flour won’t give you the structure you need. Whole milk works better than water because the milk solids add richness and help with browning. Fresh yeast is ideal, but active dry yeast works fine if you’re not near a bakery supply store.
You’ll also need salt (kosher is my preference), sugar, and eggs. Temperature control matters tremendously—keep everything cool, especially during the folding process. I keep my butter at about 65-68°F, firm enough to hold shape but soft enough to fold without cracking.
Preparing Your Base Dough
Start by combining 500g bread flour, 300ml whole milk, 60g sugar, 10g salt, and 7g instant yeast in a stand mixer. Mix on low speed for about 3 minutes until the flour is hydrated, then increase to medium speed for 8-10 minutes. The dough should be smooth and slightly sticky—about the consistency of a soft earlobe.
Add one egg and mix for another minute to incorporate. The dough will be softer than you’d expect; this is correct. Softer dough accepts the butter lamination better than stiff dough. Transfer to a lightly oiled bowl, cover, and let it rest at room temperature for about 30 minutes. This autolyse period allows the gluten to develop naturally.
After resting, gently fold the dough onto itself a few times (not a full knead), then refrigerate for at least 2 hours, or overnight. This cold fermentation develops flavor and makes the dough easier to work with during lamination.
The Critical Butter Folding
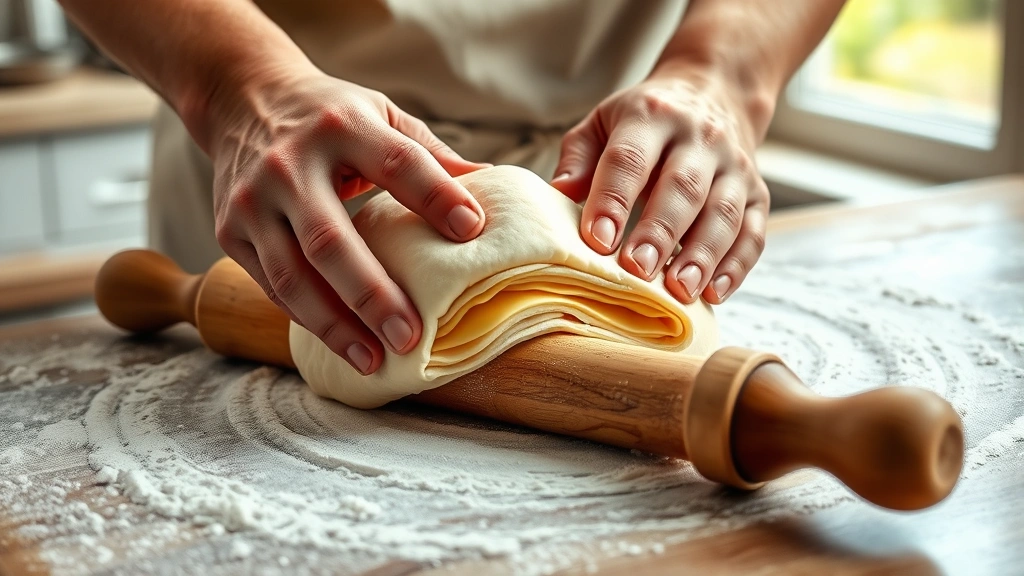
This is where most home bakers struggle, so pay attention. Remove your dough from the fridge and let it sit at room temperature for about 15 minutes until it’s workable but still cool. Meanwhile, prepare your butter block: place 250g cold butter between two sheets of parchment paper and pound it with a rolling pin until it’s about ¼-inch thick and roughly rectangular.
Roll out your dough on a lightly floured surface to about ⅜-inch thickness, slightly larger than your butter block. Place the butter block in the center, fold the dough edges over it like an envelope, and seal the edges by pressing gently with your rolling pin.
Now comes the lamination: roll the dough packet out to about ¼-inch thickness, keeping it rectangular. Fold it into thirds like a business letter (fold one short end to the middle, then fold the other end over it). This is your first fold—you’ve just created 3 layers. Rotate 90 degrees, roll out again, and fold into thirds again. That’s your second fold, and you now have 9 layers.
Wrap in plastic and refrigerate for 30 minutes. Repeat this process two more times (third and fourth folds), refrigerating between each. After your fourth fold, you have 81 layers. Some recipes call for a fifth fold, which gives you 243 layers—absolutely worth the extra effort. After the final fold, refrigerate overnight.
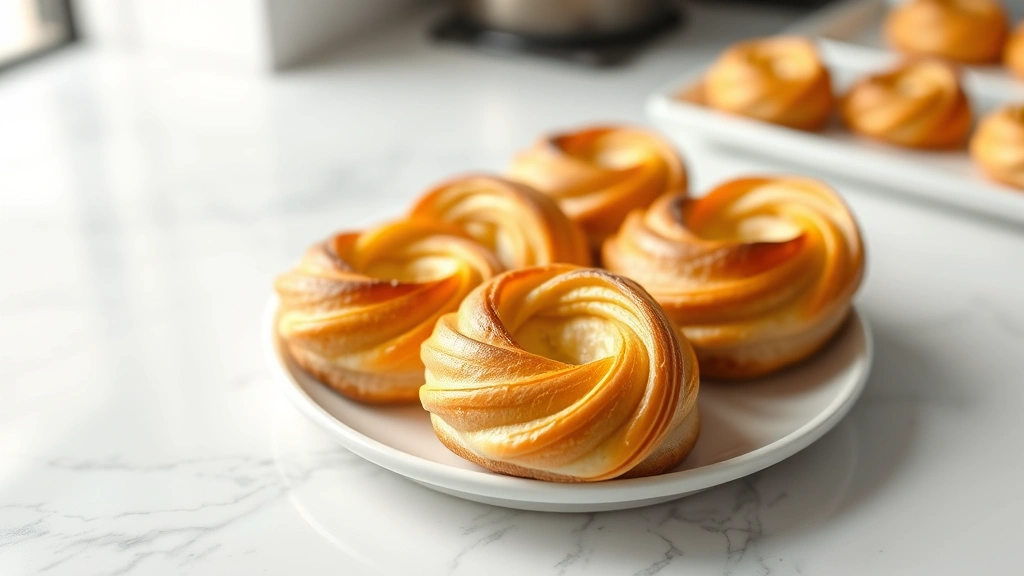
Shaping Your Pastries
Remove your laminated dough from the fridge and let it rest for 10 minutes. Roll it out to about ¼-inch thickness. This is where you get creative—cut into rectangles for simple danish, or use a knife to create triangle shapes for twisted varieties. For a classic apple danish (similar to what you’d find in our Apple Bars Recipe), cut 4-inch squares.
Place a spoonful of filling in the center of each square—try Brie Bites Recipe filling or traditional apple compote. Fold two opposite corners to the center and press gently. For a twisted danish, cut strips, twist them, and coil them into a spiral shape.
Place shaped pastries on parchment-lined baking sheets, leaving at least 2 inches between each one—they’ll puff up significantly during proofing. Cover loosely with plastic wrap and let them proof at room temperature for 2-3 hours until they’re puffy and jiggly, not fully doubled (you want some oven spring left).
Proofing and Baking
Preheat your oven to 400°F about 30 minutes before baking. Brush each pastry with an egg wash (one egg beaten with a tablespoon of water). This creates that beautiful golden-brown exterior and helps toppings stick.
Bake for 18-22 minutes until deeply golden brown. The internal temperature should reach about 190°F. If the tops are browning too quickly, tent loosely with foil for the last 5 minutes. You want the layers to crisp up completely, which takes time—rushing this step results in greasy, underbaked pastries.
Remove from the oven and let cool on the baking sheet for 5 minutes before transferring to a wire rack. They’ll continue to crisp as they cool. This cooling period is crucial; the steam escapes and the structure sets.
Common Mistakes and Fixes
Butter leaking out during baking? Your dough was too warm or your butter wasn’t evenly distributed. Keep everything cold and seal those envelope edges properly. If it happens, it’s not a disaster—you’ll still get a tasty pastry, just less flaky than intended.
Pastries aren’t flaky? You probably didn’t fold enough times or your lamination wasn’t even. The good news is that even imperfect lamination still beats store-bought pastries. Next time, try the fifth fold and pay attention to even pressure when rolling.
Uneven browning? Rotate your baking sheet halfway through. If one area of your oven runs hot, move pastries away from that spot. An oven thermometer ($15-20) is worth every penny for consistent results.
Pastries deflating after baking? They’re probably underbaked. The centers need to reach that 190°F internal temperature. Invest in an instant-read thermometer and check a few pastries from different parts of the sheet.
Storage and Serving Tips
Fresh danish pastries are best eaten the same day, but they’ll keep in an airtight container for 2-3 days at room temperature. Refresh them in a 350°F oven for 5-7 minutes to restore crispness. Freeze baked pastries for up to 3 months—thaw at room temperature for about an hour, then refresh in the oven.
You can also freeze shaped, unbaked pastries. Proof them in the freezer overnight, then bake directly from frozen, adding 2-3 minutes to the baking time. This is perfect for weekend mornings when you want fresh pastries without the full day of prep.
For danish recipe variations, try filling with different jams, custard, or even savory fillings like spinach and cheese. The technique remains identical; only the fillings change. Check out our Blueberry Banana Bread Recipe for complementary flavors you can adapt.
Frequently Asked Questions
Can I make danish dough without a stand mixer?
Yes, but it’s more labor-intensive. Mix by hand using the autolyse method, then knead for about 15 minutes until smooth. The stand mixer saves time and creates more consistent gluten development, but determined bakers can absolutely do this manually.
What’s the difference between danish and croissant dough?
Danish dough contains yeast and sugar, making it slightly sweeter and less dense than croissant dough. Croissants use only butter and dough with no yeast, creating a crispier, more delicate structure. Both use lamination, but danish has a richer, breadier crumb.
How cold should my kitchen be for lamination?
Ideally 65-70°F, but you can work with 72°F if necessary. If your kitchen is warmer, work faster, refrigerate more frequently, and consider making danish on cooler days. Cold dough is happy dough.
Can I use margarine instead of butter?
Technically yes, but don’t. Margarine has a different melting point and water content, which affects flakiness and flavor. Real butter is essential for authentic results. This isn’t a place for substitutions.
Why is my dough shrinking when I roll it?
You’re not letting it rest between folds. After each fold, the dough develops tension. Resting allows the gluten to relax so you can roll without resistance. Never skip the 30-minute rests between folds.
How do I know when proofing is complete?
The pastries should be visibly puffy and jiggle slightly when you gently shake the pan. They shouldn’t be rock-hard or dense. Poke one gently with your finger—if the indentation springs back slowly, they’re ready. Over-proofing causes them to collapse in the oven.
Can I make this with whole wheat flour?
Not for traditional danish. Whole wheat absorbs more water and has different gluten characteristics that interfere with lamination. Stick with bread flour or all-purpose for reliable results. You can experiment once you’ve mastered the basic technique.
What if I don’t have parchment paper?
Silicone baking mats work great. Greasing the sheet works, but pastries sometimes stick. Parchment paper is inexpensive and worth having on hand—it’s the professional choice for a reason.
For more baking inspiration, explore our Chess Bars Recipe and Campfire Recipes for other pastry and baked good techniques. You can also check out Aroma Rice Cooker Recipes for alternative cooking methods.
Final Thoughts
Mastering a danish recipe takes practice, but the process is straightforward once you understand the lamination principle. Your first batch might not be perfect—that’s normal. The second batch will be noticeably better, and by the third or fourth time, you’ll be producing pastries that rival any bakery.
The key is patience: cold temperatures, proper resting periods, even folds, and adequate proofing. There’s no magic, just technique. Start with this basic method, nail it, then experiment with fillings and shapes. You’ll be amazed at what you can create in your own kitchen with nothing but butter, flour, and determination.


