
Making a coffee syrup recipe at home is easier than you’d think, and it’ll transform your morning routine from basic to barista-level in minutes. Whether you’re sweetening cold brew, elevating your lattes, or creating custom coffee drinks, homemade syrup beats the store-bought stuff every single time. No fancy equipment needed—just your kitchen, a few ingredients, and five straightforward steps.
Table of Contents
Why Homemade Matters
Commercial coffee syrups are loaded with artificial flavors, high fructose corn syrup, and preservatives that taste nothing like real coffee. When you make your own coffee syrup recipe, you control every ingredient. You’ll use actual espresso or strong brewed coffee, real sugar, and nothing else. The result? Pure, clean coffee flavor that actually tastes like coffee, not artificial sweetness masking cheap ingredients.
Plus, homemade syrup costs about a quarter of what you’d pay at a coffee shop. Make one batch and you’ve got enough for weeks of customized drinks. It’s the kind of small kitchen skill that pays dividends every single morning.
Gather Your Ingredients
Here’s what you need for a basic coffee syrup recipe that yields about 16 ounces:
- 1 cup granulated sugar (or brown sugar for deeper flavor)
- 1 cup strong brewed coffee (espresso works best, but strong drip coffee is fine)
- ¼ teaspoon salt (enhances coffee flavor)
- Optional: ½ teaspoon vanilla extract (adds smoothness)
That’s it. No gums, no stabilizers, no mystery ingredients. You probably have everything in your kitchen right now. If you want to explore variations—and you should—grab some complementary spices like cinnamon or vanilla beans.
Step One: Measure & Measure Twice
Grab a medium saucepan and measure out your sugar first. Use a kitchen scale if you’ve got one (more accurate), or a measuring cup works fine. Pour your strong brewed coffee into a separate container—if you’re using espresso, pull a double shot and add a splash of water to dilute it slightly. Cold brew concentrate works beautifully too.
Measuring accurately matters here because the sugar-to-liquid ratio determines your syrup’s consistency. Too much sugar and you’ll get crystallized sludge. Too little and it won’t coat your coffee properly. The 1:1 ratio (equal parts sugar and coffee by weight) is the sweet spot for a syrup that pours smoothly and dissolves instantly.
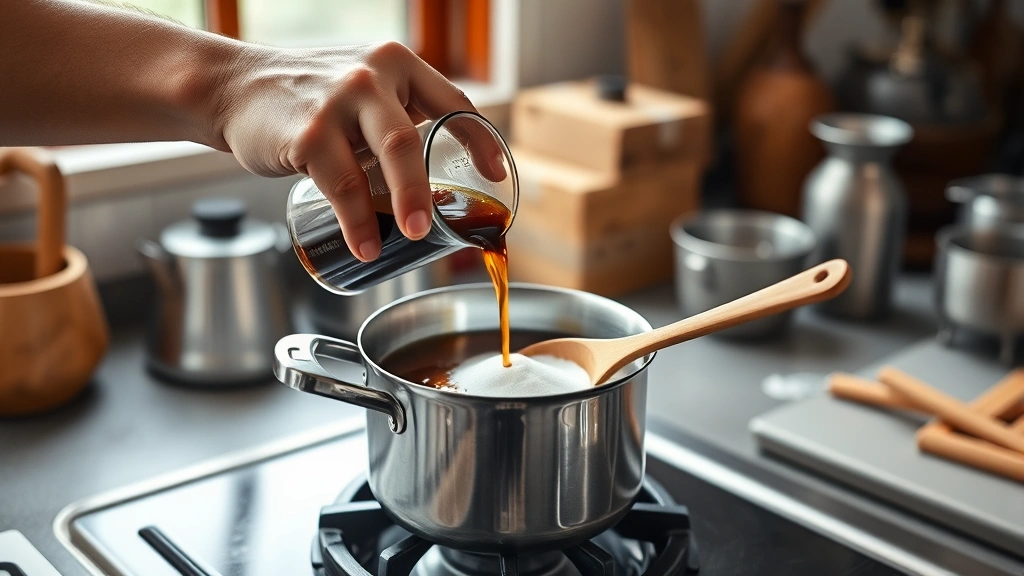
Step Two: Heat & Combine
Pour both the sugar and coffee into your saucepan over medium heat. Stir constantly—don’t skip this part. You want the sugar to dissolve completely before the mixture reaches a boil. This takes about 3-4 minutes of steady stirring. The mixture should look clear and glossy, not grainy.
Add your salt now. It seems weird, but salt amplifies coffee flavor and balances sweetness. Just a quarter teaspoon does the trick. If you’re using vanilla extract, wait until the mixture cools before adding it—heat destroys vanilla’s delicate compounds.
Step Three: Simmer & Reduce
Once your mixture reaches a gentle boil, reduce heat to low and let it simmer for 8-10 minutes. You’re not trying to reduce it dramatically—just enough to concentrate the flavor and develop a slightly thicker consistency. The syrup should bubble gently at the edges, not violently boil.
Here’s where patience matters. Rushing this step by cranking up the heat can scorch your syrup and create bitter, burnt flavors. Low and slow wins every time. You’ll notice the color deepening slightly and the aroma becoming more intense—that’s exactly what you want.
Step Four: Cool & Strain
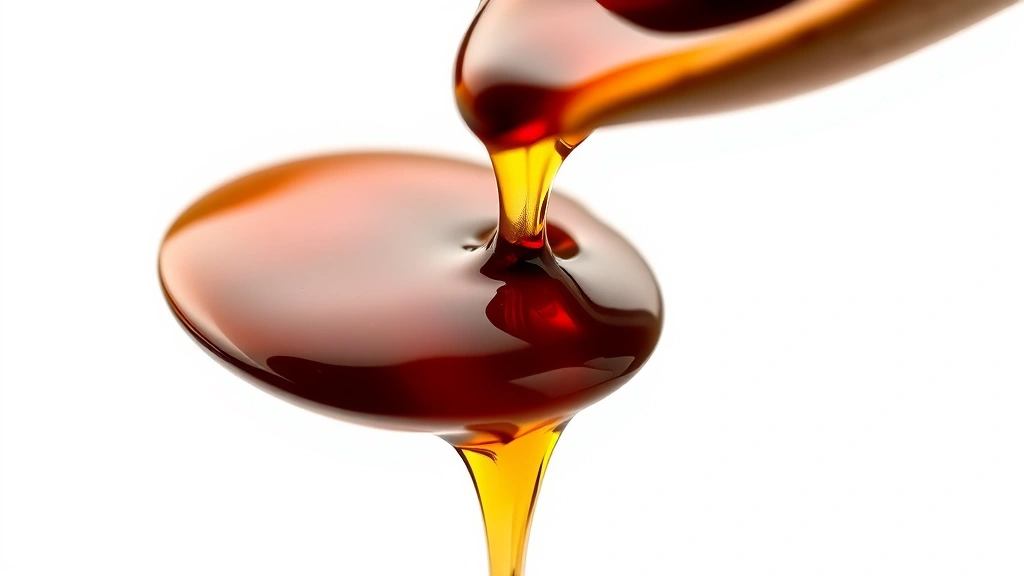
Remove from heat and let your syrup cool to room temperature. This takes about 20-30 minutes. Don’t try to speed this up with ice or the fridge—cooling slowly prevents crystallization. While it cools, grab a fine-mesh strainer or cheesecloth and position it over a clean jar.
Once cooled, pour the syrup through your strainer. This catches any sediment or crystallized sugar particles, giving you smooth, pourable syrup. If you’re using vanilla extract, add it now and stir well. The cooled syrup should have a honey-like consistency—thick enough to coat the back of a spoon but still pourable.
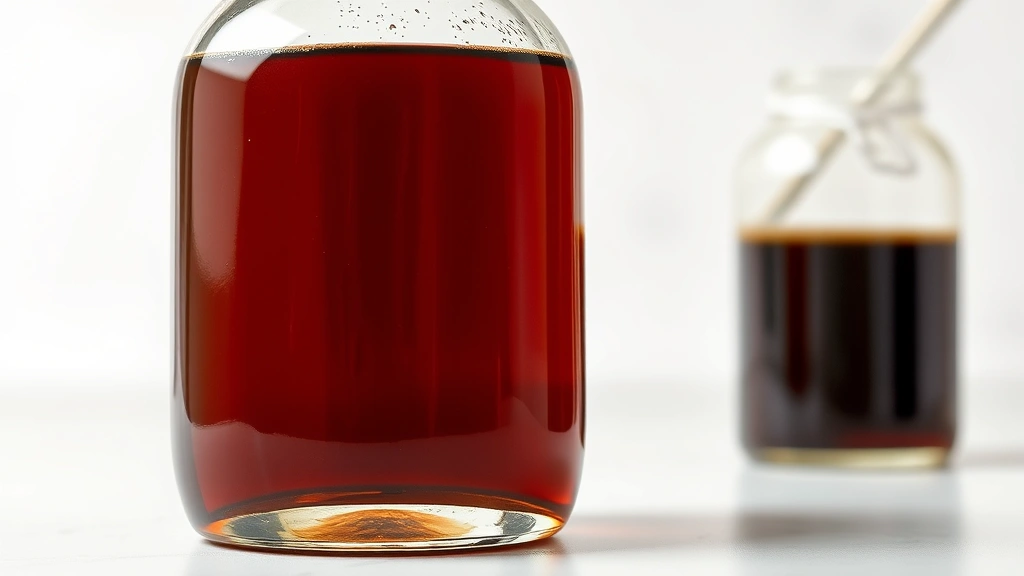
Step Five: Bottle & Store
Transfer your finished coffee syrup recipe to clean glass bottles or jars. Squeeze bottles work great if you want to dispense directly into drinks. Store in the refrigerator—homemade syrup keeps for 3-4 weeks without any preservatives. Some people keep a bottle on the counter for daily use and store extras in the fridge.
Label your bottles with the date made. It’s easy to forget when you whipped up a batch, and you want to use it while it’s fresh. The flavor remains vibrant for the first two weeks, then gradually fades.
Flavor Variations Worth Trying
Once you’ve mastered the basic coffee syrup recipe, branch out. Add a cinnamon stick during simmering for spiced coffee drinks. Infuse with cardamom pods for Middle Eastern-style coffee. Brown sugar instead of white sugar creates deeper, molasses-forward notes perfect for cold brew.
For hazelnut syrup, add ½ teaspoon hazelnut extract after cooling. Almond extract creates amaretto-style flavor. Want something fancier? Steep a vanilla bean in the warm syrup before straining. The possibilities expand quickly once you understand the basic technique.
If you enjoy experimenting with recipes, check out our Cajun Seasoning Recipe for another approach to building complex flavors from simple ingredients. Or explore our Appletini Recipe for beverage inspiration that pairs beautifully with coffee-based drinks.
Pro Tips & Tricks
Use espresso for concentrated flavor: A double shot of espresso creates richer syrup than drip coffee. The concentrated oils and compounds make a noticeably better product.
Brown sugar adds complexity: While white sugar creates clean, pure coffee flavor, brown sugar adds molasses notes that complement darker roasts beautifully.
Don’t skip the salt: Professional baristas always include salt in their syrups. It’s not about making it salty—it’s about enhancing the coffee’s natural sweetness and depth.
Invest in a kitchen scale: For consistent batches, weighing ingredients beats measuring by volume. Coffee shops use scales for exactly this reason.
Make larger batches: The technique doesn’t change if you double or triple the recipe. Make enough to last 3-4 weeks and save yourself repeated cooking sessions.
For more recipe inspiration and techniques, explore our Aglio Olio Recipe to see how simple ingredients create restaurant-quality results.
Troubleshooting Common Issues
Syrup crystallized in the bottle: This happens when sugar crystallizes after cooling. Reheat gently in a water bath (don’t microwave directly) and it’ll return to syrup consistency. Next time, avoid stirring after it cools.
Too thin and watery: You reduced it too little. Next batch, simmer for 12-15 minutes instead of 8-10. The longer simmer concentrates flavors and thickens the syrup.
Tastes burnt or bitter: Heat was too high or it simmered too long. Use medium-low heat and stick to the 8-10 minute window. Burnt syrup can’t be salvaged—start fresh.
Separated or oily appearance: This sometimes happens with espresso-based syrups due to coffee oils. Stir well before using. It’s still perfectly safe and tastes fine.
Mold or fermentation smell: Discard immediately. This indicates contamination. Always use clean bottles and store in the refrigerator. Homemade syrup without preservatives needs proper storage.
Frequently Asked Questions
How long does homemade coffee syrup last?
Stored in a clean, sealed container in the refrigerator, homemade coffee syrup recipe keeps for 3-4 weeks. The flavor remains vibrant for the first two weeks, then gradually fades. No preservatives means you’re working with a shorter shelf life than commercial syrups, but the trade-off is worth it for fresh, real flavor.
Can I use instant coffee instead of brewed?
Yes, but the flavor won’t be as rich. Dissolve 2-3 tablespoons of instant coffee in ¼ cup hot water, then use that as your liquid base. Instant coffee works in a pinch, but brewed or espresso creates noticeably better syrup.
What’s the best way to use coffee syrup in drinks?
For hot drinks, add 1-2 tablespoons to your cup before pouring in hot coffee or espresso. For cold brew, add it to the cold liquid and stir well—it dissolves slower in cold liquid, so stirring matters. For lattes, add it to the espresso before steaming milk.
Can I make this syrup without sugar?
You can substitute honey or maple syrup, but the consistency and dissolving properties differ. Honey creates thinner syrup and adds its own flavor profile. Agave nectar works similarly. These alternatives don’t have the same shelf stability as sugar-based syrup.
Is homemade syrup cheaper than buying at coffee shops?
Absolutely. A batch costs about $1-2 in ingredients and makes 16 ounces. Coffee shops charge $0.50-1.00 per pump (typically ½ ounce), so you’d pay $8-16 for the equivalent amount. One batch pays for itself in two or three drinks.
Can I freeze coffee syrup for longer storage?
Yes, homemade coffee syrup recipe freezes well for up to 3 months. Use ice cube trays to freeze in single-serving portions—perfect for grabbing one cube for your morning coffee. Thaw in the refrigerator before using.
What’s the difference between syrup and simple syrup?
Simple syrup uses equal parts sugar and water. Coffee syrup uses equal parts sugar and brewed coffee, creating stronger flavor concentration. Coffee syrup is thicker and more intensely flavored than simple syrup made with water.
The Bottom Line
Making a coffee syrup recipe at home takes fifteen minutes of active work and transforms your daily coffee routine. You’ll taste the difference immediately—real coffee flavor instead of artificial sweetness, smooth consistency that dissolves instantly, and the satisfaction of knowing exactly what’s in your cup.
Start with the basic recipe, master the technique, then experiment with variations. Brown sugar, vanilla, cinnamon, cardamom—once you understand the fundamentals, you can customize to your exact preferences. This is the kind of small skill that compounds into hundreds of better mornings throughout the year.
For more creative kitchen projects and flavor exploration, check out our 4 Ingredient Guacamole Recipe and Amatriciana Recipe for additional approaches to simple, ingredient-forward cooking.


