
A cherry delight recipe is your ticket to impressing guests without spending hours in the kitchen. This no-bake dessert comes together in just 15 minutes and tastes like you’ve been slaving away all day. Whether you’re hosting a summer barbecue, need a quick weeknight treat, or want something that looks fancy but requires zero baking skills, this cherry delight hits all the marks.
Table of Contents
Why Cherry Delight Works
The beauty of this cherry delight recipe lies in its simplicity and reliability. No oven means no temperature guessing, no burnt edges, and no timing stress. You’re working with straightforward ingredients that play nicely together: a buttery crust base, creamy middle layer, and bright cherry topping. The contrast between textures—crispy, smooth, and fruity—keeps every spoonful interesting.
This dessert also scales beautifully. Make it in a 9×13 pan for a crowd, or divide the recipe in half for an intimate dinner. The no-bake aspect means you can prep it in advance, letting it chill while you handle other tasks. Perfect for meal planning or when your oven’s already occupied with the main course.
Ingredients You Need
Keep your ingredient list lean and accessible. You’ll need:
For the Crust:
- 2 cups graham cracker crumbs (about 14-16 full crackers)
- ½ cup melted butter
- 3 tablespoons granulated sugar
For the Filling:
- 8 oz cream cheese, softened to room temperature
- 1 cup heavy whipping cream
- ¼ cup powdered sugar
- 1 teaspoon vanilla extract
For the Topping:
- 1 can (21 oz) cherry pie filling, or fresh cherries with homemade syrup
- Optional: ¼ teaspoon almond extract for depth
Pro tip: If you’re making this cherry delight recipe for a special occasion, grab fresh cherries from the farmer’s market and make your own topping. The flavor difference justifies the extra 10 minutes of work.
Step-by-Step Assembly
Step 1: Crush and Mix the Crust
Pulse graham crackers in a food processor until you get fine crumbs—not powdery dust, but crumbs with some texture. Pour into a bowl and stir in melted butter and sugar until the mixture resembles wet sand. This should take about 2 minutes of mixing.
Step 2: Press Into Pan
Spread the mixture evenly into a 9×13 inch baking dish. Use the bottom of a measuring cup to press firmly and create an even layer. You want a solid foundation that won’t crumble when you cut slices. Don’t skip this pressure step.
Step 3: Prepare the Cream Filling
In a mixing bowl, beat the softened cream cheese for 1-2 minutes until smooth and fluffy. Add powdered sugar and vanilla extract, beating for another minute. In a separate bowl, whip the heavy cream to stiff peaks—this takes about 3-4 minutes with an electric mixer. Gently fold the whipped cream into the cream cheese mixture in two additions, being careful not to deflate the whipped cream. This creates that cloud-like texture that makes the dessert memorable.
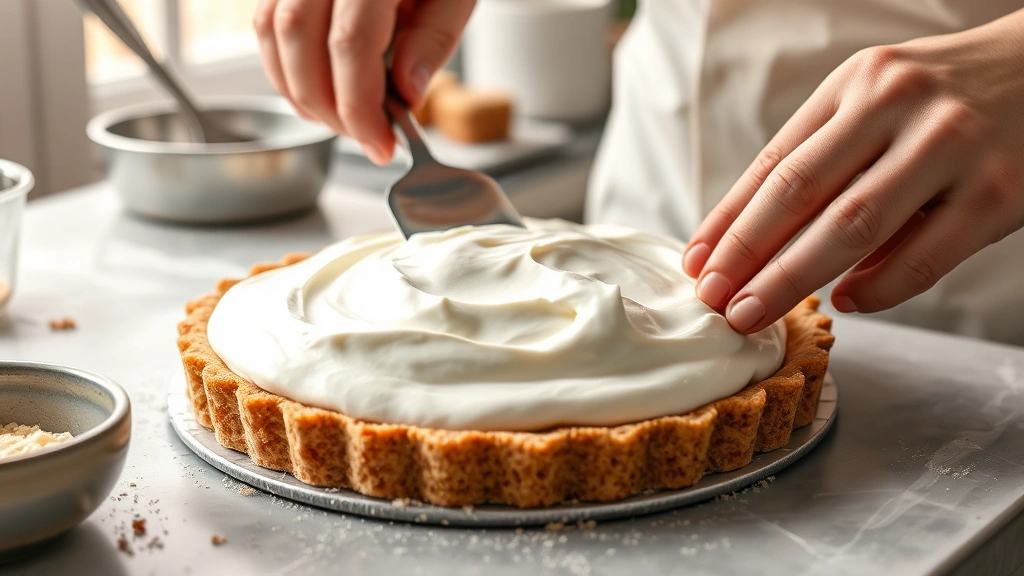
Step 4: Spread the Filling
Spread the filling evenly over the crust layer. Use an offset spatula or the back of a spoon to create smooth, even coverage. This layer should be about ½ to ¾ inch thick.
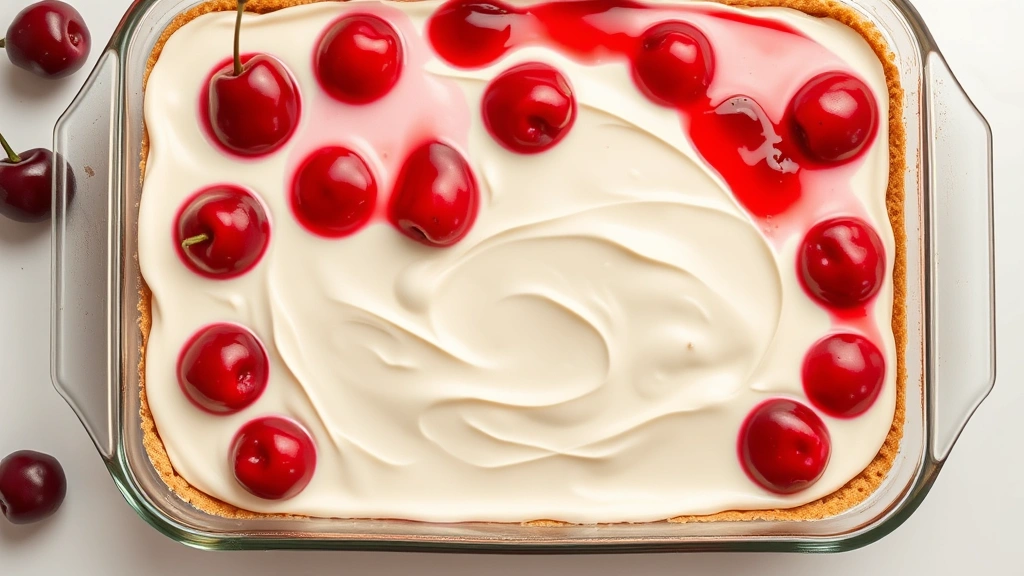
Step 5: Top with Cherries
Pour the cherry pie filling over the cream layer. If using canned filling, drain some of the excess syrup first—you want cherries and topping, not a soggy mess. Spread evenly or create an artful pattern. This is where your cherry delight recipe transforms from simple to showstopping.
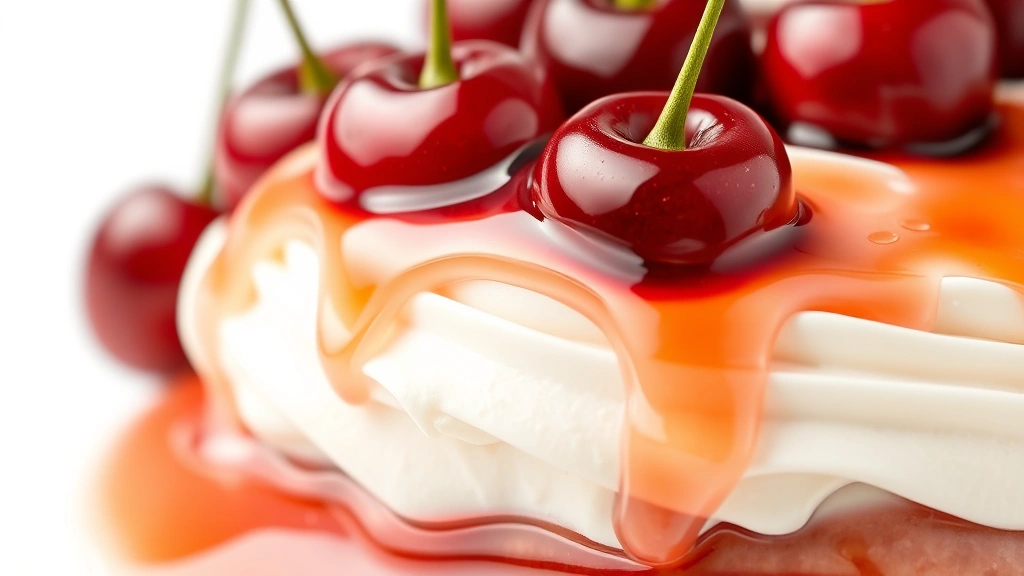
Layering Technique Matters
The magic in this cherry delight recipe happens at the boundaries between layers. Each component serves a purpose: the crust provides structure and a buttery anchor, the cream filling offers richness and contrast, and the cherry topping brings brightness and moisture.
When layering, think about moisture management. The graham cracker crust will absorb some liquid from the filling over time—this is normal and actually improves the texture after 2-3 hours. If you’re concerned about sogginess, you can brush the crust lightly with melted white chocolate before adding the cream layer. This creates a moisture barrier without affecting the flavor.
The filling layer acts as insulation, protecting the crust from too much liquid exposure while supporting the cherry topping. Make sure it’s thick enough (at least ½ inch) to do its job effectively.
Chill Time & Importance
Here’s where patience pays off. After assembly, refrigerate your cherry delight recipe for at least 2 hours, though overnight is ideal. This isn’t just about temperature—it’s about structure. The cream filling firms up, the flavors meld together, and the entire dessert becomes easier to cut and serve.
Cold desserts taste better because cold temperatures mute bitter flavors and enhance sweetness perception. Plus, the contrast between the cold dessert and room temperature cherry topping creates a more interesting eating experience.
If you’re in a rush, 1 hour minimum in the freezer works, but you’ll sacrifice some textural development. Plan ahead when possible.
Flavor Variations to Try
Once you’ve mastered the basic cherry delight recipe, experiment with variations:
Almond-Cherry Version: Add ¼ teaspoon almond extract to the cream filling and swap ¼ cup of graham cracker crumbs for crushed almonds in the crust. The almond-cherry pairing is classic for a reason.
Dark Chocolate Base: Mix 2 tablespoons cocoa powder into the graham cracker crust. The chocolate grounds the bright cherry flavor beautifully. Consider using dark chocolate whipped cream instead of plain.
Amaretto Twist: Replace vanilla extract with 1 tablespoon amaretto liqueur in the filling. Add another tablespoon to the cherry topping for depth. The almond notes complement cherries perfectly.
Lemon-Cherry Combination: Add 1 tablespoon fresh lemon zest and ½ teaspoon lemon extract to the cream filling. Lemon brightens cherry flavors and prevents the dessert from feeling too heavy.
These variations keep your cherry delight recipe fresh without requiring new techniques or equipment.
Storage Tips & Longevity
Your cherry delight recipe keeps well in the refrigerator for up to 4 days when covered properly. Use plastic wrap directly on the surface (not just over the dish) to prevent odor absorption and freezer burn. Store in an airtight container if available.
Freezing is possible but not ideal—the whipped cream texture suffers slightly upon thawing. If you must freeze, do so for no longer than 1 month, and thaw overnight in the refrigerator before serving.
The crust softens slightly after 24 hours, which some people prefer. Others like serving it within 12 hours for maximum crust crispness. Find your preference through trial.
Don’t leave this dessert at room temperature for more than 2 hours. The cream filling contains dairy and shouldn’t sit in warm conditions.
Troubleshooting Guide
Crust Crumbles When Cutting: You didn’t press it firmly enough during assembly. For next time, use more pressure and consider chilling the crust layer for 15 minutes before adding the filling.
Filling Separates or Looks Grainy: Your cream cheese was too cold when you started. Always soften it to room temperature first. If this happens, beat the mixture longer—sometimes it comes back together.
Whipped Cream Looks Flat: You either over-whipped it (it turned into butter) or under-whipped it. Whip only until stiff peaks form—you should see peaks that hold their shape but still look creamy.
Cherry Topping Too Wet: Drain the canned filling more thoroughly, or use fresh cherries with less syrup. You can also thicken the syrup with a teaspoon of cornstarch mixed with water, heated gently until thickened, then cooled before adding to the cherries.
Dessert Tastes Bland: You likely need more vanilla extract or are missing the almond extract mentioned in variations. These flavor boosters are essential—don’t skip them.
Frequently Asked Questions
Can I make this cherry delight recipe without a mixer?
Yes, but it requires elbow grease. Beat the cream cheese by hand with a wooden spoon for 5-7 minutes until smooth. For the whipped cream, use a whisk and prepare for a 10-minute arm workout. It’s doable but more effort than using electric tools.
What if I don’t have heavy whipping cream?
You can use heavy cream, whipped cream (thawed if frozen), or even mascarpone mixed with a little milk. Each changes the texture slightly. Avoid cool whip as a substitute—it contains additives that affect the final product’s taste and feel.
Can I use fresh cherries instead of canned?
Absolutely. Pit and halve about 2 cups of fresh cherries. Toss with ¼ cup sugar and let sit for 30 minutes to release juices. This creates a natural syrup. The flavor is superior to canned, though the texture is slightly different.
How far in advance can I make this?
Assemble it up to 24 hours ahead. The flavors actually improve after sitting overnight. Just don’t add the cherry topping more than 4 hours before serving, or it becomes too wet.
Is this cherry delight recipe gluten-free?
Not with regular graham crackers. Swap them for gluten-free graham crackers (available at most grocery stores) in a 1:1 ratio. The rest of the recipe is naturally gluten-free.
Can I scale this recipe up or down?
Yes. The ratios are flexible. Halve everything for a smaller dessert, or double it for a larger crowd. The assembly time stays roughly the same regardless of size.
What’s the best way to serve this?
Use a sharp knife dipped in hot water, wiping between cuts. This prevents the filling from dragging and keeps edges clean. Serve cold, ideally straight from the refrigerator.
Final Thoughts on This Cherry Delight
This cherry delight recipe proves that impressive desserts don’t require baking skills or complicated techniques. With 15 minutes of hands-on time and a few hours of chilling, you’ve created something that tastes gourmet and looks professional. The no-bake approach means you can make it year-round without heating up your kitchen, and the ingredient list is short enough that you probably have everything on hand.
Whether you’re following the basic recipe or experimenting with flavor variations, this dessert delivers every time. Start with the classic version to build confidence, then branch into variations once you understand how the layers work together. Before long, you’ll be customizing this cherry delight recipe to match your preferences and your guests’ tastes.
If you’re looking for other no-bake dessert inspiration, check out our guide on how to make Squid Game cookies for another fun treat that requires no oven. For those interested in cooking techniques beyond no-bake desserts, our best Dutch oven recipes collection offers plenty of stovetop and oven-based options when you’re ready to expand your kitchen skills.
The cherry delight recipe is your shortcut to looking like a dessert pro. Make it this week, and watch your reputation as a baker soar.


