
A cherries in the snow recipe is one of those no-bake desserts that looks fancy but takes practically no time to throw together. If you’ve never made this before, you’re missing out on a dessert that’s equal parts elegant and ridiculously simple. It’s the kind of thing you can whip up when guests are coming over and you forgot about dessert—or when you just want something sweet without heating up your kitchen.
Table of Contents
What Is Cherries in the Snow?
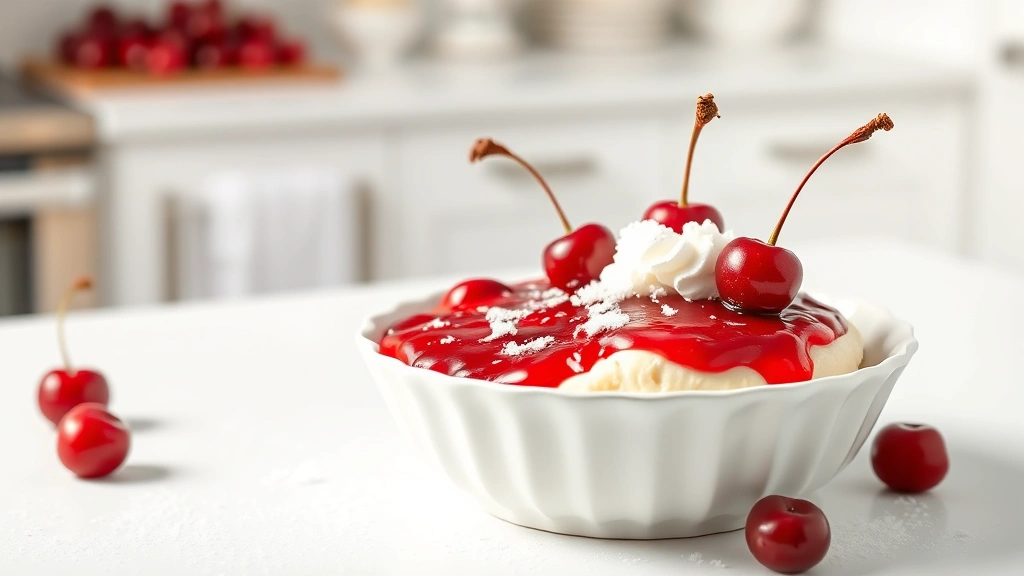
Cherries in the snow is a classic dessert that combines three simple elements: a creamy white base (usually whipped cream or marshmallow fluff), bright red cherries, and sometimes a crunchy element. The contrast between the white fluffy topping and the deep red fruit is where it gets its name—it literally looks like cherries sitting on snow. This dessert has been around for decades and shows up at potlucks, holiday gatherings, and church socials across America. It’s the kind of retro treat that never goes out of style because it just works.
Ingredients You Need
Here’s what you’ll actually need to make this happen:
- 1 can (21 oz) cherry pie filling
- 8 oz cream cheese, softened
- 1 container (8 oz) whipped topping (like Cool Whip)
- 1/2 cup powdered sugar
- 1 teaspoon vanilla extract
- 1/4 cup chopped pecans or almonds (optional but recommended)
- Pinch of salt
That’s it. Seven ingredients, most of which you probably have sitting around already. The beauty of this recipe is its simplicity—there’s no baking, no cooking, no special equipment needed.
Step-by-Step Instructions
Let me walk you through this the way I’d explain it to someone in my workshop—straightforward and no nonsense.
Step 1: Prep Your Cream Cheese
Take your cream cheese out of the fridge about 15 minutes before you start. You want it soft enough to blend smoothly without lumps. If you’re in a hurry, cut it into chunks—it’ll soften faster.
Step 2: Mix the Base
In a large bowl, combine your softened cream cheese, powdered sugar, and vanilla extract. Use an electric mixer or beat it by hand with a wooden spoon until it’s smooth and fluffy. This should take about 2-3 minutes with a mixer. You’re looking for a texture that’s light and creamy, not dense.
Step 3: Fold in the Whipped Topping
This is where people mess up. Don’t stir aggressively. Gently fold your whipped topping into the cream cheese mixture using a spatula. Fold, don’t beat. You want to keep the airiness of the whipped topping intact. A few small streaks of white are fine—you’re not going for perfect homogeneity here.
Step 4: Add Nuts (If Using)
Fold in your chopped nuts if you’re using them. I prefer pecans for the subtle richness they add, but almonds work great too.
Step 5: Layer and Top
Pour the cream cheese mixture into a serving dish (a 9×13 baking dish is standard, but a pretty bowl works just as well). Spread it out evenly. Then pour that can of cherry pie filling right over the top. Don’t stir it in—let it sit on top like, well, cherries in the snow.
Step 6: Chill
Pop it in the fridge for at least 30 minutes before serving. This helps everything set up and the flavors meld together.
Pro Tips for Success
Use Room Temperature Cream Cheese: This is non-negotiable. Cold cream cheese won’t blend smoothly and you’ll end up with a lumpy mess. Plan ahead or use the microwave trick—10 seconds at a time until it’s soft.

Don’t Overmix: The whipped topping is your friend here. Overmixing deflates it and you lose that light, airy texture that makes this dessert special. Fold gently and stop when everything is just combined.
Drain Your Cherries (Optional): If you like a firmer texture, you can drain some of the liquid from the cherry pie filling before adding it. But honestly, I leave it in—the syrup adds moisture and flavor.
Make It Ahead: This is perfect for making the night before. Cover it and refrigerate. The flavors actually improve after sitting overnight.
Flavor Variations to Try
Once you’ve mastered the basic version, you can get creative. Swap the cherry filling for strawberry. Add a tablespoon of almond extract to the cream cheese mixture for depth. Some folks add a layer of graham cracker crumbs in the middle for texture—similar to how you might approach building a no-bake cheesecake. You could even incorporate techniques from other easy recipe formats to create your own signature version.
Another option is to use fresh cherries when they’re in season and make a quick cherry sauce to pour over the top instead of canned pie filling. Just pit and chop them, simmer with a little sugar and lemon juice for 5 minutes, let it cool, and you’ve got something that tastes restaurant-quality.
Storage and Shelf Life
Keep this covered in the refrigerator and it’ll stay fresh for about 3-4 days. Don’t leave it sitting out at room temperature for more than 2 hours—the cream cheese base can get a little wonky if it gets too warm. If you need to make it further ahead, you can freeze it for up to a month. Just thaw it in the fridge overnight before serving. The texture stays pretty much the same, which is a win.
Common Mistakes to Avoid
Using Cold Cream Cheese: I’m saying this again because it’s that important. Cold cream cheese ruins this dessert.
Stirring Instead of Folding: When you incorporate the whipped topping, treat it like you’re handling eggs. Gentle folds only.
Skipping the Chill Time: Yes, you can eat it right away, but it’s not going to be as good. Give it time to set.
Using Whipped Cream Instead of Whipped Topping: They’re not the same thing. Whipped cream deflates quickly. Whipped topping (the stabilized kind) holds up better in this dessert.
Forgetting the Salt: A tiny pinch of salt balances everything and makes the flavors pop. Don’t skip it.

Serving Suggestions
Serve this cold, straight from the fridge. A small scoop into a bowl or a spoonful onto a plate is all you need. It’s rich, so a little goes a long way. Pair it with coffee, tea, or just eat it as is. At potlucks, I’ve noticed people take smaller servings because they’re not sure how they’ll feel about it, then come back for seconds. It’s one of those desserts that surprises people with how good it is.
You can also serve it in individual cups or glasses for a fancier presentation. Layer it like a parfait—some of the cream mixture, a spoonful of cherries, repeat. It looks impressive and people think you spent way more time on it than you actually did.
Frequently Asked Questions
Can I make this without cream cheese?
You can, but it changes the dessert. Some people use just whipped topping and marshmallow fluff, but you lose that tangy richness that cream cheese brings. If you absolutely need to avoid dairy, use a dairy-free cream cheese alternative—they work surprisingly well in this recipe.
What if I don’t have cherry pie filling?
Any fruit pie filling works—strawberry, blueberry, peach, whatever you’ve got. You could also use fresh fruit that you’ve tossed with a little sugar and let sit for 10 minutes to release its juices. The principle stays the same.
How far ahead can I make this?
You can make it up to 24 hours ahead. Beyond that and the texture starts to get a little soft, though it’s still edible. The crust component, if you add one, gets soggy after about a day.
Is this recipe gluten-free?
The basic recipe is naturally gluten-free. Just make sure your pie filling and whipped topping don’t have any hidden gluten. Most commercial brands are fine, but always check the label.
Can I use homemade whipped cream?
You can, but it won’t hold up as well as stabilized whipped topping. If you want to use homemade, add a tablespoon of powdered sugar and a tiny bit of cornstarch to help it stay fluffy longer.
What’s the best way to serve this at a party?
Keep it in the fridge until just before serving. Use a sturdy spoon or ice cream scoop to portion it out. People tend to take smaller servings at first, so don’t be surprised if you need more than you think.
Can I add chocolate to this?
Absolutely. Grate some dark chocolate over the top, or fold chocolate chips into the cream cheese mixture. You could even drizzle melted chocolate over the cherries for a fancy touch.
Final Thoughts
The cherries in the snow recipe is proof that you don’t need complicated techniques or a long ingredient list to make something delicious. It’s a dessert that works because it’s simple, it tastes good, and it looks great. Whether you’re bringing it to a potluck, making it for your family, or just wanting something sweet that doesn’t require turning on the oven, this is your answer. Give it a try and I bet it becomes one of your go-to recipes. The best part? You’ll have it made in less time than it takes to run to the store for a bakery cake.


