
Making a cheese curds recipe at home is easier than you’d think, and the results blow store-bought versions out of the water. If you’ve ever had fresh cheese curds that squeak between your teeth, you know exactly what I’m talking about. That’s the magic we’re chasing here, and I’m going to walk you through it step by step.
Table of Contents
Ingredients and Supplies You’ll Need
Before you start your cheese curds recipe, gather everything. You’ll need one gallon of whole milk—and I mean whole milk, not that 2% stuff. The fat content matters. You’ll also need liquid rennet (or tablet rennet dissolved in cool water), salt, and citric acid. These aren’t exotic ingredients; most health food stores carry them, and online retailers have them cheap.
On the equipment side, you need a large stainless steel pot, a thermometer that reads up to 110°F (we’re talking dairy thermometer accuracy here), a long knife for cutting curds, cheesecloth, and a colander. A slotted spoon helps too. Don’t cheap out on the thermometer—temperature control is everything in cheesemaking.
Understanding the Process
Here’s the deal: making cheese curds involves curdling milk, cutting those curds into small pieces, cooking them, draining the whey, and then heating them again until they develop that signature squeaky texture. It sounds complicated, but it’s really just following a sequence. The science is straightforward—you’re using rennet to coagulate milk proteins and acid to adjust pH. When you nail the timing and temperature, you get curds. When you nail the final heating step, you get squeaky curds.
The whole process takes about 45 minutes from start to finish. Most of that is waiting for temperatures to rise or curds to set. You’re not actually working the whole time.
Preparing Your Milk
Pour your gallon of milk into the pot and slowly heat it to 90°F. This takes patience—use low heat and stir occasionally. While that’s warming, dissolve 1/4 teaspoon of citric acid in 1/4 cup of cool, non-chlorinated water. Once your milk hits 90°F, add the citric acid solution and stir for one minute.
Now add your rennet. If you’re using liquid rennet, dilute 1/4 teaspoon in 1/4 cup of cool water first. Stir it into the milk for one minute, then let it sit undisturbed for five minutes. You’ll see the milk start to coagulate—it’ll look like yogurt or custard. This is your curd formation happening. When you insert a knife at a 45-degree angle and lift, it should break cleanly rather than bend. That’s your sign it’s ready to cut.
Cutting and Cooking Curds
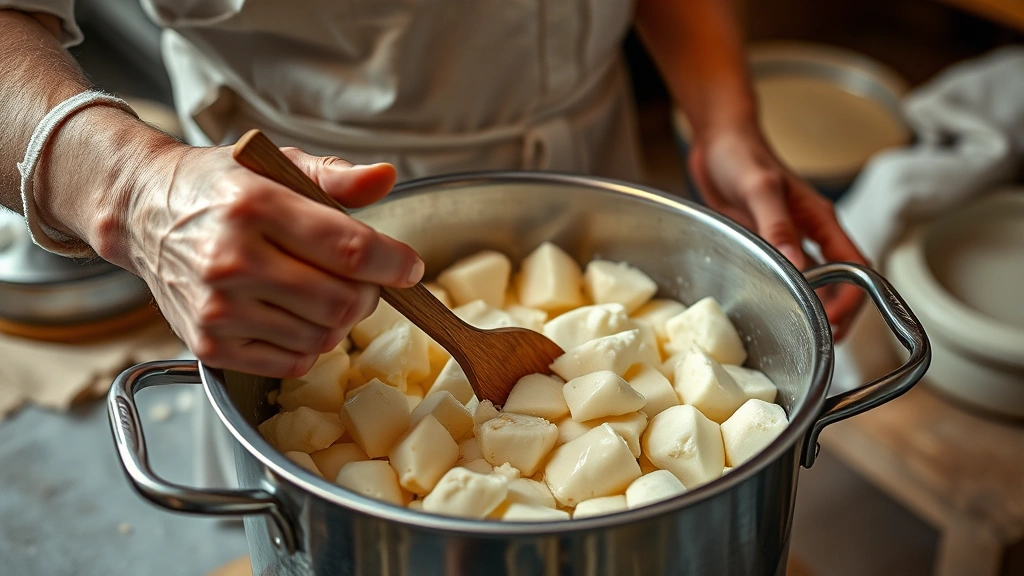
Using a long knife, cut the curds into 1/4-inch cubes. Work slowly and deliberately—you want uniform pieces because they cook at the same rate. This takes about 10 minutes. After cutting, let them rest for five minutes so they firm up slightly.
Now increase the temperature to 104°F over the next 30 minutes, stirring gently every few minutes. This slow heating helps the curds expel whey and develop texture. Once you hit 104°F, hold that temperature for 30 minutes, continuing to stir occasionally. The curds will shrink and become firmer—this is exactly what you want.
Draining and Forming
Line your colander with cheesecloth and carefully pour the curds and whey through it. Save that whey—you’ll need it in the next step. Let the curds drain for a minute, then gather up the corners of the cheesecloth and hang it for 10 minutes to drain further.
While that’s draining, heat your reserved whey to 90°F. Once your curds have drained, put them back in the pot and slowly add the warm whey while stirring gently. This is crucial: you’re raising the temperature of the curds, not shocking them.
Achieving the Squeak
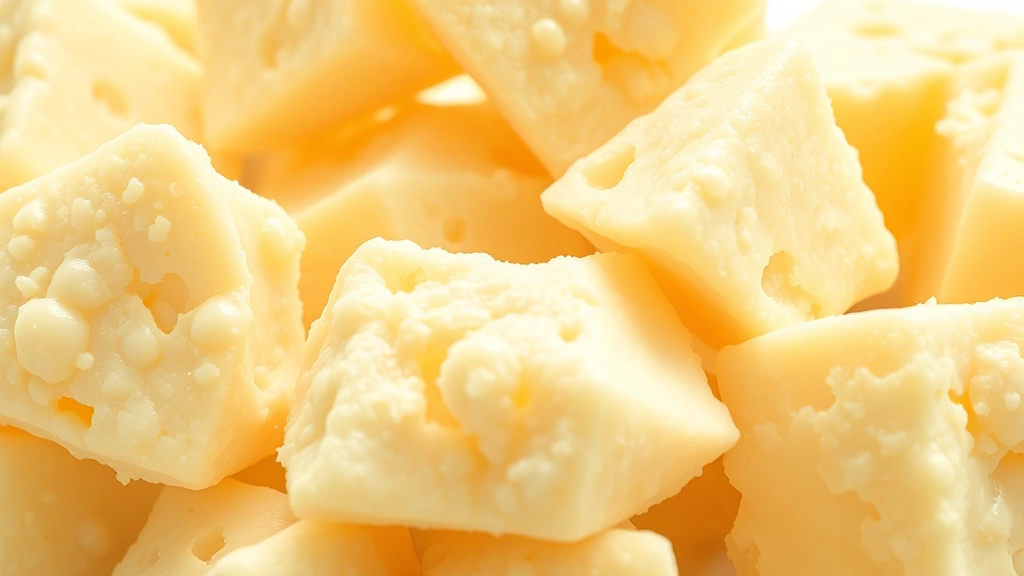
Here’s where the magic happens. Continue heating the curds and whey to 105°F, then hold that temperature for 30 minutes while stirring occasionally. During this time, the curds will firm up and develop that characteristic squeaky texture. You can test one by biting it—it should squeak slightly between your teeth when you chew.
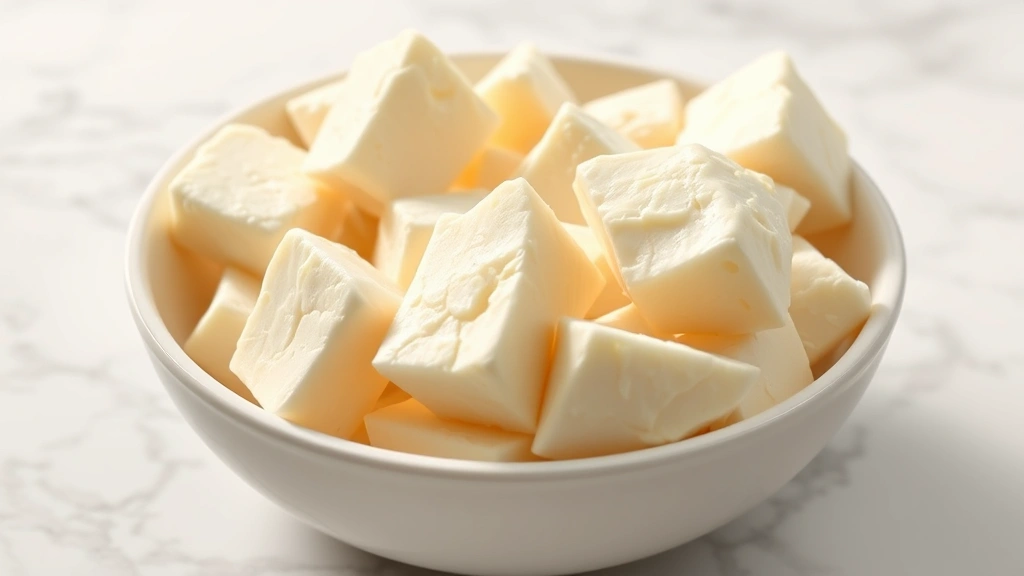
Once they’ve got the squeak, drain them again through cheesecloth. Let them sit in the cloth for a few minutes, then break them apart gently with your fingers. Taste one—if it’s too salty, rinse them briefly in cool water. If you want them saltier, sprinkle a pinch of salt over them and toss gently.
Storage and Freshness
Fresh cheese curds are best eaten within a few hours of making them. That squeaky texture degrades as they age. Store them in an airtight container in the refrigerator, and they’ll last about three days before the texture gets soft and they lose that signature squeak. You can freeze them, but honestly, the texture suffers.
The real trick is making them fresh and eating them fresh. Some folks like to fry them—see our guide on boiling crab recipe for similar techniques with temperature control. Fried curds get crispy on the outside and creamy inside. Others eat them plain, maybe with a little dipping sauce.
Troubleshooting Common Issues
If your curds are rubbery, you’ve cooked them too long or at too high a temperature. Next time, watch that thermometer like a hawk. If they’re mushy and don’t squeak, you haven’t cooked them long enough or your milk wasn’t fresh enough. Always use the freshest milk you can find—old milk won’t set properly.
If the curds stick together in a mass instead of separating into pieces, your cutting wasn’t fine enough or you didn’t let them rest long enough between cutting and cooking. Take your time with the knife work. If you’re having trouble with rennet, make sure you’re using the right type for your milk and that your water is non-chlorinated—chlorine interferes with rennet activity.
Temperature fluctuations are the enemy. Invest in a good thermometer and watch it constantly. Even a few degrees off can change your results dramatically. Some folks use a water bath to help maintain steady temperatures, and honestly, that’s not a bad idea if you’re serious about this.
Frequently Asked Questions
Can I use pasteurized milk for cheese curds?
Yes, you can use pasteurized milk, but avoid ultra-pasteurized milk. The high heat treatment damages the protein structure, and your curds won’t set properly. Regular pasteurized milk works fine, though raw milk gives better results if you can source it safely.
What’s the difference between cheese curds and mozzarella?
Cheese curds are fresh, unmelted curds that maintain their shape and texture. Mozzarella is stretched and kneaded into a different form. They start from similar ingredients but take different paths. Curds are all about that squeak; mozzarella is about that stretch.
Why aren’t my curds squeaking?
Squeaking comes from the curd structure and moisture content. If they’re not squeaking, you likely haven’t cooked them long enough at the final heating stage, or your milk wasn’t fresh. The fresher your milk, the better your squeak. Also, make sure you’re reaching and holding 105°F for the full 30 minutes at the end.
Can I make cheese curds without rennet?
Technically, you can use vinegar or lemon juice as an acid-based curdling agent, but you won’t get the same texture or squeakiness. Rennet is really the way to go for proper cheese curds. It’s cheap and worth ordering online.
How long does a cheese curds recipe actually take?
Start to finish, about 45 minutes of actual time, though much of that is waiting for temperatures to rise. Active working time is maybe 20 minutes total. It’s not a huge time commitment once you understand the steps.
Can I scale this recipe up or down?
Absolutely. The ratios stay the same whether you’re making half a gallon or five gallons. Just adjust your rennet and citric acid proportionally. Larger batches take longer to heat but follow the same process.
What do I do with the leftover whey?
Don’t throw it out. Whey is great for baking, cooking grains, or feeding to animals if you’ve got them. Some folks use it in soups. It’s got protein and nutrients, so it’s worth saving.
Making a cheese curds recipe at home teaches you something about patience, precision, and how food actually comes together. You’re not just following instructions—you’re understanding why each step matters. Once you’ve made them once, you’ll do it again. And again. Because nothing beats fresh, homemade cheese curds warm from the pot, squeaking between your teeth, tasting like pure dairy perfection. Check out similar precision cooking techniques in our article on butterfly chicken breast how to for more detailed temperature and technique guidance, or explore food preservation in our piece on how to keep apple slices from turning brown. For fun food projects, you might also enjoy how to make squid game cookies.
The beauty of making cheese curds at home is that you control every variable. You know exactly what’s in them. You can adjust salt, texture, and flavor to your preference. Once you master this cheese curds recipe, you’ll understand the fundamentals of cheesemaking itself. That knowledge opens doors to making other cheeses, experimenting with different milk types, and developing your own variations. Start simple, follow the steps, trust the process, and you’ll have squeaky, delicious cheese curds that’ll make you wonder why you ever bought them at the store.


