
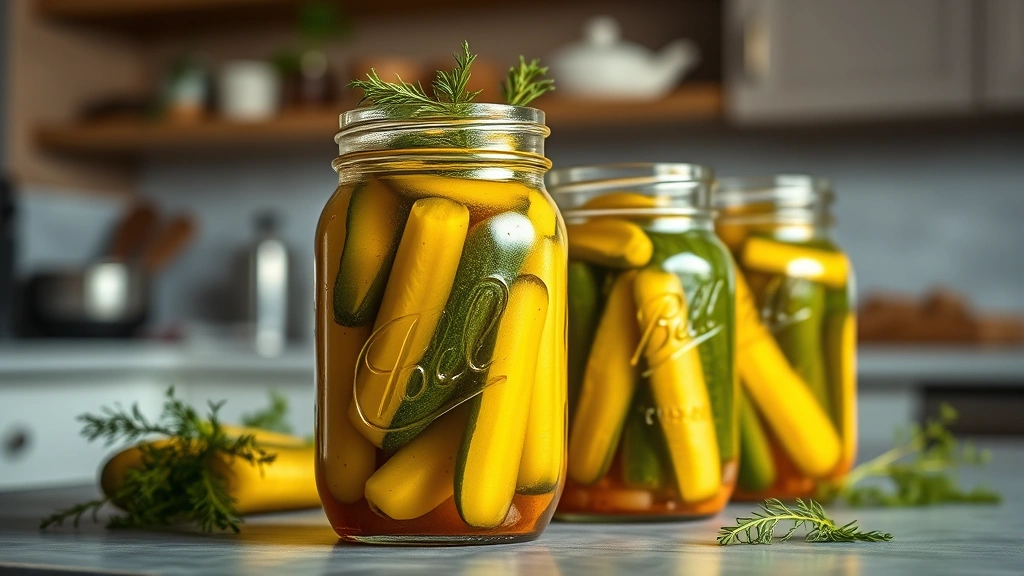
A solid canning pickles recipe is the foundation for shelf-stable, crispy pickles that’ll make you wonder why you ever bought the store-bought stuff. Whether you’re preserving cucumbers from your garden or hitting up the farmer’s market, I’m going to walk you through everything you need to know to nail this classic preservation technique.
Table of Contents
Picking Perfect Cucumbers
The secret to crispy pickles starts before you even touch a canning pot. You need the right cucumbers—and I’m not talking about the big watery slicing varieties you’d use for salads. Look for pickling cucumbers, also called Kirby cucumbers. They’re smaller, thinner-skinned, and have fewer seeds, which means they’ll stay firm and crunchy after processing.
Timing matters too. Pick or buy cucumbers that are fresh, ideally within 24 hours of canning. The longer they sit, the softer they become as natural enzymes break down the cell walls. If you’re buying from a farmer’s market, ask when they were harvested. For the best results, aim for cucumbers that are 3 to 4 inches long—small enough to fit nicely in a jar but substantial enough to handle the canning process without turning mushy.
Essential Canning Equipment
You don’t need fancy gear, but you do need the right stuff. Here’s what you’re working with: a large stainless steel pot (at least 8-quart capacity), a canning rack that fits inside, mason jars (quarts or pints), two-piece canning lids (flat lids and screw bands), a jar lifter, a bubble remover tool, a funnel, and a clean kitchen towel. A guide to best summer recipes often includes canning basics, but you’ll want dedicated canning equipment rather than regular kitchen tools.
Invest in a proper canning pot with a rack—it’s not expensive and makes the whole operation safer and easier. The rack keeps jars from touching the bottom of the pot (which can cause uneven heating) and makes it simple to lower and lift multiple jars at once. Don’t skip on quality lids either. Old or damaged lids won’t seal properly, and that’s a food safety issue.
Basic Brine Formula
The heart of any canning pickles recipe is the brine—that tangy, salty liquid that preserves and flavors your pickles. The basic formula is simple: 5 cups of water, 2.5 cups of white vinegar (5% acidity), and 2.5 tablespoons of pickling salt. This ratio creates the right pH level to prevent bacterial growth while keeping that signature pickle tang.
Never use table salt or iodized salt—the additives will cloud your brine and mess with the flavor. Stick to pickling salt or kosher salt. Bring your brine to a boil before packing jars, and keep it hot throughout the packing process. This helps ensure even heat distribution during processing and improves your seal rate.
Water quality matters more than you’d think. If you have heavily chlorinated tap water, consider using filtered water. The chlorine can sometimes affect flavor and clarity. A small detail, but it shows in the final product.
Dill & Spice Variations
This is where you get creative. Fresh dill is the classic choice—add a sprig to the bottom of each jar and one near the top. If fresh dill isn’t available, dried dill works, though you’ll use about one-third the amount. For garlic lovers, add 2-3 cloves per jar. A few peppercorns, a bay leaf, and a pinch of red pepper flakes round out the flavor profile nicely.
Some folks throw in mustard seeds, coriander seeds, or celery seeds for extra complexity. If you want heat, fresh jalapeños or habaneros add serious kick—just remember to remove the seeds if you want to control the spice level. The beauty of home canning is you can customize each batch. Make a traditional dill version, a spicy version, and maybe one with garlic and herbs.
Add your spices and aromatics to the jar before packing cucumbers. They’ll infuse the brine as it cools and create flavor layers that develop over time.
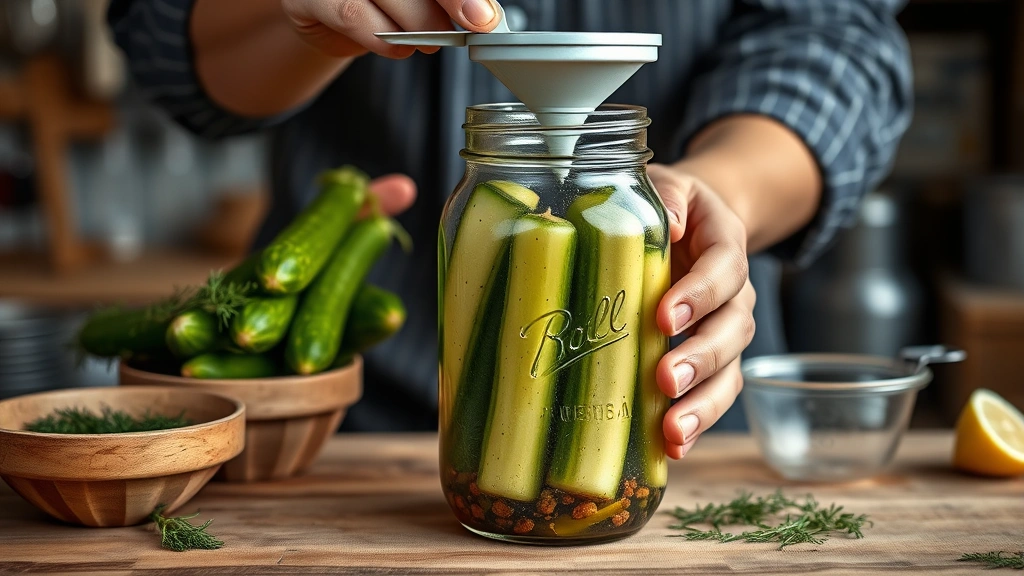
Prep and Pack Method
Start by washing your cucumbers thoroughly under cold water. Trim the blossom end (the non-stem end) by about 1/4 inch—this removes enzymes that can cause softening. Pack jars tightly but not so tight you crush the cucumbers. You want them snug enough to stay submerged in brine but loose enough that the brine can circulate.
Lay cucumbers lengthwise in the jar or pack them standing upright, depending on your jar size. Fill the jar with hot brine, leaving 1/2 inch of headspace at the top. This is crucial—too much headspace and your seal might fail; too little and brine can escape during processing. Use a bubble remover tool to run around the inside of the jar, releasing any trapped air pockets.
Wipe the rim of each jar with a clean, damp cloth before applying the lid. Any brine, salt, or food residue on the rim prevents a proper seal. Place the flat lid on the jar, then screw on the band until it’s snug but not tight—you want it finger-tight, meaning you can still turn it with your fingers. If you over-tighten, steam can’t escape during processing, and your seal won’t set properly.
Processing Jars Safely
Fill your canning pot with enough water to cover the jars by 1 to 2 inches. Bring it to a rolling boil before placing jars inside using your jar lifter. For pint jars, process for 10 minutes; for quart jars, process for 15 minutes. These times assume you’re at sea level; if you’re at higher elevation, add processing time according to USDA canning guidelines.
Keep the water at a rolling boil the entire time. If it drops below a boil, start your timer over. This isn’t about being overly cautious—it’s about ensuring the contents reach the right temperature to kill any botulism spores. Once the timer goes off, remove jars carefully with your jar lifter and place them on a clean kitchen towel, spacing them a few inches apart. Don’t tighten the bands or move the jars around.
Cooling and Storage
Let your jars cool completely at room temperature—this usually takes 12 to 24 hours. During this time, you’ll hear a satisfying “pop” as each jar seals. That sound means the flat lid has pulled down and created an airtight seal. Once cooled, check your seals by pressing the center of each lid. A properly sealed lid won’t flex or make noise.
Remove the screw bands and store your jars in a cool, dark place—a pantry, basement, or cupboard works great. Properly canned pickles will keep for at least a year, though they’re best eaten within 6 to 8 months for peak crispness and flavor. If a jar didn’t seal, refrigerate it immediately and eat those pickles within a few weeks, or reprocess the jar with a new lid.
Troubleshooting Common Issues
Soft or mushy pickles usually mean you didn’t use fresh enough cucumbers or didn’t trim the blossom end. They can also result from processing at too high a temperature or for too long. Stick to the recipe and use the freshest cucumbers you can find.

Cloudy brine happens when you use table salt or if minerals in your water are high. Switch to pickling salt and consider using filtered water. It doesn’t affect safety or taste, just appearance. Hollow pickles (where the inside is soft but the outside is firm) indicate old cucumbers or a delay between harvesting and canning. Always process within 24 hours of picking.
Failed seals are frustrating but fixable. Check that you’re wiping rims properly, leaving the right headspace, and not over-tightening bands. If seals consistently fail, your lids might be old or defective—replace them. If you’re canning at high altitude, you must add extra processing time, or your jars won’t reach the proper temperature.
Frequently Asked Questions
Can I use regular vinegar instead of white vinegar?
White vinegar is preferred because its 5% acidity is reliable and won’t discolor your pickles. Apple cider vinegar works but will darken them slightly and add sweetness. Never use vinegar with unknown acidity—the pH must be low enough to prevent botulism.
How long before pickles are ready to eat?
Technically they’re safe immediately after sealing, but flavors develop over 3 to 4 weeks. Wait at least two weeks before opening a jar for the best taste and crispness. The longer they sit, the more complex the flavor becomes.
Do I need special equipment to can pickles?
You need a large pot, canning jars, lids, and a jar lifter. These are inexpensive and available at any grocery store or online. A proper canning pot with a rack is worth the investment, but you can improvise with a large pot and a towel on the bottom if necessary.
What’s the difference between water bath and pressure canning?
Pickles use water bath canning because the high acidity (from vinegar) makes them shelf-stable at boiling temperature. Pressure canning is for low-acid foods like vegetables and meats. Stick with water bath for pickles.
Can I reuse canning lids?
No. The seal compound on flat lids is designed for one-time use. Reusing them significantly increases seal failure. Screw bands can be reused indefinitely if they’re not bent or rusty.
Final Thoughts
Canning pickles is one of those skills that feels intimidating until you do it once. After that first successful batch, you’ll wonder why you waited so long. The process is straightforward, the results are delicious, and you’ll have shelf-stable pickles that beat anything from a store shelf. Keep your cucumbers fresh, follow the brine formula, and don’t skip the processing step—that’s where the safety magic happens.
Start with a basic dill recipe, then branch out into spicy versions or garlic-heavy batches. Pair your homemade pickles with avocado mayo for sandwiches, serve them alongside steamed asparagus at dinner, or gift jars to friends who’ll appreciate the effort. Once you’ve mastered this canning pickles recipe, you’ll be ready to tackle other preservation projects like apple butter or other seasonal recipes. The skills transfer, and your pantry will thank you.


