
A buttery nipple recipe is one of the easiest and most popular shot recipes you can make at home—requiring just three simple ingredients and about 30 seconds of your time. Whether you’re hosting a party, tending bar, or just want to impress friends with a smooth, creamy shot, this guide walks you through everything you need to know to nail it every single time.
Table of Contents
What Is a Buttery Nipple?
The buttery nipple is a layered shot that combines three complementary flavors into one smooth, dessert-like experience. It’s creamy, sweet, and goes down easy—which is exactly why it’s been a party staple for decades. The name might catch some eyes at the bar, but the taste is pure comfort in a shot glass.
This isn’t a complex cocktail that requires a bartender’s degree. It’s straightforward, forgiving, and delivers consistent results whether you’re making one or a dozen. The beauty of this shot lies in its simplicity: three ingredients, proper layering technique, and you’re done.
Ingredients You Need
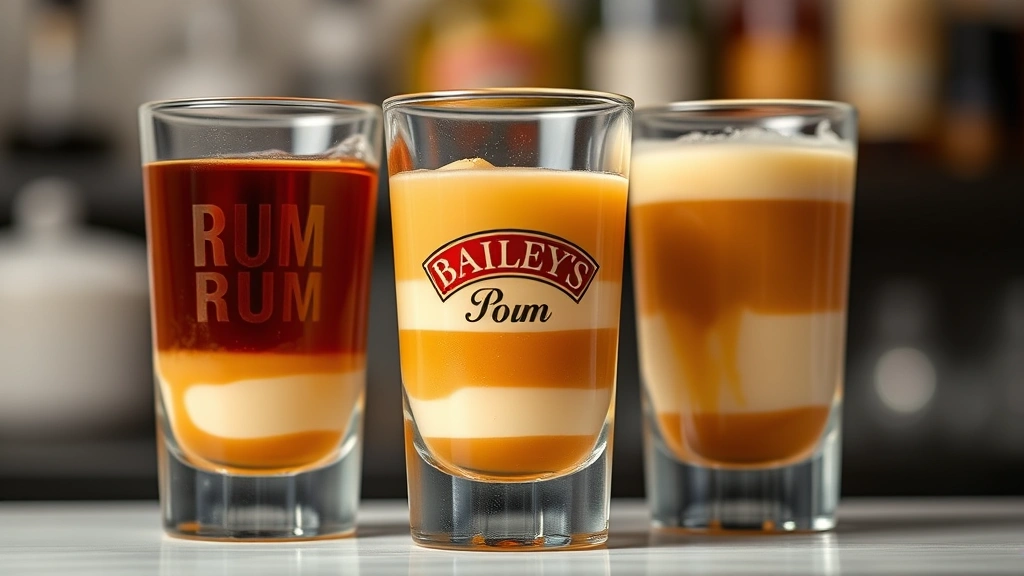
Here’s what goes into a classic buttery nipple recipe:
- Butterscotch Schnapps (0.5 oz) – The foundation and star ingredient
- Bailey’s Irish Cream (0.5 oz) – Adds richness and creaminess
- Rum (0.5 oz) – Typically light or dark rum, depending on preference
That’s it. No fancy bitters, no obscure liqueurs, no molecular gastronomy. The reason these three work so well together is that butterscotch schnapps and Bailey’s are naturally complementary—they’re both sweet and creamy—while rum ties everything together with a subtle warmth.
If you’re making Bailey’s drink recipes regularly, you’ll already have the Irish cream on hand. Same goes if you stock bourbon cocktail recipes for other occasions.
Step-by-Step Guide
What you’ll need: A shot glass, a bar spoon or regular spoon, and your three liqueurs.
The process:
- Pour the rum first. Add 0.5 oz of rum to the bottom of your shot glass. This is your base layer.
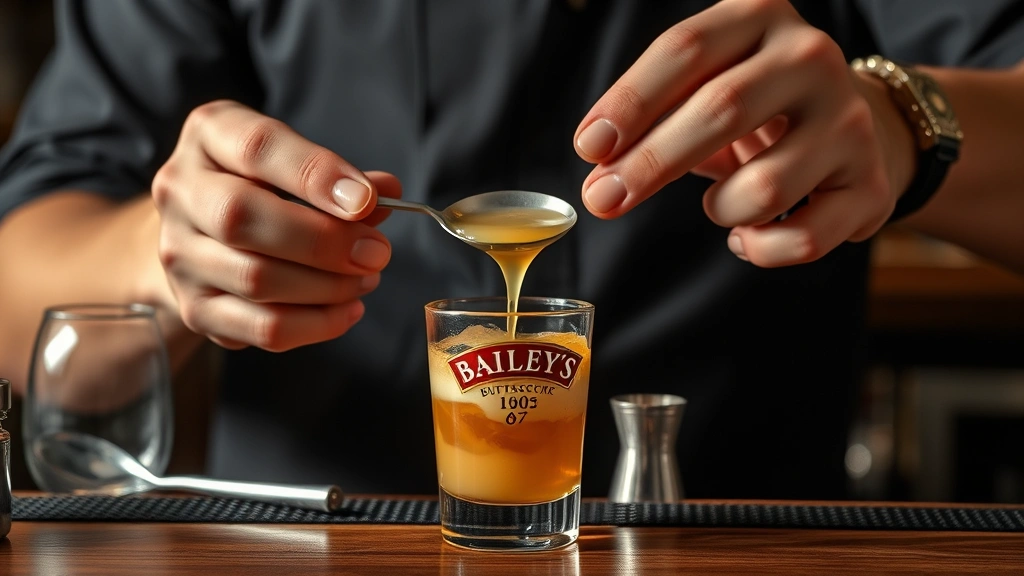
- Layer the Bailey’s. Here’s where technique matters. Pour the Bailey’s slowly over the back of a bar spoon so it floats on top of the rum rather than sinking straight down. The spoon slows the pour and creates separation between layers.
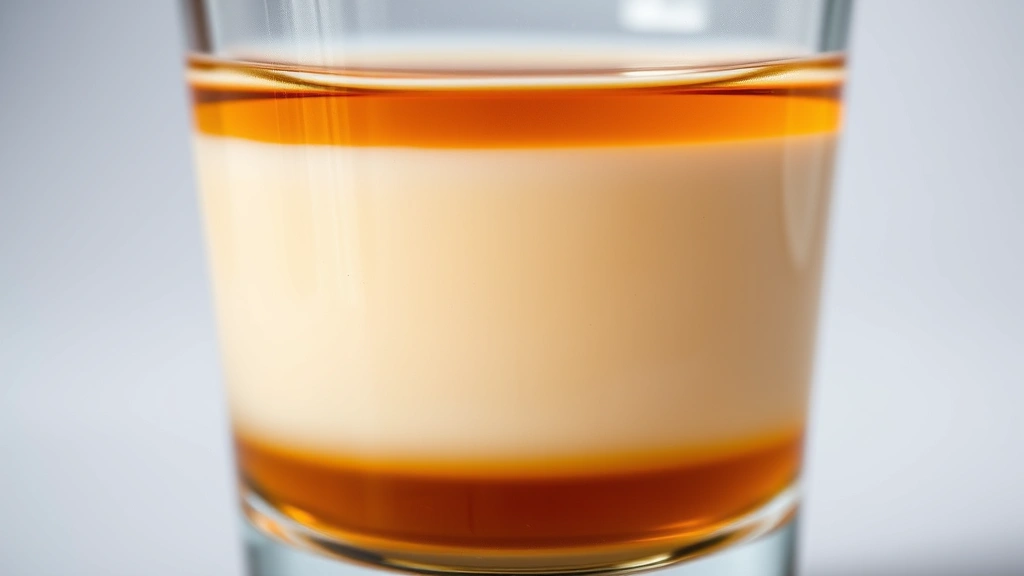
- Top with butterscotch schnapps. Using the same spoon technique, carefully layer the butterscotch schnapps on top. You should now have three distinct layers: rum (bottom), Bailey’s (middle), butterscotch (top).
- Shoot it straight or sip it slow. Some people take it as a quick shot; others prefer to sip it and taste each layer. Both work fine.
The entire process takes about 30 seconds. The hardest part is the layering—and even that becomes second nature after a couple of attempts.
Measuring Like a Pro
Precision matters here, especially if you’re making multiple shots. A standard shot glass holds 1.5 oz total, so dividing it into three 0.5 oz portions is the sweet spot. Here’s how to measure accurately:
- Use a jigger. A standard jigger has a 0.5 oz side (the smaller end). This is your friend. Pour into the jigger, then pour into the glass. Repeat three times.
- No jigger? Use the shot glass itself as a guide. Fill it to the one-third mark for each ingredient. Not perfect, but it works.
- Be consistent. If you’re making multiple shots, measure the same way each time. Your guests will notice if one shot is noticeably stronger or weaker than another.
Don’t eyeball it. Just don’t. Measuring takes 10 extra seconds and ensures every shot tastes the same.
Common Mistakes to Avoid
Pouring too fast: If you dump the Bailey’s and schnapps straight in without using a spoon, they’ll mix with the rum and you’ll lose the layered effect. Slow and steady wins here.
Using warm liqueurs: Cold liqueurs layer better than warm ones. Keep your bottles in the freezer for at least an hour before making shots. The density difference is more pronounced when everything is cold.
Wrong order: Some recipes reverse the order (butterscotch first, rum last), but the classic calls for rum on the bottom. Know which version you’re going for and stick with it.
Overfilling the glass: If you pour more than 0.5 oz per ingredient, the shot will be too full and the layers will blend together. Measure and respect the glass capacity.
Using the wrong rum: Spiced rum can overpower the butterscotch and Bailey’s. Stick with light rum or a neutral dark rum. Avoid flavored varieties unless you’re intentionally experimenting.
Variations and Tweaks
Once you’ve mastered the classic, here are some fun twists:
The Buttery Nipple Martini: Make the shot but pour it into a chilled martini glass instead. It’s the same flavors, presented differently. Great for sipping.
Swap the rum: Vodka works instead of rum if you want a lighter, cleaner taste. Bourbon adds a spicy kick (check out bourbon cocktail recipes for inspiration on other bourbon-based shots).
Add depth: A tiny splash of vanilla extract or almond liqueur can add complexity without changing the core identity.
Temperature play: Some people chill the shot glasses in the freezer beforehand. Others serve it at room temperature. Cold is more refreshing; room temp is smoother on the palate.
Serving Tips & Tricks
For parties: Pre-chill your shot glasses. Set up a small station with your three liqueurs, a jigger, and a spoon. People can make their own or you can batch them out. Making 6-8 at once is totally doable if you have the space and glasses.
For bars or events: Keep your butterscotch schnapps and Bailey’s in the freezer. Rum can stay at room temperature. This way, you’re not wasting time chilling glasses—the liqueurs are already cold.
Garnish (optional): Some bars rim the glass with a tiny bit of cinnamon or cocoa powder. It’s purely visual, but it looks professional. A single butterscotch candy placed on the rim is another fun touch.
Timing: Make shots right before serving. They don’t improve with time, and the layers can start to blend if they sit for more than a minute or two.
Storage and Prep
All three ingredients are shelf-stable spirits, so storage is straightforward:
- Butterscotch schnapps: Lasts indefinitely in a cool, dark cupboard. Freezer storage is fine too and actually improves the layering.
- Bailey’s Irish Cream: Best consumed within two years of opening, though it lasts much longer. Keep it cool and upright.
- Rum: Indefinite shelf life. Light or dark, doesn’t matter—both store the same way.
If you’re prepping for a party, measure out your ingredients into small bottles or containers the day before. Label them clearly. On party day, you’re just pouring and layering—no hunting for bottles.
Frequently Asked Questions
Can I make a buttery nipple recipe without Bailey’s?
Technically, yes, but it won’t be the same. Bailey’s provides the creamy texture that defines the shot. You could substitute with another Irish cream liqueur, but the flavor profile will shift. Not recommended unless you have no other option.
What’s the best rum to use?
Light rum (like Bacardi) is the classic choice because it’s neutral and doesn’t compete with the butterscotch and cream. Dark rum (like Myers’s) works too if you want a slightly richer taste. Avoid spiced rum—it’s too aggressive for this shot.
Can I make a large batch ahead of time?
Not really. The layers will blend if it sits for more than a minute or two. Make them fresh, one at a time or in small batches. It’s part of the fun anyway.
Is this shot strong?
Each shot is 1.5 oz of 40-proof liqueur (roughly), so yes, it packs a punch despite tasting sweet and creamy. Don’t let the smooth flavor fool you. Drink responsibly.
Why won’t my layers stay separated?
Your liqueurs aren’t cold enough, or you’re pouring too fast. Freeze everything for at least an hour, use a spoon to slow the pour, and be patient. The layers will form if you give them a chance.
Can I use a different schnapps flavor?
Sure. Cinnamon schnapps, vanilla schnapps, or even peach schnapps will work. The shot will taste different, but the technique remains the same. Experiment and find your favorite.
Final Thoughts
The buttery nipple recipe is proof that you don’t need complicated ingredients or advanced techniques to make something delicious. Three ingredients, one spoon, and 30 seconds of your time deliver a smooth, creamy shot that works at parties, bars, or just when you want something sweet and easy.
Master the layering technique, keep your liqueurs cold, and measure consistently. Once you’ve got the basics down, feel free to experiment with variations. The foundation is solid enough to support tweaks without losing what makes this shot special.
Whether you’re a seasoned home bartender or just starting out, this is one recipe worth knowing. It’s simple, reliable, and always gets a smile. Now grab your shot glass, chill your bottles, and get pouring.


