
A boston butt recipe is your ticket to pulled pork perfection, and honestly, it’s way easier than you’d think. This cut of pork—which actually comes from the shoulder, not the rear—transforms into fall-apart-tender meat with minimal fussing around. Whether you’re smoking it low and slow, braising it in the oven, or throwing it in a slow cooker, you’re going to end up with something spectacular. Let me walk you through everything I’ve learned from years of making this dish.
Table of Contents
Choosing the Right Cut
First things first: you need a boston butt, which is the upper shoulder portion of the pig. Look for one that weighs between 6 and 10 pounds—that sweet spot gives you enough fat marbling to stay juicy without being unwieldy. The fat is your friend here. It renders down during cooking and keeps everything moist. Don’t grab the leanest piece you see; that’s a rookie mistake that leads to dry, disappointing results.
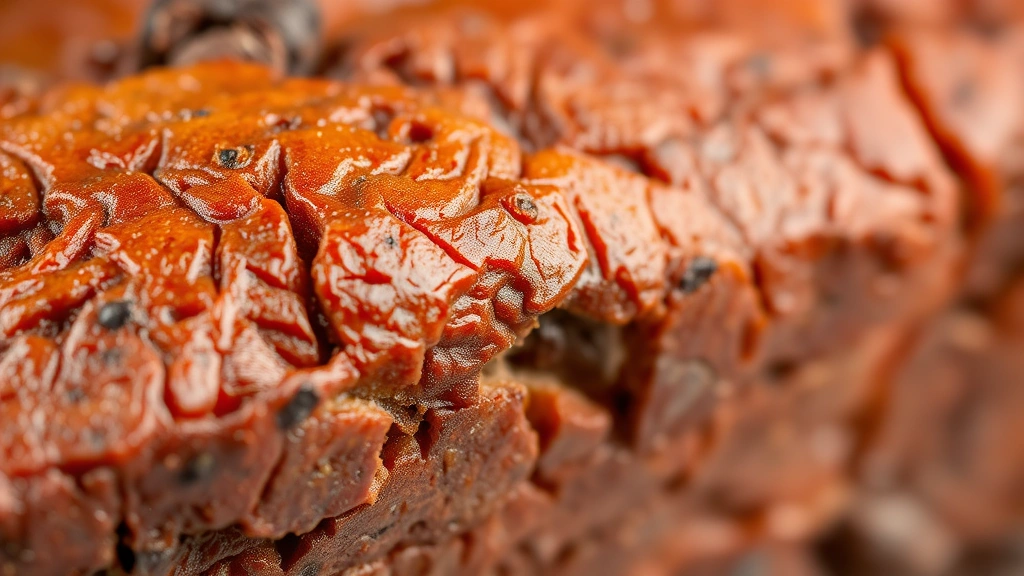
When you’re at the butcher counter, ask them to score the skin or fat cap in a crosshatch pattern. This helps your rub penetrate deeper and creates better bark—that flavorful, crispy exterior everyone loves.
Prep Work Matters
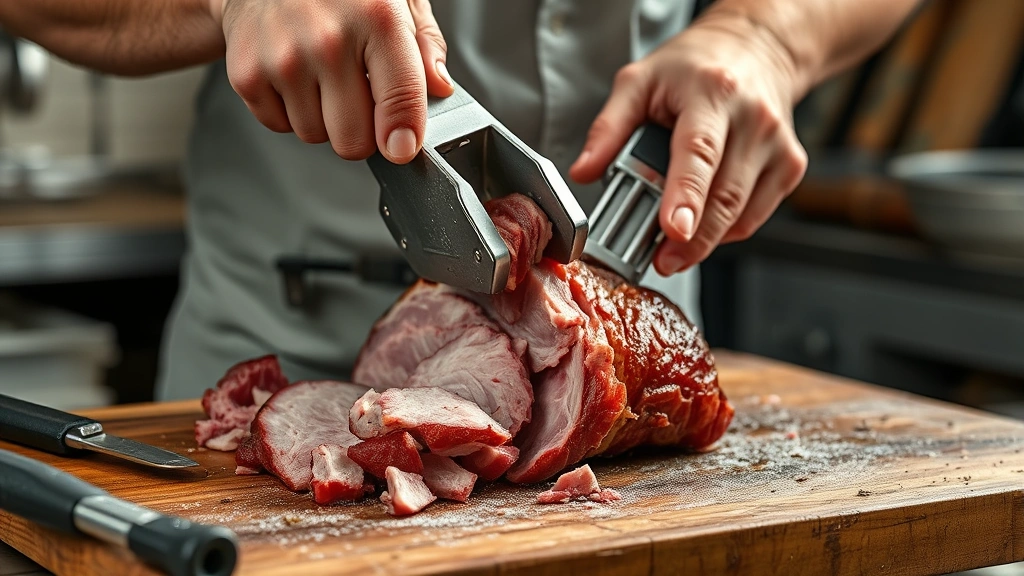
Take your boston butt out of the fridge about an hour before cooking. Room temperature meat cooks more evenly. While it’s coming up to temp, trim any loose pieces but leave that fat cap intact. Some people trim it down to a quarter-inch; others leave it thicker. I go with about half an inch—enough protection without being excessive.
Pat it completely dry with paper towels. This is crucial for bark development. Moisture is the enemy of that crispy exterior you’re after. Don’t skip this step.
Rub & Seasoning Blend
Your dry rub is where personality comes in. Here’s my go-to blend that never fails:
- 3 tablespoons brown sugar
- 2 tablespoons paprika (smoked or regular)
- 1 tablespoon garlic powder
- 1 tablespoon onion powder
- 1 tablespoon black pepper
- 2 teaspoons kosher salt
- 1 teaspoon cayenne (optional, for heat)
- ½ teaspoon cumin
Mix everything together and massage it all over the meat, getting into every crevice. Don’t be shy—this is your flavor foundation. Some folks like to apply the rub the night before and let it sit in the fridge. I’ve done it both ways, and honestly, a couple hours is fine if that’s all the time you have.
Smoking Method
If you’ve got a smoker, this is the gold standard. Set your smoker to 225-250°F. Use a mix of hardwoods—hickory and oak work beautifully, or try apple for something milder. Place the boston butt fat-side up on the grates.
Plan on roughly 1.5 to 2 hours per pound at 225°F. So a 8-pound butt takes about 12-16 hours. Yeah, it’s a commitment. I usually start mine at 10 PM and it’s ready by mid-afternoon the next day.
Around the 4-hour mark, if you’re using a water pan, top it off. Maintain steady temperature—this is where a good thermometer becomes your best friend. When the internal temp hits 165°F (about halfway through), you can wrap it in foil to speed things up and lock in moisture. Some folks call this the “Texas crutch.”
The pork is done when it reaches 203-205°F internal temperature and a fork slides through like butter. Don’t trust time; trust temperature.
Oven Braising Approach
No smoker? No problem. This method works beautifully. Preheat your oven to 300°F. Place your rubbed boston butt in a large Dutch oven or roasting pan, fat-side up. Add about 2 cups of liquid to the bottom—apple cider, beer, or broth all work great.
Cover tightly with foil or a lid and braise for about 3-4 hours, depending on size. Check it halfway through; the liquid should be gently simmering, not boiling. When a fork tears through the meat easily and the internal temp hits 203°F, you’re golden.
The braising liquid becomes your basting sauce. Some folks reserve it to make a finishing sauce. That’s smart—it’s packed with flavor.
Slow Cooker Option
For maximum convenience, use a slow cooker. Trim your boston butt to fit (or ask the butcher to cut it), rub it, and place it in the cooker with about 1 cup of liquid. Cook on low for 8-10 hours or high for 5-6 hours.
The downside: you won’t get bark. The upside: it’s incredibly tender and requires zero monitoring. Perfect for weekday dinners. You can brown the meat briefly in a hot pan before shredding if you want some textural contrast.
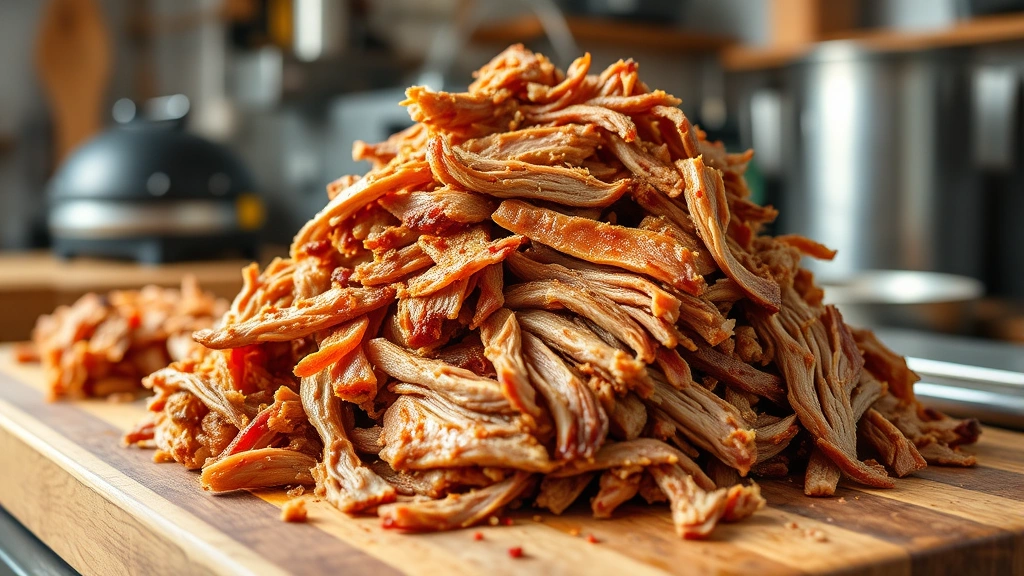
Pulling & Shredding
Once your boston butt hits temperature, let it rest for 10-15 minutes. This lets the juices redistribute. Then, using two forks or meat shredders, pull the meat apart. It should fall apart with minimal effort. If it’s tough, it needs more time.
As you shred, discard any large chunks of fat, but don’t go crazy removing every bit. Some fat mixed in keeps things moist and flavorful. Toss the shredded meat with some of the braising liquid or a finishing sauce to keep it from drying out.
Serving Ideas
Pulled pork is ridiculously versatile. Serve it on a soft bun with coleslaw and pickles for classic pulled pork sandwiches. Pile it on nachos. Mix it into tacos. Top a baked potato. Use it in complementary dishes for a full meal. Some folks even use it as a protein base for salads.
A good finishing sauce elevates everything. Mix ketchup, apple cider vinegar, brown sugar, and a pinch of cayenne for a tangy-sweet sauce that complements the meat perfectly. Or go mustard-based if that’s your style.
Troubleshooting Common Issues
Meat is dry: You either cooked it too hot or pulled it from heat too early. Boston butt is forgiving, but overcooking happens. Stick to 203-205°F and don’t go higher. Also, make sure you’re not trimming away all the fat.
Bark isn’t forming: Your heat might be too low, or you didn’t dry the surface well enough. Increase temperature slightly (don’t exceed 275°F though) and ensure the meat is completely dry before cooking.
For more cooking technique guidance, check out resources from Family Handyman and This Old House for their detailed cooking guides.
Meat is tough: Temperature is everything. If it stalls around 150-160°F (which happens), wrap it and keep going. Don’t pull it before 203°F.
Frequently Asked Questions
How long does a boston butt recipe take?
Smoking takes 12-16 hours for an 8-pound butt at 225°F. Oven braising takes 3-4 hours at 300°F. Slow cooking takes 8-10 hours on low. Plan accordingly.
Can I make it ahead?
Absolutely. Cook it, shred it, and refrigerate for up to 4 days. Reheat gently with a splash of liquid to restore moisture. You can also freeze it for up to 3 months.
What’s the difference between boston butt and pork shoulder?
Boston butt is the upper shoulder; picnic shoulder is the lower part. Boston butt has better fat distribution and is preferred for pulled pork. They’re similar cuts, but boston butt is more consistent.
Do I need to inject the meat?
Not necessary if you’re keeping the fat cap and using a good rub. Injections help lean cuts, but boston butt’s marbling keeps it moist naturally. That said, some folks swear by injections—it won’t hurt.
What wood should I use for smoking?
Hickory, oak, apple, and cherry all work. Avoid softwoods like pine. A mix of hickory and oak gives you classic BBQ flavor. Apple is milder and slightly sweet.
Can I cook it at higher temperatures?
You can go up to 275°F if you’re in a time crunch, but you’ll sacrifice bark quality. Stick with 225-250°F for best results. Low and slow is the mantra here.
How do I know when it’s done?
Internal temperature of 203-205°F is your target. A fork or toothpick should slide through with zero resistance. Don’t rely on time alone.
Final Thoughts
Making a boston butt recipe is one of those cooking projects that seems intimidating until you actually do it. Then you realize it’s mostly just showing up and letting time and heat do the work. Pick your method—smoking for that authentic bark, oven braising for convenience, or slow cooking for set-it-and-forget-it simplicity. Any approach yields incredible results.
The key is respecting the temperature, not trimming away all the fat, and giving it enough time. Rush it, and you’ll be disappointed. Give it patience, and you’ll have some of the best pulled pork you’ve ever tasted. Plus, your house smells amazing the whole time.
For additional cooking inspiration and techniques, check out Bob Vila’s cooking guides. And if you want to explore other protein recipes, try ahi tuna or learn how long to bake tilapia for variety. You can even round out your meal with fresh sides like apple slices to prevent browning.


