
A blackberry jelly recipe doesn’t need fancy ingredients or complicated techniques—just ripe berries, sugar, and a little patience. I’ve been making this stuff for years, and honestly, it’s one of the easiest preserves you can tackle in your kitchen. No pectin required, no special equipment beyond what you probably already have. Just fresh blackberries, heat, and time to create something that tastes like summer in a jar.
Table of Contents
Gather Your Ingredients
The beauty of this blackberry jelly recipe is the ingredient list—it’s short and straightforward. You’ll need about 4 pounds of fresh blackberries, 3 cups of granulated sugar, and 2 tablespoons of fresh lemon juice. That’s it. No pectin, no fancy additives. The natural pectin in blackberries will do the heavy lifting for you. Some folks add a pinch of salt to enhance flavor, and I’m not opposed to that either. Just have these basics ready before you start, and you’re already halfway there.
Select Ripe Blackberries
This step makes or breaks your final product. You want berries that are deep black, fully ripe, and slightly soft to the touch. Underripe berries won’t have enough natural pectin or flavor. Overripe ones can get mushy and lose their vibrant taste. Pick through your berries and discard any that are moldy, crushed, or obviously past their prime. If you’re buying from a farmers market, grab them the day before you plan to cook. Room temperature storage overnight actually helps develop better flavor.
Prepare Berries for Cooking
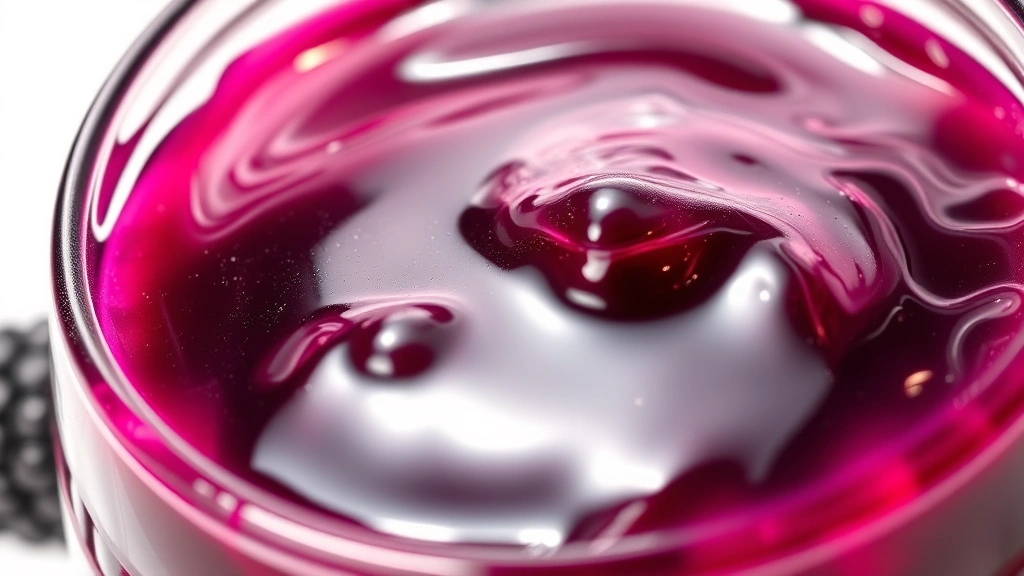
Rinse your blackberries gently under cool water and let them drain well in a colander. Don’t soak them—just a quick rinse. Pat them dry with a clean kitchen towel. Pick through once more and remove any stems or leaves. Now crush the berries slightly in a large, heavy-bottomed pot. You’re not making smoothie texture here; just break them down enough to release their juices. This is where you’ll add your lemon juice as well. The acid helps preserve the jelly and brings out the berry flavor beautifully.
Cook Down the Mixture
Add your sugar to the crushed berries and stir well to combine. Place the pot over medium-high heat and bring the mixture to a rolling boil, stirring frequently to prevent scorching on the bottom. Once it’s boiling, you can reduce heat slightly—you want a vigorous boil, not a gentle simmer. This is where the magic happens. The berries break down completely, the sugar dissolves, and the mixture thickens as water evaporates. This usually takes 30 to 45 minutes depending on your pot size and heat level. Stir occasionally and skim off any foam that rises to the top with a clean spoon.
Test for Jelly Set
Here’s the trick nobody tells you: use the wrinkle test. About 30 minutes in, place a small plate in your freezer. When you think the jelly might be ready, drop a small spoonful onto that cold plate and let it sit for a minute. Push it with your finger—if it wrinkles and doesn’t flow back together, you’ve hit the gel point. If it’s still runny, keep cooking and test again in 5 minutes. Don’t skip this step. Overcooked jelly becomes rubbery; undercooked stays syrupy. The wrinkle test never lies.
Sterilize Your Jars
While your jelly cooks, get your jars ready. You’ll need about 5 to 6 half-pint jars depending on your yield. Wash them in hot soapy water and rinse thoroughly. Place clean jars and lids in a large pot of boiling water for 10 minutes to sterilize. Use tongs to remove them carefully and set them on a clean kitchen towel. Keep them warm—you don’t want to pour hot jelly into cold jars as they can crack. This is basic food safety, and it’s non-negotiable if you want your preserves to last.

Fill and Seal Jars
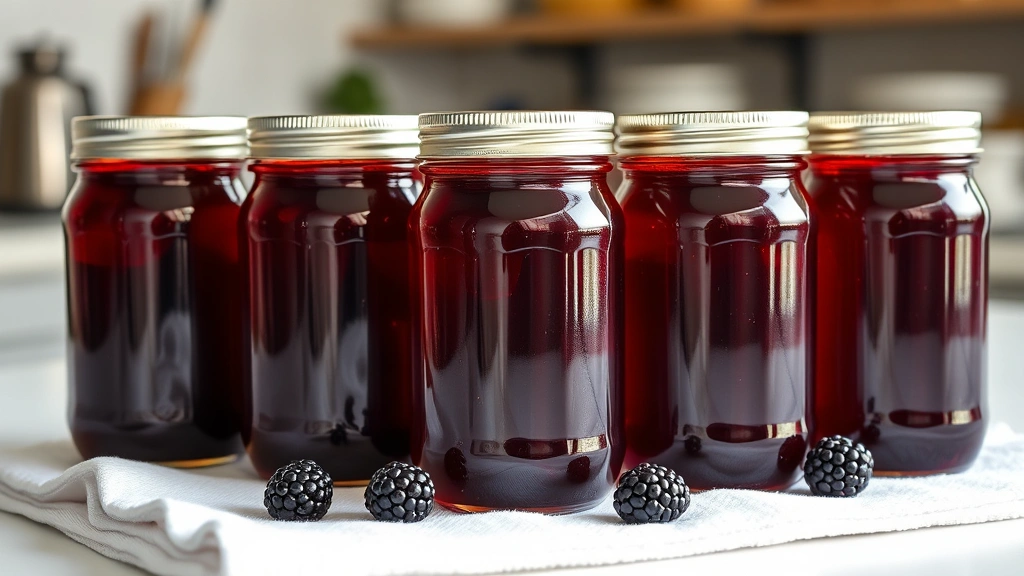
Once your jelly has passed the wrinkle test, remove it from heat and let it cool for just 2 to 3 minutes. Using a clean ladle and a funnel, pour the hot jelly into your warm jars, leaving about 1/4 inch of headspace at the top. Wipe the rim of each jar with a clean, damp cloth to remove any spills. Place the lids on top and screw the bands finger-tight—not wrench-tight. Place the filled jars back into your hot water bath for 5 minutes to seal. You’ll hear a satisfying pop as each jar cools and the seal forms. That pop means success.
Storage and Shelf Life
Let your jars cool completely at room temperature, which usually takes 12 to 24 hours. Don’t move them around or disturb them during this time. Once cooled, check that each lid has sealed by pressing the center—it should be slightly concave and not flex. Store sealed jars in a cool, dark place like a pantry or cupboard. Properly sealed blackberry jelly will keep for up to a year, though it rarely lasts that long in my house. If a jar doesn’t seal, refrigerate it and use within a few weeks. You can also reference our guide on how to wash eggs for other food prep basics.
Troubleshooting Common Issues
If your jelly turns out too runny, you undercooked it. You can actually recook it—pour it back into your pot, bring it to a boil again, and test more frequently. If it’s too thick or rubbery, you overcooked it. There’s no real fix for that one, but it still tastes great on toast or swirled into yogurt. If you see crystallization forming, that’s usually from too much sugar or temperature fluctuations during storage. It doesn’t affect taste, just appearance. If mold appears on a sealed jar, that jar wasn’t properly sterilized or sealed—discard it and be more careful next time. These are learning moments, not failures.
Frequently Asked Questions
Can I use frozen blackberries for this recipe?
Yes, absolutely. Thaw them completely and drain off excess liquid before using. Frozen berries actually have slightly broken cell walls, so they cook down faster. The final jelly quality is nearly identical to fresh berries.
Why is my jelly cloudy instead of clear?
Cloudiness usually comes from pulp particles. For clearer jelly, strain the cooked mixture through cheesecloth or a fine-mesh strainer before jarring. This takes longer but gives you that jewel-like transparency.
How much jelly does this recipe make?
You’ll typically get 5 to 6 half-pint jars, or about 2.5 to 3 cups of finished jelly. Yield varies based on how long you cook it and how much water content your berries had.
Can I reduce the sugar in this recipe?
You can reduce it slightly—maybe to 2.5 cups—but don’t go much lower. Sugar is essential for both flavor and preservation. Too little sugar and your jelly won’t set properly or store as long.
What if I want to add flavors like vanilla or bourbon?
Add them after cooking, just before jarring. Use about 1 teaspoon of vanilla extract or 2 tablespoons of bourbon per batch. Stir well to distribute evenly.
Is it safe to do water bath canning?
Yes, water bath canning is one of the safest preservation methods for high-acid foods like jelly. Just follow proper sterilization and processing times. The USDA has excellent guidelines if you want to dive deeper into food safety.
This blackberry jelly recipe has been a staple in my kitchen for years because it’s simple, reliable, and absolutely delicious. You’re not fighting complicated chemistry or specialty equipment—just working with what nature gave you. Once you nail this basic method, you can experiment with other berries, flavor additions, or even making your kitchen smell amazing while you work. The skills you build here apply to jam-making, marmalade, and all kinds of preserving projects. Start with one batch, taste your success, and you’ll be making this stuff every season.


