
Making an almond paste recipe at home is one of those kitchen moves that feels fancy but honestly takes less time than waiting for your coffee to brew. You need just one ingredient—almonds—and a food processor. That’s it. No weird additives, no mystery oils, just pure almond goodness that’ll transform your baking game.
Table of Contents
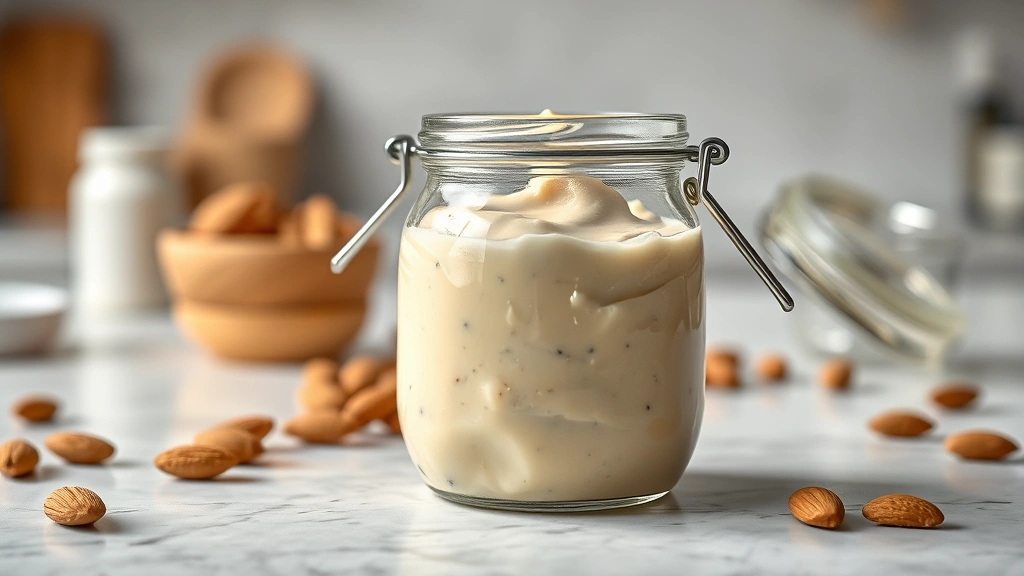
What Is Almond Paste?
Almond paste is ground almonds that’ve been processed into a smooth, spreadable butter-like consistency. Unlike almond butter (which is more oily and runny), almond paste stays thicker and holds its shape better. It’s the secret ingredient in macarons, marzipan, and a ton of European pastries. The texture sits somewhere between chunky peanut butter and cake frosting—dense, rich, and absolutely versatile.
Think of it as the backbone for any baker who wants to add nutty depth without the crunch of whole nuts. It binds, it flavors, it moistens. Professional bakers have been using this stuff for centuries, and now you can skip the $8 jar at the specialty store.
Why Make Homemade Almond Paste
Store-bought almond paste often contains added sugars, oils, and preservatives you don’t need. When you make your own, you control every single ingredient. Plus, homemade tastes fresher and more intensely almond-forward. It’s also way cheaper if you buy almonds in bulk.
The quality difference is real. Commercial versions sometimes use blanched almonds that’ve been sitting in warehouses for months. You’re making yours fresh, which means better flavor and better texture. And honestly? The process is so simple that there’s zero reason not to do it.
Ingredients You Need
This is beautifully straightforward:
- 2 cups raw or blanched almonds (about 10 oz)
- 1-2 tablespoons honey or agave (optional, for sweetness)
- ¼ teaspoon salt (optional, enhances flavor)
That’s genuinely it. Some recipes add almond extract or a splash of almond oil, but those are upgrades, not requirements. The almonds do all the heavy lifting.
If you’re using raw almonds with skins still on, you’ll get a slightly grainier texture with flecks of brown. Blanched almonds (skins removed) create a smoother, whiter paste. Both work—it’s just preference. For baking applications like making edible cookie dough or delicate pastries, blanched almonds are your move.
Step-by-Step Process
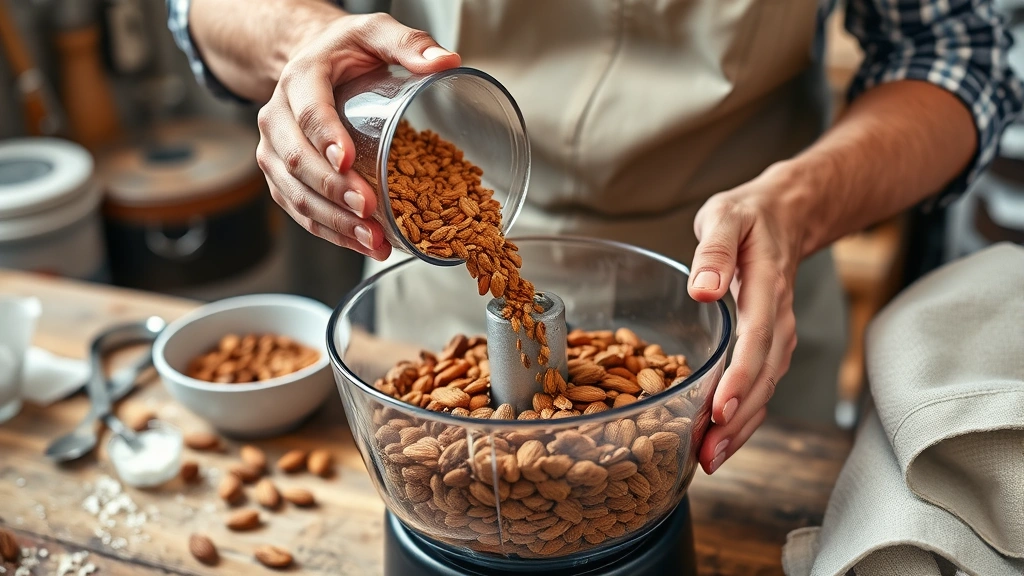
Step 1: Measure and Pour
Dump your 2 cups of almonds into a food processor. Don’t use a blender—food processors have the right blade design and bowl shape for this job. A blender will just spin them around without breaking them down properly.
Step 2: First Pulse Round
Pulse 8-10 times in 2-second bursts. You’re looking to break the almonds into smaller pieces, roughly the size of breadcrumbs. Stop and scrape down the sides with a spatula.
Step 3: Second Pulse Round
Pulse another 8-10 times. Now the almonds should look like coarse flour. Scrape the sides again. This is where patience matters—rushing this step means uneven texture.
Step 4: Continuous Processing
Now run the processor continuously for 5-7 minutes without stopping. This is the magic part. The almonds’ natural oils release, and the mixture transforms from powder into a paste. You’ll see it go from dry, to slightly clumpy, to creamy and smooth. It’ll look almost wet in spots—that’s the oil doing its thing.
Step 5: Add Sweetness (Optional)
If you want sweetened almond paste, drizzle in 1-2 tablespoons of honey or agave during the last minute of processing. Add salt if you’re using it. Pulse a few times to incorporate.
Step 6: Final Check
The paste should be smooth, creamy, and hold together when you squeeze it. It shouldn’t be runny like almond butter, but it shouldn’t be dry and crumbly either. If it’s too thick, add a teaspoon of almond oil or coconut oil and process for 30 more seconds.
Pro Tips & Tricks
Temperature Matters
Almonds release oil faster when they’re slightly warm. If your kitchen is cold, let almonds sit on the counter for 30 minutes before processing. Conversely, if your paste gets too warm (processor heat), stop and let it cool for 5 minutes. Too much heat can make it oily.
Use Blanched for Smooth Results
Blanched almonds (pre-skinned) process into silkier paste. Raw almonds with skins create a grainier texture. For making dalgona cookies or other delicate applications, blanched is worth the extra dollar.
Process in Batches if Needed
If your food processor is small (under 7 cups), make batches. Overfilling means uneven processing and frustration. Better to do two quick batches than one messy attempt.
Don’t Add Liquid Too Early
If you’re adding honey or oil, wait until the last minute. Adding it early makes the almonds clump in wet spots rather than processing evenly.
Taste as You Go
Raw almonds taste slightly different from blanched. Taste a spoonful halfway through to decide if you want to adjust sweetness or salt.
Storage Solutions
Room Temperature
Store in an airtight glass jar at room temperature for up to 2 weeks. The natural oils keep it shelf-stable, but it’s not like commercial versions with preservatives. Use it or lose it within that window.
Refrigerator
In the fridge, almond paste lasts 3-4 weeks. It’ll firm up a bit, but that’s actually great for baking. Just let it come to room temperature before using.
Freezer
Freeze in ice cube trays, then transfer cubes to freezer bags. Each cube is roughly 1 tablespoon. Lasts up to 3 months frozen. Thaw at room temperature for 30 minutes before using.
Pro Storage Hack
Smooth the surface of your paste and press plastic wrap directly onto it before sealing the jar. This reduces oxidation and keeps it fresher longer.
Uses & Applications
Baking
Use almond paste in macarons, marzipan, almond cakes, Danish pastries, and croissant fillings. It adds moisture and structure to baked goods. Most recipes call for 1-2 cups per batch.
Smoothie Booster
Stir a spoonful into smoothies for protein and nutty flavor. Blends better than whole almonds.
Frosting Base
Mix with powdered sugar and butter to create almond buttercream. Perfect for layering cakes or decorating cookies.
Energy Bites
Combine with dates, cocoa powder, and a pinch of salt to roll into no-bake energy balls. Keeps you full for hours.
Pastry Filling
Spread between puff pastry sheets with jam for instant Danish-style pastries. Bake at 375°F for 15-20 minutes until golden.
You can also use it in apple-based desserts or paired with fresh apple slices as a dip.
Troubleshooting Guide
Paste Is Too Grainy
You stopped processing too early. Keep going for another 2-3 minutes. The oils need time to fully release. If it’s already in a jar, re-process it for another 3-5 minutes.
Paste Is Too Oily
You’ve over-processed or the almonds were too warm. This happens. Add a tablespoon of blanched almond flour or powdered sugar and pulse to absorb excess oil. It’ll still work fine in baking.

Paste Won’t Come Together
Raw almonds sometimes need help. Add 1 teaspoon of almond oil or coconut oil and process for 1-2 more minutes. The added fat helps bind everything.
Paste Separated in Storage
This is normal. The heavier solids settle and oil rises. Just stir it back together before using. You can prevent this by storing it upside down—sounds weird, but it works.
Tastes Bitter
You likely used almonds that were already rancid or stored improperly. Always buy fresh almonds from a reliable source. Rancid almonds taste metallic or off—trust your nose.
Frequently Asked Questions
Can I use a blender instead of a food processor?
Technically yes, but it’s not ideal. Blenders have narrower bowls and different blade designs, so you’ll need to stop and stir more frequently. A food processor is really the right tool for this job. If you only have a blender, process in smaller batches and expect it to take longer.
What’s the difference between almond paste and almond butter?
Almond butter is more processed and oilier—it’s spreadable like peanut butter. Almond paste is thicker, less oily, and often slightly sweetened. Almond paste works better for baking because it holds structure. Almond butter is better for spreading on toast.
Do I need to blanch the almonds myself?
Nope. Buy pre-blanched almonds from the grocery store. Blanching at home (boiling then skinning) is tedious and unnecessary. Pre-blanched almonds are cheap and readily available.
Can I make this with other nuts?
Absolutely. Hazelnut paste, walnut paste, pecan paste—same process. Processing times vary slightly depending on oil content. Hazelnuts process fastest, walnuts take a bit longer.
How much almond paste equals one jar from the store?
This recipe makes roughly the equivalent of one 8 oz store-bought jar. If you need more, just double the recipe.
Is homemade almond paste cheaper than store-bought?
Yes, significantly. Bulk almonds cost $6-8 per pound. Store-bought almond paste runs $8-12 for 8 oz. Making it yourself saves money, especially if you bake regularly.
Can I add vanilla or almond extract?
Yes. Add ½ teaspoon of vanilla extract or ¼ teaspoon of almond extract in the final minute of processing. Start small—extracts are potent.
Final Thoughts
An almond paste recipe this simple shouldn’t exist. It breaks the rule that good things take time and effort. Ten minutes, one ingredient (technically), and you’ve got something that’ll elevate your baking immediately. Store-bought versions can’t compete on freshness or flavor, and your wallet will thank you.
The real win here is control. You know exactly what’s in your paste because you made it. No mystery additives, no preservatives, no waiting for a specialty order to arrive. Just almonds, time, and a food processor doing its thing.
Start with one batch. Use it in something simple—cookies, a filling, or straight-up as a dip. Once you taste the difference between homemade and store-bought, you’ll never go back. And at this point, you’ll be making it regularly enough that it becomes just another kitchen skill you don’t think twice about.


