
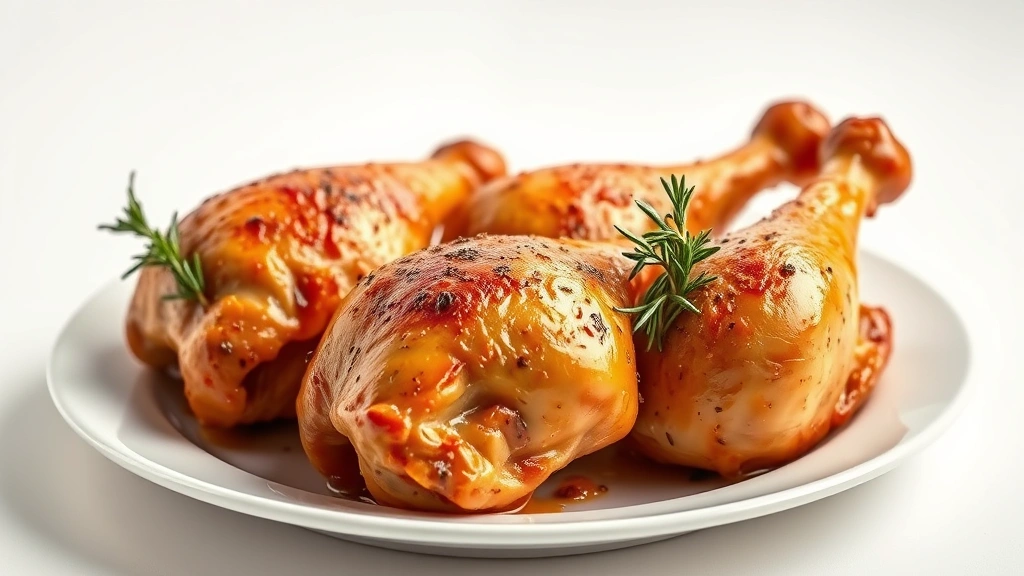
Learning how to cook chicken legs in the oven is one of those kitchen skills that pays dividends every single time you fire up the stove. Whether you’re feeding a crowd or just looking for an easy weeknight dinner, oven-roasted chicken legs deliver crispy skin, tender meat, and foolproof results every time. I’m going to walk you through exactly what I’ve learned from years of cooking these bad boys, and trust me—once you nail this technique, you’ll be making them constantly.
Table of Contents
Prep Your Chicken Legs Right
Before anything else happens, you need to start with clean, dry chicken legs. Pat them down thoroughly with paper towels—and I mean really dry them. Moisture is the enemy of crispy skin, so don’t skip this step. If your chicken legs are cold from the fridge, let them sit on the counter for about 15-20 minutes to bring them closer to room temperature. This ensures more even cooking throughout the meat.
Check the legs for any remaining feathers or quills (it happens more often than you’d think), and trim any excess skin or fat that’s hanging off awkwardly. You want them to look presentable, not raggedy. Pat them dry one more time—seriously, this makes a huge difference in how crispy that skin gets.
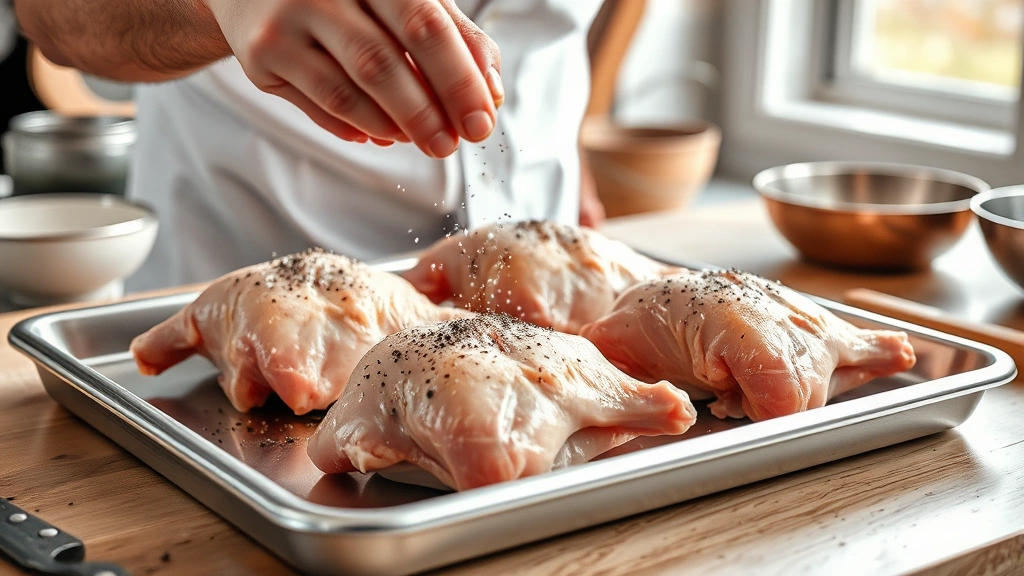
Seasoning Matters More Than You Think
Here’s where most people go wrong: they under-season. Salt and pepper are your foundation, but don’t be timid. Season generously on both sides, getting into all the crevices and under the skin if you can. I typically use about 1 teaspoon of kosher salt and ½ teaspoon of black pepper per 2-3 legs. If you want to explore beyond basic seasoning, check out our blackened seasoning recipe for a more adventurous approach.
Garlic powder, paprika, and dried thyme are excellent additions that don’t require extra prep. Mix these into your salt and pepper blend before applying. The beauty of cooking chicken legs in the oven is that you can customize the flavor profile to match whatever you’re serving alongside them. Fresh herbs like rosemary sprigs placed directly on the legs add aroma and subtle flavor during cooking.
Oven Temperature & Timing
Set your oven to 425°F (220°C). This temperature is the sweet spot for getting crispy skin while ensuring the meat inside cooks through without drying out. Preheat your oven for at least 10 minutes—don’t skip this either. A properly preheated oven is crucial for that initial sear that creates crispy skin.
Cooking time typically runs 35-45 minutes depending on the size of your legs. Smaller legs might be done in 35 minutes, while larger, meatier legs could need the full 45. The key is not relying on time alone—use a meat thermometer to verify doneness. The internal temperature at the thickest part of the thigh (without touching bone) should reach 165°F (74°C).
Achieving That Crispy Skin
The secret to genuinely crispy skin comes down to three factors: dry chicken, high heat, and proper spacing on the pan. Arrange your legs skin-side up on a baking sheet lined with foil or parchment paper. Don’t crowd them—they need space around each leg so air circulates. If legs are touching, they’ll steam instead of roast, and you’ll lose that crispiness you’re after.
Drizzle lightly with olive oil (about ½ teaspoon per leg) and rub it over the skin. This helps the skin brown and crisp up beautifully. If you want extra insurance on the crispiness factor, you can increase the oven temperature to 450°F for the last 10 minutes of cooking, but watch carefully so the skin doesn’t burn.
Proven Cooking Techniques
I’ve tested several approaches, and here’s what actually works. The standard method is straightforward: season, arrange on a sheet pan, roast at 425°F until done. This works great for everyday cooking. For a slightly more advanced technique, start at 425°F for 30 minutes, then increase to 450°F for the final 10-15 minutes. This gives you a head start on cooking the meat while finishing with maximum skin crispiness.
Another proven method involves a two-pan approach: roast on a lower rack at 400°F for 30 minutes, then move to an upper rack at 450°F for 10-15 minutes. The lower position cooks the meat gently, while the upper position blasts the skin with direct heat. If you’re making multiple proteins, you might also explore how long to cook pork tenderloin for side-by-side meal prep.
Checking for Doneness
A meat thermometer is your best friend here. Insert it into the thickest part of the thigh without touching bone, and look for 165°F. If you don’t have a thermometer, pierce the thickest part of the thigh with a fork or knife—the juices should run clear, not pink. The meat should also pull away slightly from the bone.
Don’t rely solely on color—sometimes the skin browns faster than the meat cooks through, especially with larger legs. That’s why the thermometer check is non-negotiable. Once you hit 165°F internal temperature, you’re done. Going beyond that risks drying out the meat, so pull them out as soon as they hit that target.
Why Resting Is Non-Negotiable
This step separates good chicken from great chicken. Once you pull the legs from the oven, let them rest for 5-10 minutes before serving. During this resting period, the juices redistribute throughout the meat, keeping everything moist and tender. If you cut into them immediately, all those juices run out onto the plate instead of staying in the meat.
Tent the resting chicken loosely with foil to keep it warm without trapping steam that would soften the skin. Five minutes minimum is fine for smaller legs, but 10 minutes is ideal if you have the time. Your patience pays off in texture and flavor.
Flavor Variations Worth Trying
Once you master the basic technique, variations open up naturally. Try Asian-inspired flavors by mixing soy sauce, ginger, and garlic into your oil before brushing on the legs. Mediterranean style calls for lemon juice, oregano, and olive oil. Spicy lovers should check out our hot sauce recipes for finishing sauces that pair perfectly with roasted chicken legs.
Barbecue-style is another winner—brush with your favorite BBQ sauce during the last 10 minutes of cooking. Cajun seasoning, Italian herbs, or even a simple honey-mustard glaze all work beautifully. The key is applying heavier sauces toward the end of cooking so they don’t burn.
Common Mistakes to Avoid
The biggest mistake is wet chicken going into the oven. Seriously, dry those legs. The second mistake is overcrowding the pan—give each leg breathing room. Third is not seasoning enough. Fourth is using an oven temperature that’s too low, which results in pale, flabby skin instead of crispy skin.
Don’t flip the legs constantly either. Set them skin-side up and leave them alone. Flipping disrupts the browning process and extends cooking time unnecessarily. And don’t skip the resting period—I know it’s tempting when they smell amazing, but those five minutes are essential. Finally, avoid opening the oven door repeatedly to check on them. Every time you open it, heat escapes and cooking time extends.
Storage & Leftover Ideas
Cooked chicken legs keep in the refrigerator for 3-4 days in an airtight container. They’re fantastic cold the next day as a protein for salads or grain bowls. Shred the meat off the bone and use it in tacos, sandwiches, or soup. You can also reheat them gently in a 325°F oven for 10-15 minutes to restore some of that crispy skin texture.
Freeze leftover cooked legs for up to 3 months. Wrap them individually in plastic wrap, then place in a freezer bag. Thaw overnight in the refrigerator before reheating. If you’re looking for companion dishes, our grandma approved dinner recipes has plenty of side dishes that pair perfectly with roasted chicken legs.

Frequently Asked Questions
Can I cook chicken legs from frozen?
You can, but it’s not ideal. Frozen chicken legs take about 50-60 minutes instead of 35-45 minutes, and the skin won’t crisp as well. Thaw them overnight in the refrigerator for best results. If you’re in a pinch, use the defrost setting on your microwave, but thawing in the fridge gives superior texture and more even cooking.
What’s the difference between chicken legs and drumsticks?
Chicken legs (also called leg quarters) include both the thigh and drumstick attached together. Drumsticks are just the lower portion. Legs have more meat and take slightly longer to cook, but the technique is identical. Both work perfectly with this oven method.
Should I use bone-in or boneless chicken legs?
Bone-in legs are superior for oven roasting. The bone conducts heat and keeps the meat moist while the skin crisps. Boneless legs dry out more easily. Stick with bone-in for this technique. If you’re curious about other protein cooking methods, check out how long does it take to boil chicken breast for alternative preparations.
Can I add vegetables to the pan?
Absolutely. Potatoes, carrots, onions, and bell peppers all roast beautifully alongside chicken legs. Toss them with a bit of oil and seasoning, arrange them around the legs (not under them), and they’ll cook in the same time. Just make sure vegetables are cut to similar sizes so they cook evenly.
Why is my chicken skin not crispy?
Nine times out of ten, it’s because the chicken wasn’t dry enough before cooking. Pat it down aggressively with paper towels. The second most common reason is oven temperature being too low or the chicken being crowded on the pan. Increase heat to 450°F for the last portion of cooking if needed.
Can I marinate chicken legs before roasting?
Yes, but keep it to 2-4 hours maximum. Longer marinades, especially with acidic ingredients like vinegar or citrus, can make the meat mushy. Pat the legs completely dry after marinating before roasting—this is even more critical than usual.
What temperature should the oven be?
425°F is the standard recommendation for crispy skin and properly cooked meat. You can go as high as 450°F if you want extra-crispy skin, but watch carefully. Don’t go below 400°F or the skin won’t crisp properly.
Final Thoughts
Mastering how to cook chicken legs in the oven gives you a reliable, delicious dinner solution that works for weeknight meals or feeding a crowd. The technique is straightforward, the results are consistently great, and the flavor possibilities are endless. Start with the basic salt-and-pepper method to nail the fundamentals, then branch out into different seasonings once you’re confident. Your kitchen is about to smell amazing, and your dinner table is going to be very happy. Now get those legs in the oven and enjoy.


