
Learning how to cook a turkey on a roaster is one of those kitchen skills that transforms holiday dinner from stressful to genuinely enjoyable. Whether you’re using an electric roaster oven or a traditional roasting pan, the fundamentals remain the same—and honestly, a roaster often does a better job than a conventional oven because of how it distributes heat. I’ve cooked turkeys both ways, and I’m here to walk you through the entire process so you nail it every single time.
Table of Contents
Choosing Your Roaster
Not all roasters are created equal, and picking the right one sets you up for success. Electric roasters (like Nesco or Hamilton Beach models) are fantastic because they maintain consistent temperature and free up your main oven for sides. If you’re going traditional, a heavy-duty roasting pan with a fitted lid works beautifully too.
Here’s what matters: your roaster needs to be large enough that the turkey sits comfortably with at least 2 inches of clearance on all sides. A 14-16 pound bird fits perfectly in most standard electric roasters. The lid is crucial—it traps steam and moisture, which is why roasters often produce juicier results than conventional ovens. Check that your roaster can maintain steady heat at 325°F, the sweet spot for turkey cooking.
Prep Work Matters
This is where patience pays off. Remove your turkey from the refrigerator 30-40 minutes before cooking. Cold birds cook unevenly, so bringing it closer to room temperature ensures more consistent results. Pat it completely dry with paper towels—moisture is the enemy of crispy skin.
While it’s resting, pull out the giblets and neck from both cavities. Don’t toss them; they’re liquid gold for gravy. Rinse the turkey inside and out with cool water, then pat dry again. This step takes five minutes but makes a real difference in texture and browning. Check that nothing is blocking the cavities—sometimes there’s extra packaging tucked inside.
Seasoning and Flavoring
Salt is your best friend here. Season the turkey inside and out generously with kosher salt at least 12 hours before cooking—overnight is ideal. This isn’t just surface seasoning; the salt penetrates the meat and helps it retain moisture. It’s the same technique professional chefs use, and it absolutely works.
Beyond salt, I keep it simple: fresh cracked pepper, dried thyme, and sage. Rub these under the skin where you can reach without tearing it. Stuff the cavity with aromatics—halved onions, celery chunks, fresh rosemary sprigs, and garlic cloves add incredible flavor without drying the meat. You’re not eating the stuffing, so this is about infusing steam and aroma into the bird. If you want traditional bread stuffing, cook it separately in a Dutch oven or baking dish; it stays moister that way and cooks more evenly.
Temperature and Timing
Here’s the formula that works: 325°F in your roaster, approximately 13 minutes per pound for an unstuffed bird, 15 minutes per pound if it’s stuffed. So a 14-pound turkey takes roughly 3 to 3.5 hours unstuffed.
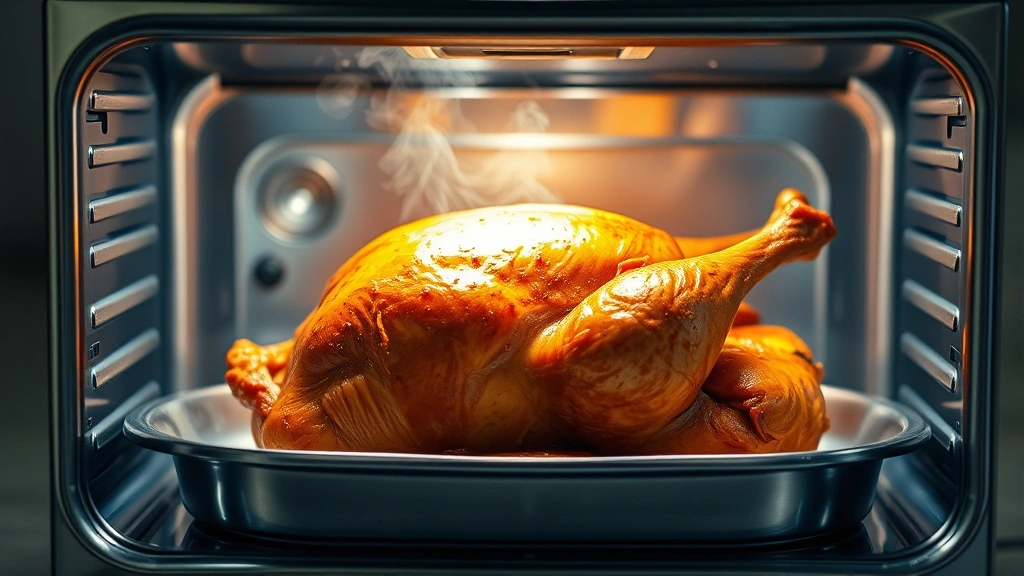
Start your roaster with about 2 cups of liquid in the bottom—chicken broth, water, or a combination. This creates steam and prevents drippings from scorching. Place the turkey breast-side up on the roasting rack. If your roaster doesn’t have a rack, you can use crumpled foil to elevate the bird slightly off the bottom. Cover with the lid and let it do its thing.
Set a timer for the first two hours, then check progress. The skin should be turning golden, and you’ll smell that incredible turkey aroma filling your kitchen. This is when you know it’s working.
Basting Technique
Basting is optional but worth doing. Every 45 minutes or so, carefully open the roaster and spoon the pan juices over the breast and legs. Use a turkey baster or large spoon—no fancy equipment needed. This keeps the surface moist and encourages even browning. Each basting takes two minutes, and it genuinely improves the final result.
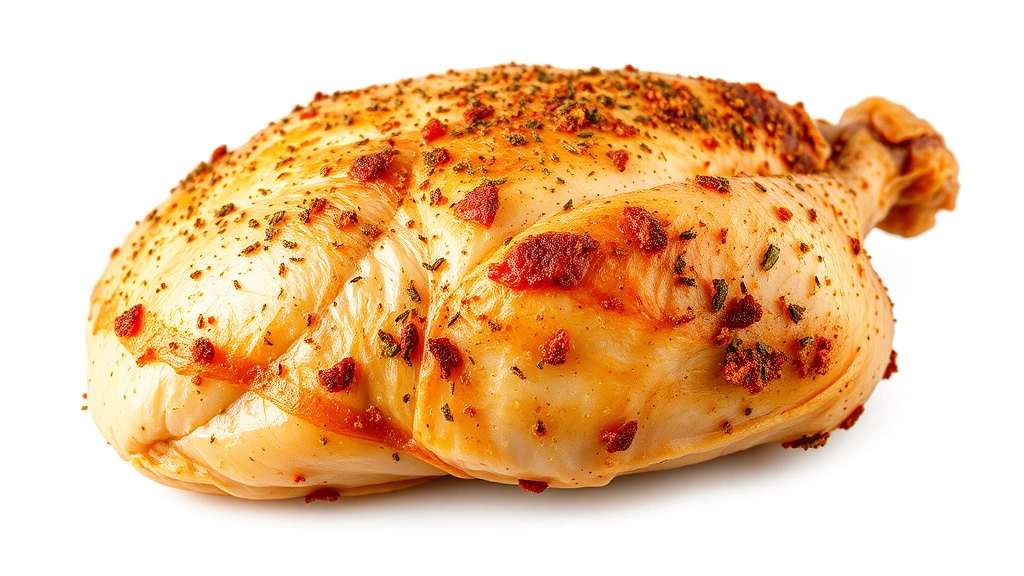
About 45 minutes before the turkey is done, remove the lid so the skin can brown and crisp up. This is crucial for that restaurant-quality appearance. If the skin is browning too fast, tent it loosely with foil, but leave the roaster uncovered for the final stretch. The exposed skin will turn mahogany brown and develop that satisfying crispness.
Checking Doneness
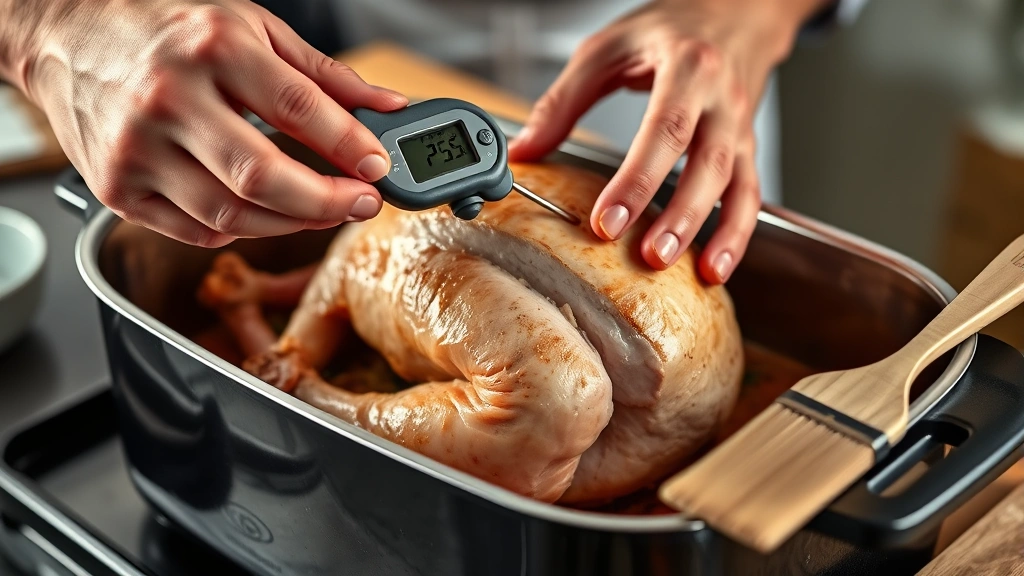
Don’t rely on the pop-up timer—they’re notoriously unreliable. Instead, use an instant-read meat thermometer, which costs about $15 and is one of the best kitchen investments you’ll make. Insert it into the thickest part of the thigh without touching bone. It should read 165°F. Check both thighs and the thickest part of the breast; they should all hit 165°F.
The thigh always takes longest to cook, so if your thigh hits 165°F, everything else is definitely done. If the breast is approaching temperature but the thigh isn’t quite there, you can tent the breast with foil for the remaining cooking time. This prevents overcooking the white meat while the dark meat finishes.
Resting the Bird
This step is non-negotiable, and it’s where most home cooks slip up. Once your turkey hits temperature, remove it from the roaster and place it on a cutting board. Tent it loosely with foil and let it rest for 20-30 minutes. During this time, the residual heat continues cooking the interior slightly while the juices redistribute throughout the meat. If you cut into it immediately, all those juices run out onto the board instead of staying in the meat.
While the turkey rests, you can make gravy using the pan drippings. Pour the liquid from the roaster into a saucepan, skim the fat (save some for the roux), and whisk in flour to create a smooth gravy. This is the perfect use for those giblets you set aside earlier—simmer them in the broth for extra depth.
Troubleshooting Common Issues
Skin is pale and soft: This usually means you didn’t uncover the roaster for the final 45 minutes. Crispy skin requires direct, dry heat. Next time, plan to expose it earlier.
Meat is dry: You either cooked it too long or the bird wasn’t seasoned properly beforehand. Salt the turkey the night before—it’s the single best insurance against dry meat. Also, invest in a thermometer and pull it at exactly 165°F, not a degree higher.
Thighs aren’t done but breast is overcooked: This is common with large birds. Next time, start the turkey breast-side down for the first hour to shield the white meat, then flip it. Or tent the breast with foil once it reaches 160°F and let the thighs finish.
Bottom is burning: Make sure there’s always liquid in the roaster bottom. If it’s evaporating too fast, add more broth. Also, check that your roaster’s temperature is accurate with an oven thermometer—some run hot.
Side Dishes in Roaster
One of the best advantages of a roaster is cooking sides simultaneously. During the final hour, you can nestle roasted vegetables around the turkey—carrots, potatoes, Brussels sprouts all work beautifully. Toss them with oil and seasoning first. They’ll pick up turkey flavor from the pan juices and cook perfectly while the bird finishes. This is also a great time to reference techniques like how to blanch green beans if you want to prep vegetables ahead of time for a polished side dish.
If you’re making traditional stuffing, cook it separately in a covered Dutch oven at 325°F alongside the turkey. This approach gives you more control and prevents foodborne illness risks associated with stuffing cooked inside the bird.
Frequently Asked Questions
Can I cook a frozen turkey in a roaster?
Yes, but it takes significantly longer—roughly 50% more time than a thawed bird. A frozen 14-pound turkey might take 5-6 hours. Make sure it’s completely thawed in the refrigerator before cooking if possible, which takes about 24 hours for every 4-5 pounds. If you’re short on time, submerge the frozen turkey in cold water and change the water every 30 minutes; it thaws in about 2-4 hours depending on size.
Should I stuff the turkey?
Cooking stuffing inside the bird is risky because the stuffing must reach 165°F internally to kill bacteria, which often means overcooking the meat. I recommend cooking stuffing separately in a Dutch oven where you can control it independently. Stuff the turkey cavity with aromatics instead—it flavors the meat without food safety concerns.
What’s the best way to store leftovers?
Remove meat from bones within two hours of cooking and refrigerate in airtight containers. Turkey keeps 3-4 days in the fridge or up to three months frozen. Shred the meat and use it in soups, sandwiches, or salads. Turkey is incredibly versatile for post-holiday meals.
Can I cook multiple turkeys at once?
If you have two roasters, absolutely. Cooking two birds simultaneously in separate roasters is easier than cooking them sequentially. Just make sure each roaster maintains proper temperature. If you’re using one roaster, cook them back-to-back—the second one cooks faster since your roaster is already heated and you’re in a rhythm.
How do I know if my roaster temperature is accurate?
Use an oven thermometer placed inside the roaster. Many roasters run 10-25 degrees hot or cold. If yours runs hot, adjust your temperature setting down accordingly. This is especially important for even cooking and preventing dry meat.
What’s the difference between a roaster and a regular oven?
Electric roasters have better moisture retention because of the lid and enclosed space, which produces juicier results. They also free up your conventional oven for sides. The tradeoff is slightly less browning, which you compensate for by uncovering the roaster at the end. Many cooks find roasters superior for turkey specifically.
Final Thoughts
Cooking a turkey on a roaster is genuinely straightforward once you understand the fundamentals. Salt it the night before, let it come to room temperature, maintain 325°F, check temperature with a thermometer, and rest it properly. Those five things alone will produce a turkey better than 90% of what people serve at holiday tables.
The beauty of roaster cooking is that it’s forgiving. The enclosed environment prevents dry spots, the consistent heat eliminates hot spots, and the process is actually less hands-on than conventional oven roasting. You’re not constantly opening and closing a door, losing heat and moisture.
Start with these fundamentals, and next year you can experiment with brines, spice rubs, or even butchering techniques if you want to get fancy. But honestly, a properly salted, evenly roasted turkey rested correctly is already perfect. That’s the goal, and it’s absolutely achievable with a roaster and a little attention to detail. Your family will notice the difference, and you’ll finally understand why this dish is worth the effort.


