
Learning how to color armor RLCraft is one of the most satisfying customization features in this hardcore modpack, and honestly, it’s way simpler than most players think. Whether you’re looking to match your battle gear to your base aesthetic or just want to stand out in multiplayer, dyeing armor in RLCraft opens up endless possibilities for personalization. This guide walks you through every method, from basic dye application to advanced color mixing techniques.
Table of Contents
RLCraft Armor Basics
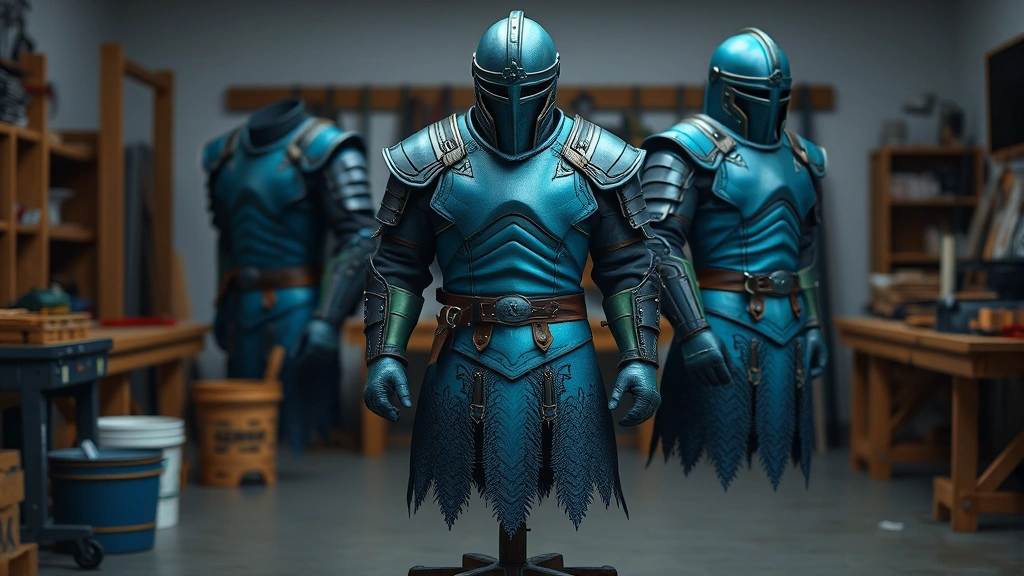
Before you start slapping colors on your gear, you need to understand what RLCraft armor actually is. RLCraft uses a modpack that includes several armor types, but the most dyeable ones are leather-based and certain modded armors. The base game mechanics work similarly to vanilla Minecraft, but RLCraft adds complexity through its modded armor sets. Most armor in RLCraft can be colored, but leather armor is your bread and butter for color customization. When you first start the game, leather armor is one of the easiest pieces to obtain and dye, making it perfect for learning the ropes before moving to more advanced materials.
Gathering Dyes and Materials
You can’t color armor without dyes, so let’s talk sourcing. RLCraft uses standard Minecraft dyes plus some modded variants. You’ll find dyes by harvesting flowers throughout your world—flowers like poppies, dandelions, cornflowers, and tulips all yield dyes when crafted. For a comprehensive modpack setup, first make sure you’ve properly installed the RLCraft modpack to access all dye sources. You can also obtain dyes by fishing, exploring dungeons, or crafting them from plant materials. The most efficient method is setting up a flower farm near your base—plant seeds and let them grow, then harvest and craft them into dyes. You’ll also need a cauldron, which you can craft from iron ingots or find in villages and structures.
Beyond basic dyes, keep an eye out for special dye sources. Bone meal creates white dye, squid ink creates black dye, and cocoa beans create brown dye. Once you’ve gathered your materials, organize them in your inventory—trust me, you’ll want quick access when you’re experimenting with colors.
Using Cauldrons for Dyeing
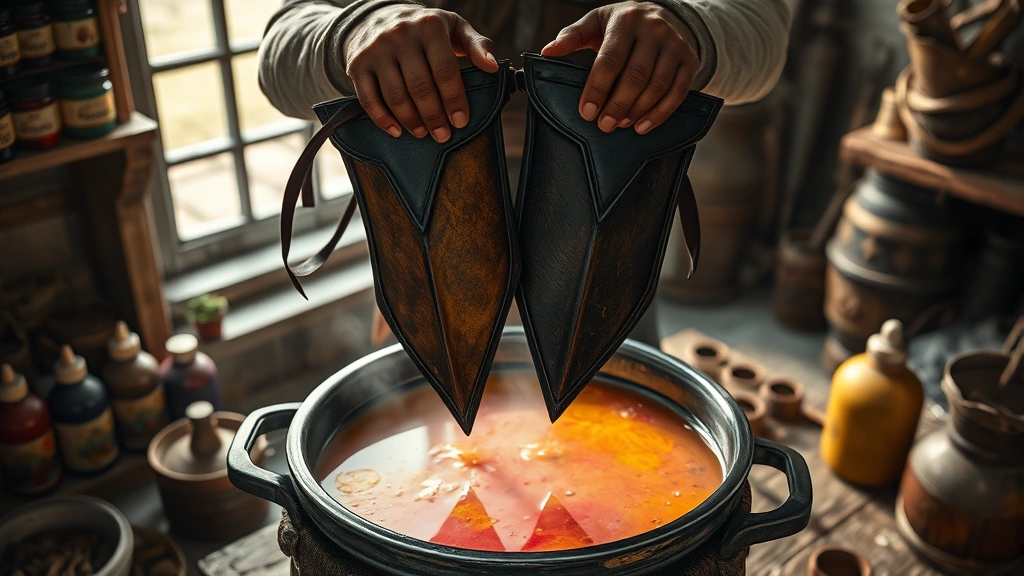
The cauldron is your primary tool for dyeing armor in RLCraft. Here’s the step-by-step process: First, place your cauldron on the ground and fill it with water using a bucket. Right-click the cauldron with your dye of choice—one dye per click adds color to the water. The water will change to match the dye color. Now grab your leather armor piece and right-click the cauldron while holding it. The armor will immediately take on the dye color. One cauldron of dyed water can color multiple armor pieces, so you don’t need to refill for each item.
The beauty of this system is its simplicity. Unlike some complex crafting recipes, dyeing is straightforward and forgiving. If you mess up the color, you can simply add different dyes to the cauldron to shift the shade. Each dye addition slightly changes the overall color, allowing for fine-tuning. Keep a water bucket handy—if you want to completely reset a cauldron, just dump water into it and the dye washes out, ready for a new color.
Color Mixing Techniques
This is where things get fun. RLCraft allows color mixing by adding multiple dyes to a single cauldron. Want a custom purple? Add blue and red dyes together. Need orange? Red and yellow will get you there. The order you add dyes matters slightly—the first dye creates the base, and each subsequent dye shifts the final color. Experiment with different combinations to find your perfect shade.
The key to successful color mixing is patience and note-taking. Keep a crafting journal or use an in-game book to record which dye combinations produced which colors. This saves you from repeating trial-and-error later. Some popular combinations include cyan (blue + green), magenta (red + purple + pink), and lime (green + yellow). The more dyes you add, the more muted and complex the resulting color becomes—sometimes that’s exactly what you want for a realistic, earthy aesthetic.
Leather vs Metal Armor
Here’s an important distinction: leather armor dyes easily and takes color beautifully, while metal armor pieces (iron, diamond, netherite) cannot be dyed through standard cauldron methods. However, RLCraft introduces modded armor sets that may have different dyeing properties. Some modded armors are leather-based and can be dyed, while others are metal-based and cannot. Check your specific armor’s material type in your inventory—if it’s listed as leather, you can dye it. If it’s metal, you’re out of luck with the cauldron method.
This limitation actually encourages strategic gear choices. Many players opt for leather armor early game specifically because they can customize it. As you progress and acquire better modded armor, you might find that certain sets have built-in color variations or alternative customization methods. Some advanced modded armors allow color customization through NBT data editing or special crafting recipes, but that’s beyond beginner territory.
Advanced Dyeing Patterns
Once you’ve mastered basic dyeing, you can create patterns by dyeing individual armor pieces differently. A full set of leather armor offers four slots: helmet, chestplate, leggings, and boots. Dye each piece a different color to create a striking gradient or complementary color scheme. For example, try a gradient from dark blue (helmet) through light blue (chestplate) to white (leggings) and back to dark blue (boots) for a wave-like effect.
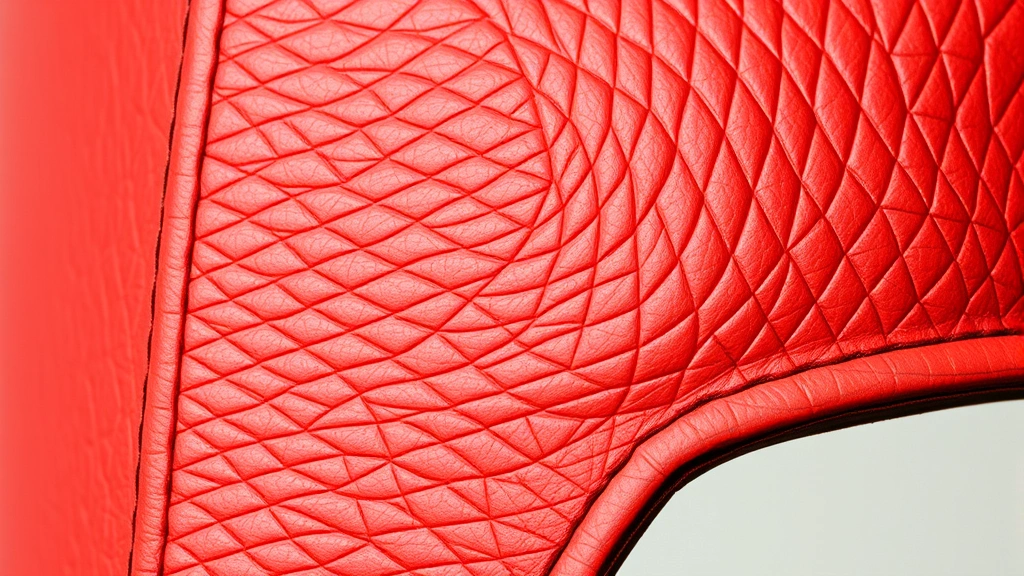
Another technique involves matching your armor colors to your base or building aesthetic. If you’ve built a red brick house, dye your armor red and brown to match. This creates visual cohesion and makes your character feel integrated into your world. Some players create color-coded armor sets for different purposes—red for combat, blue for mining, green for farming. This helps you quickly identify which set you’re wearing at a glance.
Removing and Changing Colors
Made a dyeing mistake? No problem. To remove color from armor, place a cauldron with plain water (no dyes added) and right-click your colored armor piece with it. The color will wash out completely, returning the armor to its default appearance. This resets the armor so you can apply a new color. Some players prefer to keep a “washing cauldron” separate from their dyeing cauldrons to avoid confusion.
If you want to change colors without completely removing the dye, you can add new dyes to your already-colored armor. The new dye will blend with the existing color, creating a mixed result. This is great for fine-tuning a shade you’re close to but not quite satisfied with. Keep experimenting—RLCraft’s dyeing system rewards creativity and iteration.
Common Dyeing Issues
Sometimes dyeing doesn’t work as expected. The most common issue is attempting to dye non-dyeable armor. Check your armor type—if it’s not leather-based, the cauldron method won’t work. Another frequent problem is forgetting to fill the cauldron with water before adding dyes. Always start with water, then add dyes. If your cauldron looks empty or the color seems wrong, try refilling it completely.
Another issue arises when players add too many dyes at once and create a muddy brown color. If this happens, empty the cauldron and start fresh. Sometimes less is more—a single pure dye color often looks better than a complex mixture. If you’re having trouble with modded armor dyeing, check whether that specific armor set requires special crafting recipes or alternative customization methods. Different mods have different mechanics, so flexibility is key.
Progression and Armor Strategy
As you progress through RLCraft, your armor choices will evolve. Early game, leather armor is your best friend for customization. Mid-game, you’ll acquire modded armors with varying dye capabilities. Late game, you might find that certain endgame armor sets have built-in color variations or cosmetic options. Understanding this progression helps you plan your aesthetic goals. If you’re aiming for a specific color scheme, prioritize leather armor early, then transition to modded sets that support your vision as you advance. For more information on late-game progression, check out our guide on how to make end portals and prepare for endgame content.
Frequently Asked Questions
Can I dye all armor types in RLCraft?
No, only leather-based armor can be dyed using the cauldron method. Metal armor pieces cannot be dyed through standard mechanics. However, some modded armors may have alternative customization options—check your specific armor’s properties.
What happens if I add too much dye to a cauldron?
Adding more dye doesn’t make the color “stronger”—it just shifts the hue. If you’ve added too many dyes and created an unsatisfying muddy color, simply empty the cauldron and start over with fresh water and fewer dyes.
Can I undo a dye job?
Absolutely. Place a cauldron filled with plain water (no dyes) and right-click your colored armor with it. The color will wash out completely, returning the armor to its original appearance so you can re-dye it.
How many pieces of armor can one cauldron of dyed water color?
A single cauldron can color multiple armor pieces. The water doesn’t deplete with each use, so you can dye as many pieces as you want until you decide to change the color or empty the cauldron.
Do dyed armor pieces provide different protection than undyed ones?
No, dyeing is purely cosmetic. Your armor’s protection level remains identical whether it’s dyed or not. Color is just for aesthetics and personal expression.
What’s the best way to organize dyes for efficient armor customization?
Keep your dyes organized in labeled chests or use a crafting table nearby. Have multiple cauldrons set up with different base colors if you frequently switch between color schemes. This saves time and reduces crafting frustration.
Can I create metallic or shiny colors in RLCraft?
Standard dyes create matte colors. RLCraft doesn’t have built-in metallic dyes, but you can use combinations of bright and dark shades to create depth and visual interest that mimics metallic effects.
Final Thoughts
Mastering how to color armor RLCraft transforms your gameplay from purely functional to truly personal. Whether you’re creating a cohesive aesthetic for your base, building color-coded armor sets for different activities, or just experimenting with wild color combinations, the dyeing system is intuitive and rewarding. Start with basic leather armor and single dyes, then progress to color mixing and advanced patterns as your confidence grows. Remember that dyeing is forgiving—you can always wash out a color and try again. The beauty of RLCraft’s customization system is that it encourages creativity without punishing experimentation. Get out there, gather some flowers, fill up that cauldron, and make your armor truly yours.


