
Learning how to clean window AC unit filters and components is one of the easiest maintenance tasks you can do yourself—and it’ll save you money while keeping your unit running at peak efficiency. A dirty AC unit works harder, costs more to run, and pushes stale air into your living space. I’m going to walk you through exactly what you need to do, step by step, so your window AC runs like it just came out of the box.
Table of Contents
Why Cleaning Matters
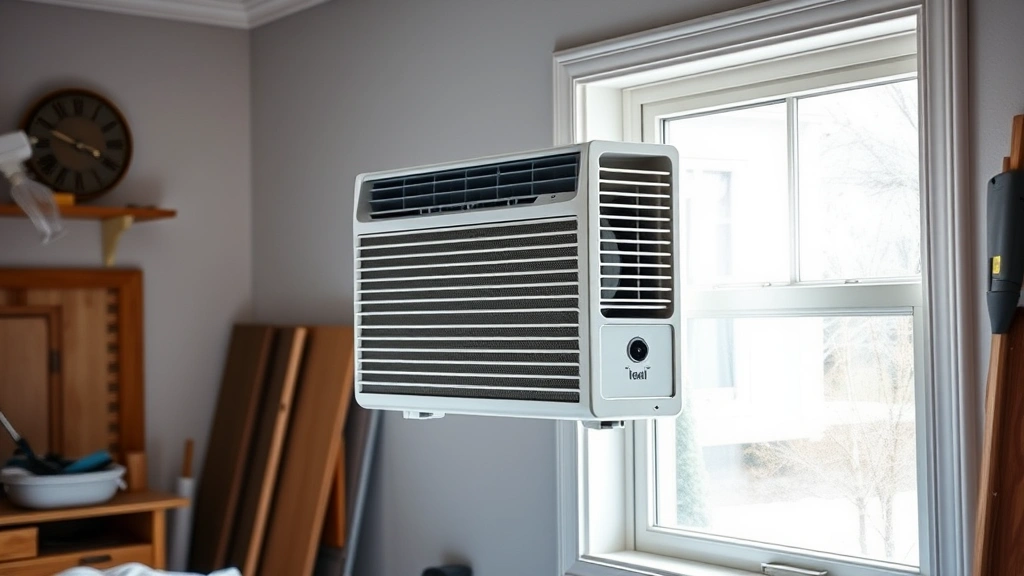
Your window AC unit pulls air from outside and circulates it through your room. That means it’s also pulling in dust, pollen, pet hair, and all kinds of debris. Over time, this stuff accumulates on the filter and the aluminum fins inside the unit. When those components get clogged, your AC has to work overtime to push air through, which means higher energy bills and reduced cooling power. Plus, a dirty unit can develop mold and mildew, which nobody wants circulating through their bedroom at night.
Cleaning your window AC unit regularly—I’m talking every month during cooling season—keeps it efficient and extends its lifespan. You’re looking at a 15-minute job that can save you hundreds in energy costs and prevent costly repairs down the road.
Gather Your Tools and Materials
Before you touch anything, get your supplies ready. You’ll need a Phillips screwdriver, a vacuum with a brush attachment, a soft brush or old toothbrush, a spray bottle filled with water, a fin comb (optional but helpful), and some clean rags or paper towels. I also keep a small container nearby to hold any screws I remove—nothing worse than losing a screw halfway through a project.
If you’re dealing with heavy buildup, grab some coil cleaner from the hardware store. It’s specifically designed for AC units and works better than anything else. Just make sure it’s rated for window units, not central systems.
Step One: Safety First
This is non-negotiable: unplug your AC unit from the wall outlet before you do anything else. Don’t just turn it off—physically remove the plug. You’re going to be working around electrical components and moving parts, and there’s no reason to take unnecessary risks.
Give the unit a few minutes to cool down if it’s been running. You don’t want to burn your hands on hot metal fins. While you’re waiting, open a window in the room so you’re not working in a closed space if you’re using any cleaning products.
Step Two: Remove the Filter
The filter is usually located on the front of the unit, behind a removable panel or cover. Pop that panel off—it typically just slides or clicks out. Behind it, you’ll find the filter, which looks like a thin rectangular piece of mesh or foam.
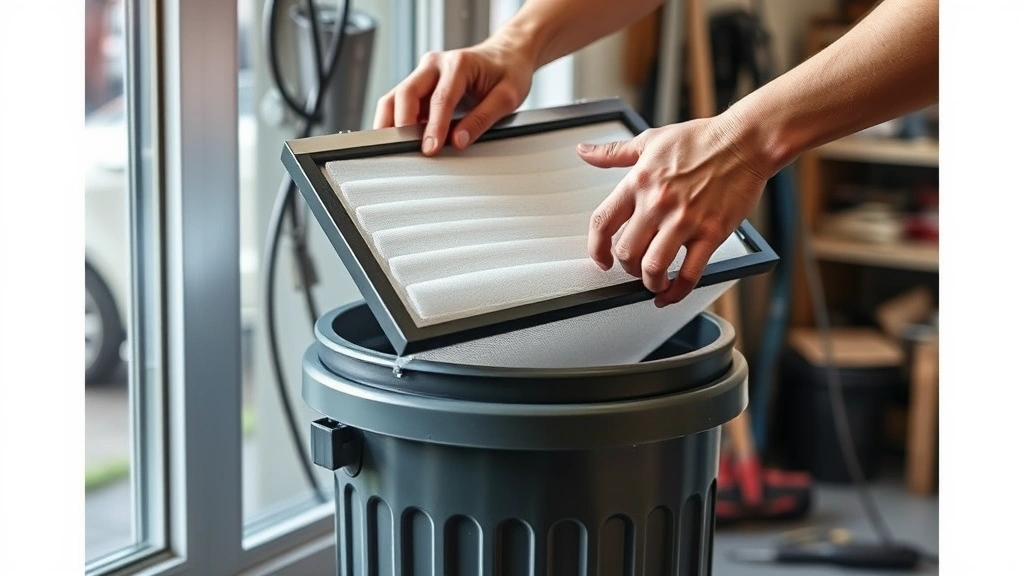
Slide the filter out gently. This is where most of the dust accumulates, and you want to avoid spreading it everywhere. Take it outside or over a trash can and tap it against the side to dislodge loose dust. If it’s really gunked up, you can rinse it under warm running water. Let it air dry completely before reinstalling it—a wet filter will reduce airflow and can promote mold growth.
If the filter is damaged, torn, or hasn’t been cleaned in years, replace it entirely. New filters are cheap and readily available at any hardware store or online.
Step Three: Clean the Aluminum Fins
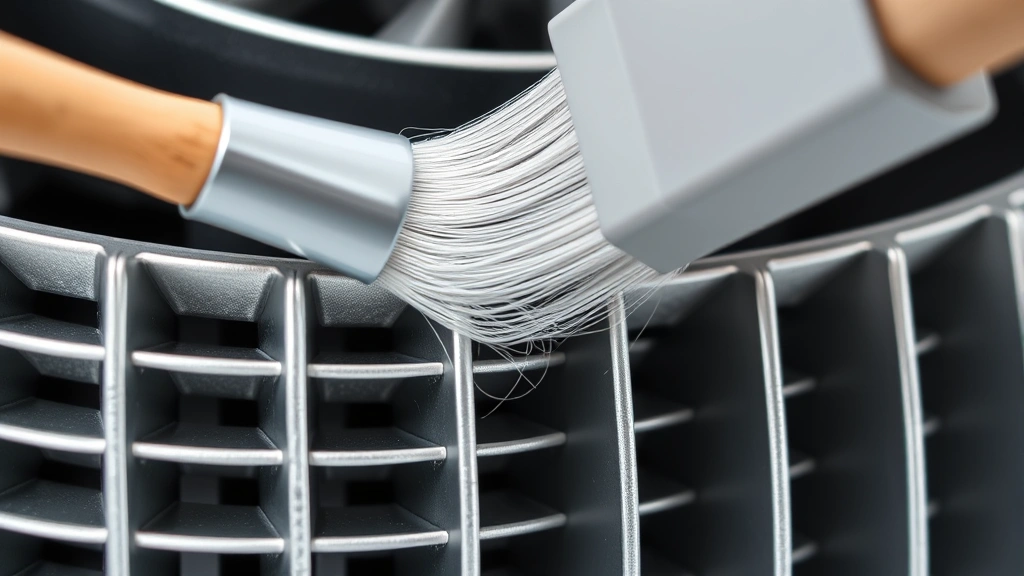
The aluminum fins are those thin metal pieces you see inside the unit. They’re fragile and bend easily, so treat them gently. Use your soft brush or old toothbrush to brush away dust buildup. Work in one direction, following the grain of the fins. If you have a fin comb, run it carefully through the fins to straighten any that got bent during cleaning.
For stubborn grime, mix a little dish soap with warm water in your spray bottle and lightly mist the fins. Let it sit for a minute, then brush again. Wipe everything down with a damp rag to remove soap residue. Don’t soak the fins or use high-pressure water—you’ll damage them.
Step Four: Vacuum the Coils
Behind the fins, you’ll find the evaporator coils. These are the heart of your cooling system, and they need attention too. Use your vacuum’s brush attachment to gently suck away dust and debris from the coil surface. You’re not trying to scrub here—just remove the loose buildup.
If you have coil cleaner, follow the product instructions carefully. Most coil cleaners require you to spray them on and let them sit for a few minutes before rinsing with distilled water. This step is optional if your coils aren’t heavily soiled, but it makes a real difference if you live in a dusty area or haven’t cleaned your unit in a while.
For more detailed guidance on removing corrosion and buildup from components, check out how to remove battery corrosion, which uses similar techniques for stubborn mineral deposits.
Step Five: Reassemble Everything
Once everything is clean and dry, it’s time to put your unit back together. Slide the filter back in—make sure it’s oriented correctly; there’s usually an arrow indicating airflow direction. Snap the front panel back into place. Double-check that everything is secure and properly seated.
Before you plug it back in, visually inspect the unit one more time. Make sure no screws or parts got left inside. Plug it in and run it for a few minutes at low speed to make sure it starts smoothly and there are no unusual noises.
Maintenance Schedule
Clean your filter every month during the cooling season. If you live somewhere with heavy dust, pet hair, or high pollen counts, do it every two weeks. Do a deeper clean of the fins and coils at the start of the season and again mid-season if needed.
At the end of the cooling season, do a thorough cleaning before you store the unit. A clean unit stored properly will start the next season ready to go. Cover it with a fitted AC cover to keep dust out during winter.
When to Call a Professional
Most of what I’ve described here is DIY territory. But if you notice refrigerant leaking (oily residue around the unit), hear grinding or squealing noises that don’t go away after cleaning, or if the unit isn’t cooling properly even after you’ve cleaned everything, it’s time to call an HVAC technician. You can’t recharge refrigerant yourself, and some repairs require specialized tools and training.
For comprehensive AC maintenance guidance, the team at Family Handyman offers excellent resources on seasonal home maintenance. You can also check This Old House for detailed video tutorials on HVAC care, or visit Bob Vila for expert reviews of AC unit models and troubleshooting tips.
Frequently Asked Questions
How often should I clean my window AC unit?
Clean the filter every month during cooling season. Do a deeper clean of the fins and coils every two to three months, or more frequently if you live in a dusty area or have pets.
Can I use a pressure washer on my AC unit?
No. High-pressure water will damage the delicate aluminum fins and push water into components that shouldn’t get wet. Stick with a gentle brush and light misting from a spray bottle.
What if my filter is reusable?
Reusable filters can be washed and reused multiple times. Rinse it under warm running water, let it air dry completely, and reinstall it. Most reusable filters last about five years before they need replacing.
Is coil cleaner necessary?
Not always. If your unit is running well and you clean it regularly, you may never need coil cleaner. Use it if you notice reduced cooling performance or visible heavy buildup on the coils.
Can I clean my AC unit while it’s running?
Absolutely not. Always unplug the unit before cleaning. Working on a live electrical appliance is dangerous and unnecessary.
What’s that smell coming from my AC?
If your unit smells musty or moldy, it likely has mold growth inside. Clean it thoroughly, especially the coils and drain pan. If the smell persists after cleaning, you may need professional help to identify and fix the issue.
How long does a window AC unit last?
With regular maintenance, a quality window AC unit can last 8 to 10 years. Neglecting cleaning and maintenance will shorten its lifespan significantly.
Final Thoughts
Knowing how to clean window AC unit components is a skill that pays dividends. You’ll enjoy better cooling performance, lower energy bills, and a unit that lasts longer. It’s a straightforward process that doesn’t require special skills or expensive tools—just 15 minutes of your time and a little attention to detail. Make it a monthly habit during cooling season, and you’ll never have to worry about your window AC letting you down on a hot summer day. Your wallet will thank you, and so will everyone living in that room.


