
Learning how to clean waffle maker surfaces properly keeps your breakfast machine running like new and prevents burnt-on batter buildup that ruins future waffles. After years of weekend breakfast duty, your trusty waffle maker deserves some real maintenance love—and it’s way simpler than you’d think. I’m going to walk you through the exact process I use to keep mine in perfect condition, from unplugging safely to tackling those stubborn corners where batter loves to hide.
Table of Contents
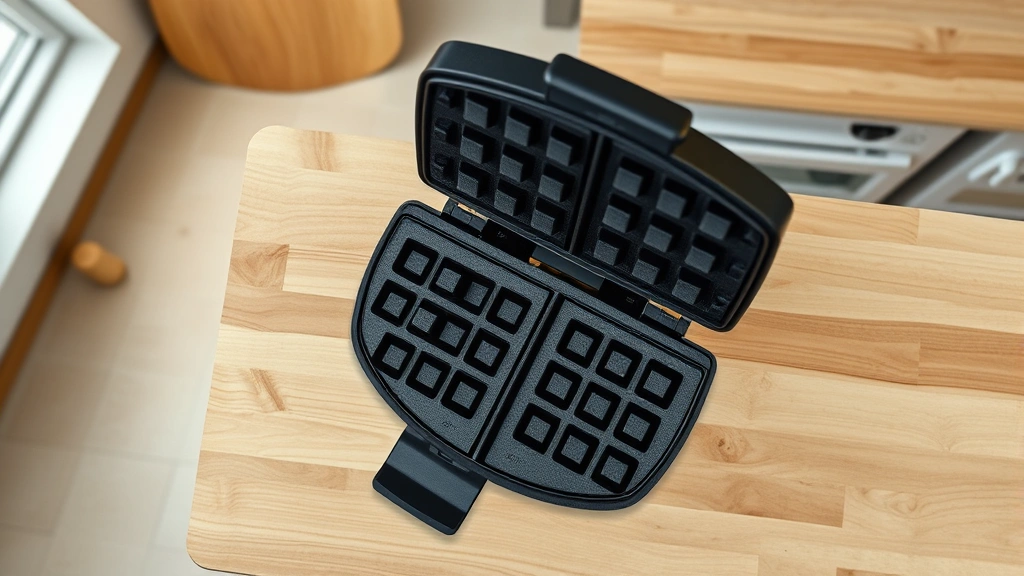
Unplug & Safety First
Before you touch anything, unplug that waffle maker from the wall outlet. This isn’t just a safety suggestion—it’s non-negotiable. Electricity and water don’t mix, and you’re about to introduce moisture to the equation. I always unplug mine and wait a full minute before starting the cleaning process. Some models have removable plates, which makes the job easier, but check your manual first to see if yours does. If you’re unsure whether your unit has detachable components, now’s the time to dig out that instruction booklet you shoved in a drawer three years ago.
Let It Cool Completely
Patience is your friend here. A hot waffle maker will burn your fingers and make the cleaning process genuinely miserable. I typically wait at least 15-20 minutes after unplugging before touching the cooking surfaces. You’ll know it’s cool when you can comfortably hold your hand near (not on) the plates without feeling heat radiating off them. This cooling period also helps any stuck-on batter dry slightly, making it easier to remove. While you’re waiting, gather your cleaning supplies so you’re ready to work efficiently once the machine reaches room temperature.
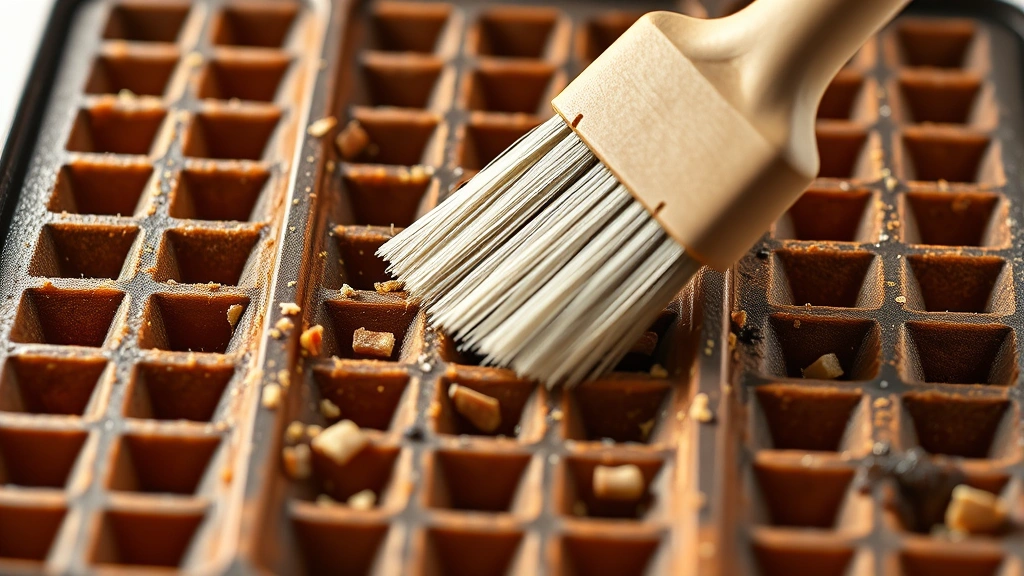
Remove Loose Debris
Once everything’s cool, grab a soft pastry brush or an old toothbrush—not a metal one, which scratches nonstick coatings. Gently brush away any loose, dried batter from the waffle grid patterns. You’ll be surprised how much stuff comes off with just this step. Work in one direction, following the grid pattern, and don’t press hard. The goal is to dislodge debris, not scrub aggressively. If your waffle maker has removable plates, this is the perfect time to take them out and brush them separately over a trash can. Those grid patterns trap more debris than you’d expect, and getting them clean now prevents the harder buildup later.
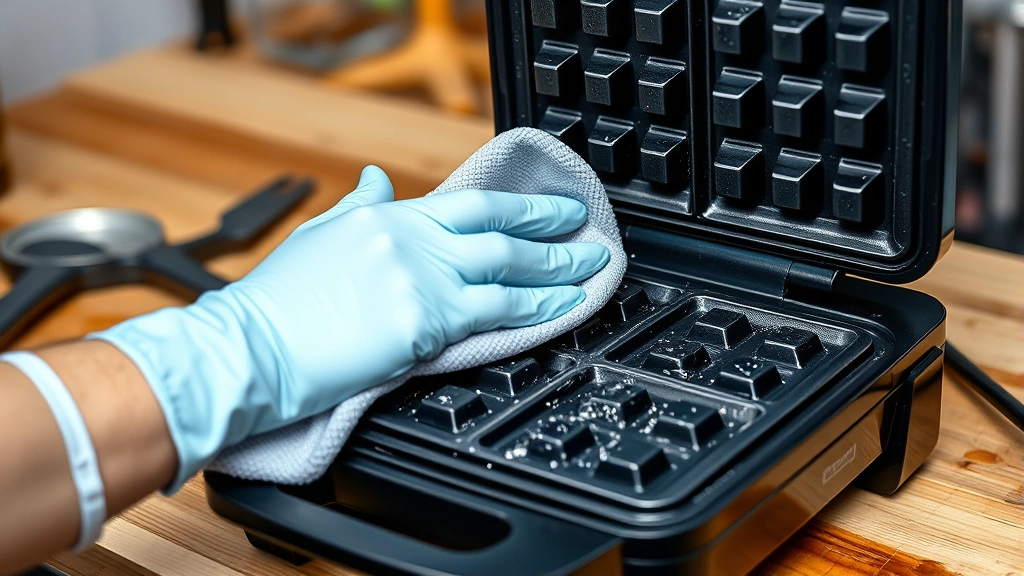
Damp Cloth Wipe Down
Get a soft microfiber cloth or cotton cloth slightly damp with warm water—not soaking wet. The key word here is damp. You’re not trying to soak your waffle maker or get water into the heating elements. Wring out your cloth thoroughly so it’s barely moist, then gently wipe down the cooking surfaces, following the grid pattern. For the exterior, use the same damp cloth to wipe down the housing and handle. This removes surface dust and any remaining loose particles. If your plates are removable, wipe those down separately. The warm water helps soften any remaining stubborn spots without requiring aggressive scrubbing that could damage the nonstick surface.
Nonstick Surface Care
Here’s where most people make mistakes. Your waffle maker’s nonstick coating is precious, and abrasive scrubbing destroys it faster than you can say “stuck waffle.” Never use steel wool, scouring pads, or harsh abrasive cleaners. Instead, for light cleaning between uses, stick with your damp cloth method. If you need something slightly more aggressive, mix a tiny drop of dish soap into warm water and use that solution on your cloth. The soap helps break down grease without damaging the coating. Wipe with the soap solution, then follow up with a cloth dampened in plain water to rinse away residue. This gentle approach keeps your nonstick surface performing for years, similar to how you’d care for a quality weighted blanket to preserve its materials.
Handle Stubborn Spots
Sometimes batter gets baked on like it’s welded to the plates. When gentle methods fail, try this trick: dampen your cloth with warm water and place it directly on the stuck spot for 30 seconds. The moisture softens the batter. Then gently use a plastic scraper or old credit card to lift the debris. Work at a low angle, almost parallel to the surface, rather than scraping straight down. Never use metal utensils. If that doesn’t work, repeat the moisture-and-wait process. Patience beats aggression every single time. For really stubborn spots, you can use a tiny amount of white vinegar on your cloth—the acidity helps break down burnt-on material without scratching the surface. This same principle works for removing other kitchen buildup, much like removing battery corrosion requires the right approach rather than force.
Dry & Store Properly
After wiping everything down, use a dry cloth to thoroughly dry all surfaces, inside and out. Any moisture left on the machine can promote rust or electrical issues over time. Make sure the grid patterns are completely dry—use a corner of your cloth to get into those crevices if needed. If your plates are removable and you washed them, dry them completely before reinserting them. Once everything’s dry, you can plug the machine back in and store it. I keep mine on the counter in a clean spot because I use it weekly, but if you store yours in a cabinet, make sure it’s completely cool and dry first. Storing a damp appliance in an enclosed space invites mold and mildew.
Regular Maintenance Schedule
The best cleaning routine is consistent, light maintenance rather than occasional deep scrubs. After each use, once the machine cools, do a quick brush-and-wipe with a damp cloth. This takes two minutes and prevents buildup. Do a more thorough cleaning like I’ve described once a month if you use your waffle maker regularly, or every three months if you only break it out occasionally. This preventative approach keeps your machine in top condition and makes each cleaning session quick. Think of it like regular maintenance on any appliance—small, consistent efforts beat emergency repairs. You can apply this same philosophy to other kitchen tasks, like keeping apple slices from turning brown by staying on top of prevention rather than fixing problems after they develop.
Special Considerations & Tips
Some waffle makers have removable, dishwasher-safe plates—check your manual to see if yours does. If so, you can remove them and run them through the dishwasher, which saves time and effort. Just make sure the heating unit itself never goes in the dishwasher. For vintage or cast-iron waffle makers, skip the water entirely and use a dry brush instead, then wipe with a barely-damp cloth. Cast iron requires different care to prevent rust. If your machine has a non-removable nonstick surface, stick with the gentle damp-cloth method exclusively. Never attempt to season or oil a nonstick surface—it’s already optimized and adding anything else ruins the coating. Some modern waffle makers have indicator lights or temperature controls; make sure those areas stay dry during cleaning.
Frequently Asked Questions
Can I soak my waffle maker in water?
No. Never fully submerge your waffle maker or soak it in water. The heating elements and electrical components can be damaged by prolonged water exposure. Use only damp cloths for cleaning, and make sure water never reaches the base or power cord area.
What’s the best thing to use for burnt-on batter?
A combination of time and gentle moisture works best. Dampen a cloth with warm water, place it on the burnt spot for 30 seconds to soften the batter, then gently lift it away with a plastic scraper. Repeat if necessary. Avoid metal scrapers and harsh chemicals.
How often should I clean my waffle maker?
Do a quick brush-and-wipe after each use once it cools. Perform a thorough cleaning monthly if used regularly, or every three months for occasional use. This prevents buildup and keeps your machine in excellent condition.
Is vinegar safe to use on waffle makers?
Yes, white vinegar is safe for occasional use on stubborn spots. Dampen a cloth with a small amount of vinegar and wipe the affected area. The acidity helps break down burnt-on material without scratching nonstick surfaces. Follow up with a water-dampened cloth to rinse.
Can I use cooking spray to season my waffle maker?
No. Never apply cooking spray or oil to a nonstick waffle maker. The nonstick coating is factory-optimized and any additional oil or spray creates buildup that damages the surface. If your waffles stick, the nonstick coating may be wearing out and the machine might need replacement.
Final Thoughts
Cleaning your waffle maker properly isn’t complicated, but it does require a gentle touch and a bit of patience. The five essential steps—unplugging safely, cooling completely, removing loose debris, using a damp cloth, and caring for the nonstick surface—keep your machine performing like new for years. The real secret is consistency: quick maintenance after each use beats occasional deep cleaning every time. Your waffle maker has earned its place on your kitchen counter by delivering countless perfect breakfasts, so give it the care it deserves. With these methods, you’ll keep it spotless and ready for the next batch of golden, crispy waffles. Just like maintaining any valuable tool in your home, regular attention prevents problems and extends the life of your appliance. Happy cleaning, and enjoy those perfectly-cooked waffles!


