
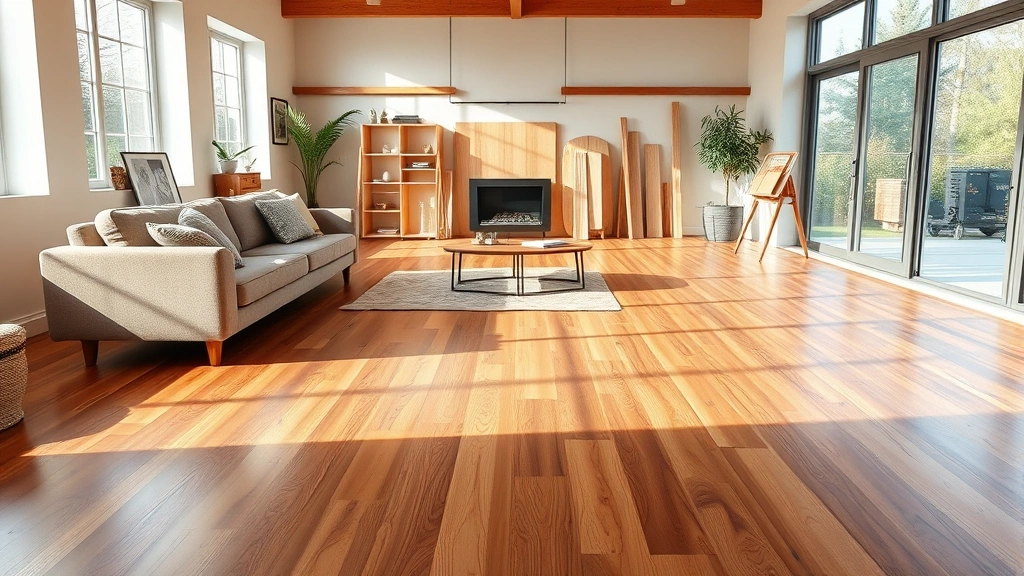
Learning how to clean timber floors properly is one of those skills that separates folks who have beautiful hardwood from those who watch theirs deteriorate year after year. I’ve spent enough time on my hands and knees with different cleaning methods to know what actually works and what’ll leave your floors looking dull and damaged. In this guide, I’m going to walk you through everything you need to know—from daily maintenance to deep cleaning—so your timber floors stay looking like the day they were installed.
Table of Contents
Daily Maintenance Basics
The secret to keeping timber floors looking pristine isn’t complicated—it’s about doing small things consistently. Every single day, dust and dirt accumulate on your hardwood. This stuff acts like sandpaper under your feet, gradually wearing down the finish. That’s why I always start with the simplest step: sweeping or vacuuming.
Use a soft-bristled broom or a vacuum with a hardwood floor attachment. Don’t use a regular vacuum with a beater bar—that’ll scratch your floors faster than you can say “oops.” Sweep in the direction of the grain, and pay special attention to corners and along baseboards where dust loves to hide. This takes maybe five minutes and prevents so much damage in the long run.
For high-traffic areas, I recommend doing this daily. For the rest of your home, three to four times a week is solid. If you’ve got kids or pets, bump that up to daily—they’re basically floor-dirt delivery systems.
Essential Tools and Supplies
Before you start any serious cleaning, you need the right gear. I’ve learned this the hard way by using the wrong mop and watching my floors get waterlogged. Here’s what you actually need:
Microfiber mop: This is non-negotiable. Microfiber picks up dust and dirt without requiring much water, and it won’t leave streaks. I use one almost daily on my own floors.
Soft-bristled broom: For dry sweeping. Look for natural bristles, not synthetic ones.
Dust cloths: Old cotton t-shirts work great. Keep a few handy for quick touch-ups.
Cleaning solutions: You’ve got options here. A pH-neutral hardwood floor cleaner is your safest bet. You can also make your own by mixing equal parts white vinegar and water, or use a simple cleaning solution with a tiny drop of dish soap.
Soft cloths and towels: For drying and buffing. Never leave water sitting on timber.
Spray bottle: For applying your cleaning solution in controlled amounts.
Dry Cleaning Method
This is the foundation of timber floor care. Dry cleaning removes loose dirt before it gets ground into your finish. I do this before any wet cleaning because it makes the whole process more efficient.
Start by sweeping thoroughly in the direction of the grain. Get into all the corners, under furniture, and along the baseboards. Once you’ve swept, use a microfiber dust mop to catch the fine dust you missed. Microfiber is magic for this—it actually attracts dust electrostatically, so it grabs stuff a broom leaves behind.
If you’ve got a lot of foot traffic in certain areas, you might need to do this twice. The goal is to remove all loose particles before you introduce any moisture. Water and dust together create a paste that can damage your finish, so don’t skip this step.
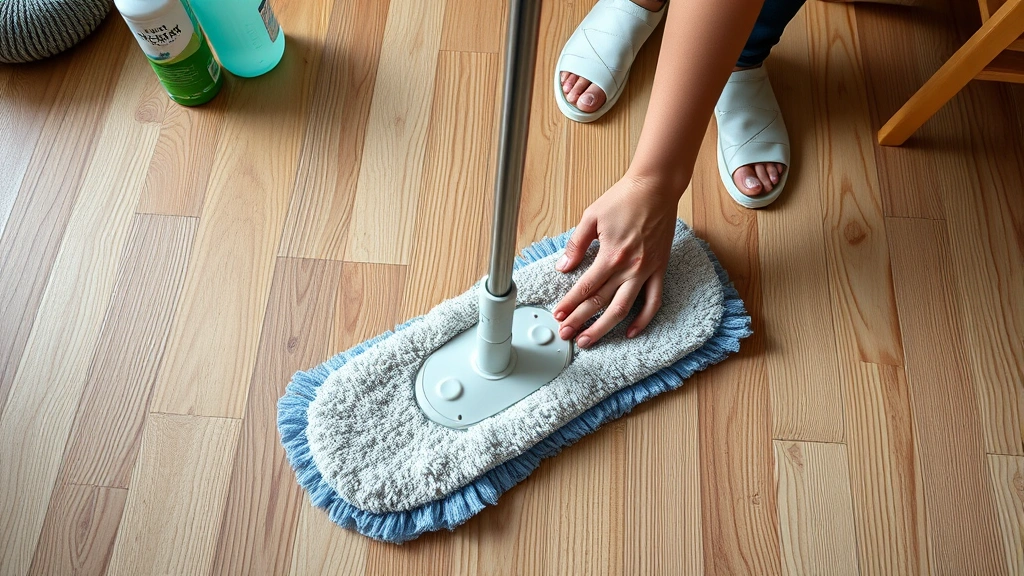
Damp Mopping Technique
Here’s where most people mess up: they use too much water. Your mop should be barely damp, not wet. I’m talking about a mop that feels like a wrung-out sponge—no water dripping, no puddles forming.
Fill a bucket with warm water and add your cleaning solution according to the product instructions. If you’re using homemade solution, a quarter cup of vinegar and water in a gallon bucket is plenty. Dip your microfiber mop in, wring it out thoroughly, and start mopping in the direction of the grain.
Work in sections, maybe one room at a time. Don’t go back over the same spot repeatedly—one pass is usually enough. As you mop, you’ll notice the mop picks up dirt. Rinse it out in clean water occasionally to keep it effective.
The entire process should take maybe 10-15 minutes for a typical living room. Speed matters here because the longer moisture sits on your timber, the greater the risk of damage. Once you’re done mopping, go back over the floor with a dry cloth to pick up any remaining moisture. This prevents water spots and streaking.
Removing Stubborn Stains
Sometimes you get spills that don’t respond to regular mopping. Coffee, wine, pet accidents—these need special attention. The key is acting quickly. The longer a stain sits, the deeper it penetrates.
For fresh spills, blot immediately with a dry cloth. Don’t wipe—blot. Wiping spreads the liquid around. Once you’ve removed the excess, apply a damp cloth with a bit of your cleaning solution and blot again. Repeat until the stain is gone, then dry the area completely.
For older or tougher stains, try a paste of baking soda and water. Apply it to the stain, let it sit for a few minutes, then gently scrub with a soft cloth. Baking soda is mildly abrasive but gentle enough for timber finishes. For really stubborn marks, a small amount of white vinegar on a cloth can work wonders—just don’t oversaturate.
Never use harsh chemicals, bleach, or abrasive scrubbers on timber floors. You’ll damage the finish and potentially the wood itself. If a stain won’t come out with these gentle methods, it’s likely penetrated the finish, and you might need to have that section refinished by a professional.
Deep Cleaning Your Floors
Once or twice a year, depending on traffic, give your floors a proper deep clean. This goes beyond regular mopping and actually restores some of that shine.
Start with your dry cleaning routine—sweep and dust thoroughly. Then prepare a stronger cleaning solution. You can use a commercial hardwood floor cleaner designed for deep cleaning, or make one by mixing one part white vinegar, one part rubbing alcohol, and two parts water in a spray bottle. The alcohol helps the solution dry faster, which is crucial for timber.
Spray your solution lightly onto a microfiber mop—and I mean lightly. You’re not soaking the mop. Work in small sections, about 3×3 feet at a time. Let the solution sit for maybe 30 seconds, then mop the section. This gives the cleaner time to break down built-up residue from regular cleanings.
Once you’ve cleaned the entire floor, go back over it with a mop dampened with plain water to rinse away any cleaner residue. Finally, dry the floor completely with clean towels. Buff it lightly as you go—this brings back shine naturally.
Your floors should look noticeably brighter and cleaner after a deep clean. You’ll also notice they feel less sticky underfoot, which is a sign that built-up residue is gone.
Protection and Sealing
Cleaning is just half the battle. Protecting your timber floors keeps them looking good between cleanings. Depending on your floor’s finish—polyurethane, wax, or oil—your approach varies.
For polyurethane-finished floors, which are most common, you don’t need to do much beyond regular cleaning. Every few years, you might apply a polyurethane refresher coat, but that’s a separate project. Check your floor’s documentation to see what finish you have.
For waxed floors, you’ll want to reapply wax every 6-12 months depending on traffic. Wax provides a protective layer and brings out the wood’s natural beauty. Use a paste wax designed for timber floors, apply it thinly with a cloth, let it dry, then buff it to a shine.
For oiled timber floors, maintain them with a timber oil product every 3-6 months. This keeps the wood nourished and protected. Always follow the product instructions carefully—application methods vary.
No matter what finish you have, the best protection is prevention. Use doormats at entrances to reduce dirt being tracked in. Place rugs in high-traffic areas. Use furniture pads under chair and table legs. These simple steps reduce the wear on your finish dramatically.
Common Mistakes to Avoid
I’ve made most of these mistakes myself, so I’m speaking from experience. Learning what not to do is just as important as learning what to do.
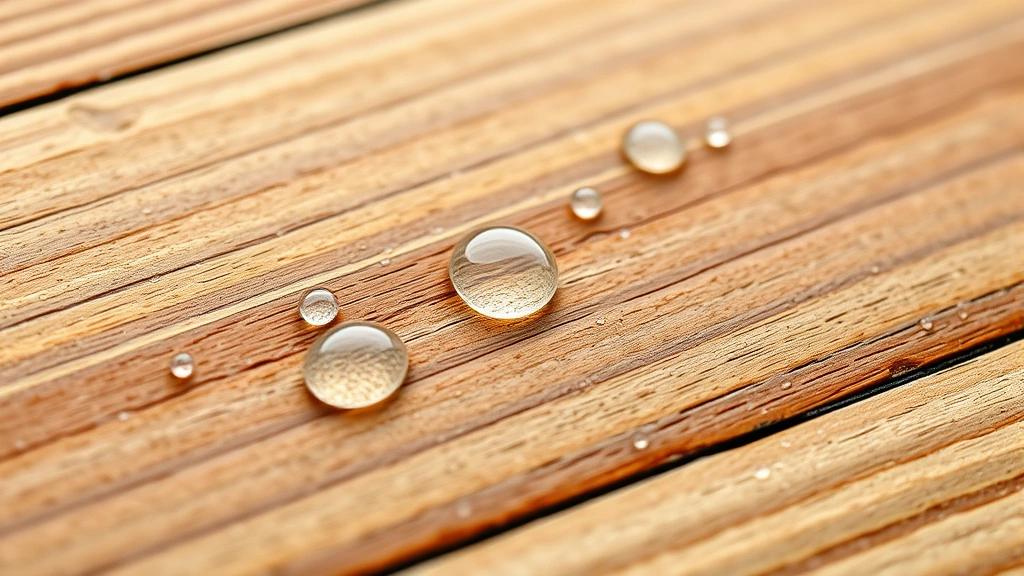
Using too much water: This is the number one killer of timber floors. Water seeps into seams and can cause cupping, warping, or rot. Keep your mop barely damp.
Using the wrong cleaner: Alkaline or acidic cleaners can damage your finish. Stick with pH-neutral products or vinegar and water. Never use oil-based cleaners unless your floor is specifically oiled timber.
Mopping against the grain: This leaves visible streaks and can push dirt into the grain. Always mop parallel to the wood grain.
Letting spills sit: The longer moisture sits on timber, the worse the damage. Blot spills immediately and dry thoroughly.
Using vacuum beater bars: These scratch hardwood. Use only soft-bristle attachments or a microfiber mop.
Skipping the dry cleaning step: Dust and water make a damaging paste. Always sweep and dust before wet cleaning.
Frequently Asked Questions
Can I use a steam mop on timber floors?
No. Steam introduces excessive moisture into the wood, which causes swelling, warping, and potential mold growth. Stick with damp mopping using minimal water.
What’s the best cleaner for timber floors?
A pH-neutral hardwood floor cleaner is safest. If you prefer DIY, equal parts white vinegar and water works great. The key is using minimal amounts of any liquid.
How often should I deep clean my timber floors?
Once or twice yearly is ideal for most homes. If you have heavy foot traffic, pets, or kids, do it twice a year. Light-use areas might only need it annually.
Will vinegar damage my timber floors?
No, when used properly. Vinegar is slightly acidic but safe for timber when diluted with water. Use equal parts vinegar and water, and apply with a barely damp mop.
Can I use furniture polish on timber floors?
Not as a floor cleaner. Furniture polish can leave slippery residue. For shine, use a product specifically designed for timber floors, or rely on proper cleaning and buffing.
What should I do about water rings or stains?
For fresh water rings, try buffing with a dry cloth. For stubborn ones, a paste of baking soda and water, gently rubbed in the direction of the grain, often works. Let it dry completely before buffing.
How do I prevent scratches on timber floors?
Use furniture pads under all legs, sweep regularly to remove grit that causes scratches, and avoid dragging heavy items. Keep pet nails trimmed. A protective approach to your home’s maintenance prevents most damage.
Is it okay to use bleach on timber floors?
Absolutely not. Bleach will damage the finish and can discolor or damage the wood itself. For stubborn stains, stick with baking soda, vinegar, or commercial hardwood cleaners.
Wrapping It Up
Knowing how to clean timber floors properly is really about understanding that less is more. The best approach combines regular dry cleaning to prevent damage, minimal-moisture damp mopping, and occasional deep cleaning to maintain appearance. Protect your floors with preventative measures like rugs and furniture pads, and they’ll look beautiful for decades.
The techniques I’ve shared here come from years of maintaining hardwood in my own home and learning from mistakes. Start with a consistent daily sweeping routine, master the barely-damp mopping technique, and do a deep clean seasonally. Your timber floors will reward you with lasting beauty and durability. For more home maintenance wisdom, check out resources from Family Handyman, This Old House, and Bob Vila for additional guidance.


