
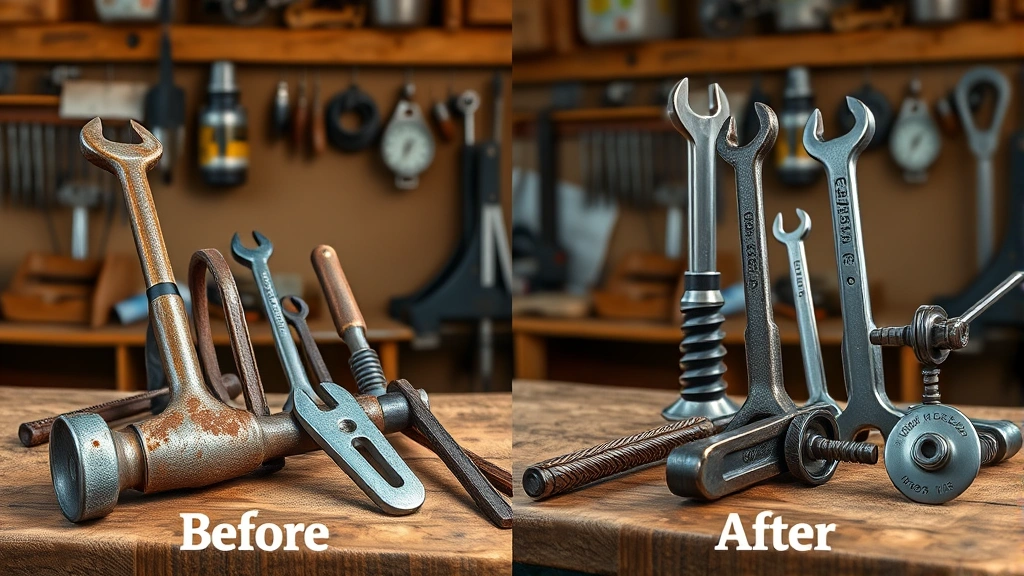
Learning how to clean rusty tools is one of those essential skills that separates the weekend warrior from the frustrated garage dweller. Whether you inherited your grandfather’s toolbox or left your favorite wrench in the rain one too many times, rust happens. The good news? It’s completely fixable, and you don’t need fancy equipment or expensive chemicals to do it right.
I’ve spent years in workshops watching tools go from pristine to corroded, and I’ve tested every method under the sun. Some work better than others, and some are downright wastes of time. In this guide, I’m sharing the five proven techniques that actually deliver results—plus the insider tricks that’ll have your tools looking like new again.
Table of Contents
Why Rust Matters
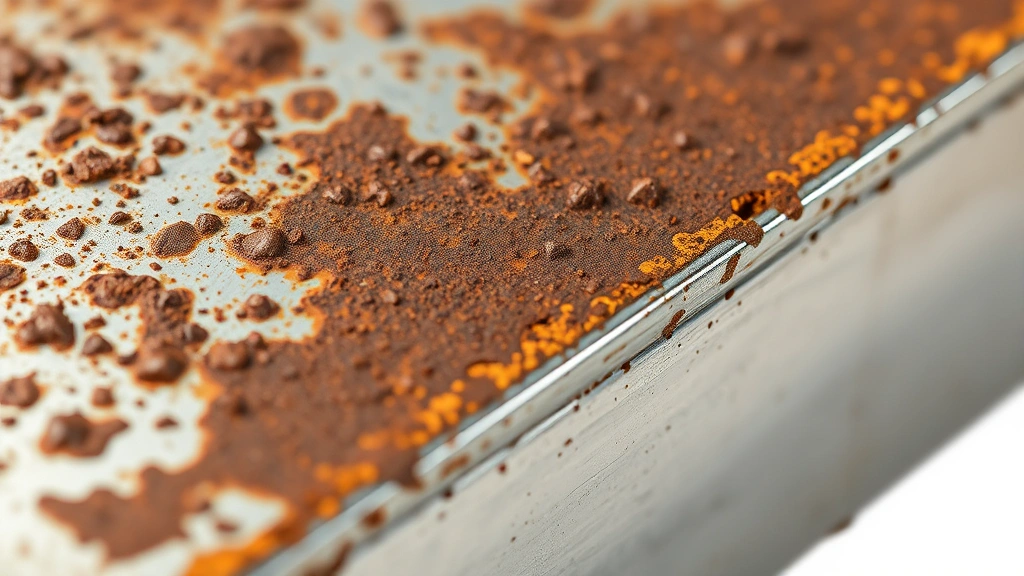
Before we jump into cleaning, let’s talk about why you should actually care about rust on your tools. Rust isn’t just ugly—it’s a performance killer. A rusty wrench can slip on bolts, stripping them. Rusty drill bits won’t bite properly into material. Corroded saw blades tear instead of cut clean. Beyond functionality, rust spreads. A little surface corrosion today becomes deep pitting tomorrow, and eventually your tool becomes a paperweight.
The real issue is that rust is oxidation—a chemical reaction where iron combines with oxygen and moisture. Left unchecked, it eats deeper into the metal. That’s why addressing rust early matters. A tool caught in the early stages of rust takes 30 minutes to restore. Wait six months, and you’re looking at a weekend project.
The Vinegar Soak Method
This is my go-to for light to moderate rust, and it’s the cheapest method you’ll find. White vinegar contains acetic acid, which dissolves rust without harming the underlying steel. Here’s the process:
Fill a container (plastic bucket, old bathtub, or even a trash can) with white vinegar—enough to completely submerge your rusty tools. Drop them in and let them sit. For light surface rust, 24 hours is usually enough. Heavy rust? Give it 48 hours. The longer they soak, the more rust loosens up.
After soaking, pull out your tools and scrub with a wire brush or steel wool. The rust should come off in flakes. For stubborn spots, use a small brass brush or old toothbrush. Rinse everything thoroughly with water, then dry immediately with a cloth or compressed air. Any moisture left behind will start the rust cycle all over again.
Pro tip: If you’re cleaning multiple tools or want to speed things up, add a tablespoon of salt to the vinegar. The salt acts as a catalyst and accelerates the rust removal process. I’ve seen this cut soaking time in half for moderate rust.
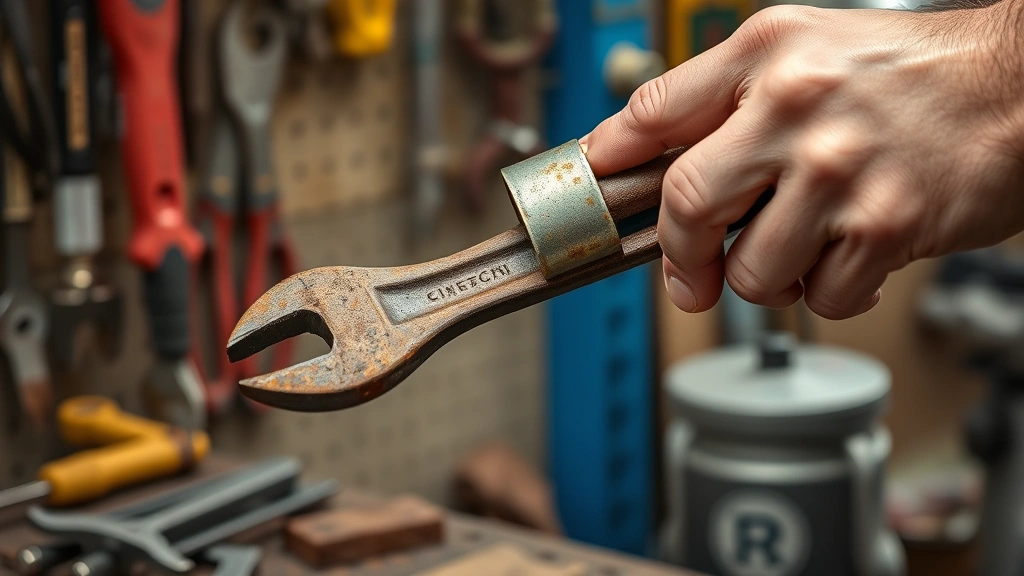
Wire Brush & Elbow Grease
Sometimes the simplest approach works best. A quality wire brush—hand-held or mounted on a drill—can handle light to moderate rust surprisingly well. This method requires more physical effort than soaking, but it’s faster if you only have a tool or two to clean.
Grab a stiff wire brush and start scrubbing in circular motions. Apply firm pressure, but don’t go crazy—you’re trying to remove rust, not reshape the tool. For drill-mounted brushes, keep the speed moderate (around 1500 RPM) to maintain control and avoid metal fatigue.
This approach works particularly well for tools with complex shapes where soaking isn’t practical—like socket sets or combination wrenches. You can target specific rusty areas without dunking the entire tool. The downside? Your forearm will feel it if you’re working on multiple tools. Also, wire brushing can leave fine particles on the tool, so wipe everything down with a dry cloth when you’re done.
For best results, secure your tool in a vise if possible. This frees up both hands and gives you better control. If you’re using a drill-mounted brush, wear safety glasses—rust particles fly everywhere.
Baking Soda Paste Technique
Baking soda is another household staple that works wonders on rust. Mix baking soda with water to create a thick paste—think peanut butter consistency. Apply this paste directly to rusty areas and let it sit for 15-30 minutes. The paste creates an alkaline environment that breaks down rust chemically.
After the paste has worked, scrub with a soft brush or cloth. Baking soda is gentler than wire brushes, so this method is ideal for tools where you want to avoid surface scratching. It’s also safer if you’re cleaning vintage or collectible tools where you want to preserve patina while removing active rust.
The beauty of this method is that it’s non-toxic and safe to handle without gloves (though I recommend them anyway). You can also add a few drops of lemon juice to the paste for extra acidic power. Rinse thoroughly with water and dry immediately.
This technique pairs well with the vinegar soak method. Soak first to loosen heavy rust, then use the baking soda paste for finishing touches and stubborn spots. Many professionals use this two-step approach for tools that have been neglected for years.
Electrolysis for Heavy Rust
When you’re dealing with serious rust—deep pitting, heavy corrosion, tools that look like they’ve been buried for decades—electrolysis is the nuclear option. This method uses an electrical current to reverse the oxidation process chemically. It sounds complicated, but it’s actually straightforward.
You’ll need a 12-volt power source (a car battery charger works perfectly), a steel electrode (rebar or old steel rod), washing soda (not baking soda), water, and a non-metal container. Mix the washing soda with water in your container, place the steel electrode and your rusty tool in the solution (they shouldn’t touch), connect the positive lead to the electrode and the negative lead to your tool, and turn it on.
The electrical current causes a chemical reaction that converts rust back into iron. You’ll see bubbles forming—that’s the process working. Depending on how bad the rust is, this can take 4-24 hours. The beauty of electrolysis is that it removes rust without removing any base metal, so it’s perfect for preserving tool dimensions and fine details.
After electrolysis, your tools will look gray and dull—that’s normal. Scrub them lightly with a wire brush to remove loose particles, then dry completely. You’ll need to apply a protective coating immediately because the bare metal is vulnerable to flash rusting.
Fair warning: electrolysis requires some electrical knowledge and safety awareness. If you’re not comfortable working with batteries and electrical current, stick with the other methods. There are also commercial electrolysis kits available if you want a pre-packaged solution.
Commercial Rust Removers
If you want to skip the DIY chemistry, commercial rust removers like those recommended by Family Handyman offer reliable results. Products like Evap-O-Rust or Naval Jelly work through chemical conversion, turning rust into a stable compound that you can wipe away.
Follow the product instructions carefully—some require soaking, others are applied directly. Most commercial removers are safer to handle than vinegar or electrolysis, though you should still use them in ventilated areas and wear gloves. They’re more expensive than household methods, but for heavy rust or valuable tools, the investment is worth it.
The advantage of commercial products is consistency and speed. You know exactly what you’re getting and how long it’ll take. The disadvantage is cost and the fact that you’re introducing chemicals into your workspace. For occasional tool maintenance, household methods are fine. For professional restoration or frequent rust issues, commercial removers earn their place in your toolkit.
Prevention & Long-Term Storage
Here’s the truth: preventing rust is infinitely easier than removing it. Once you’ve cleaned your tools, keeping them rust-free is about controlling moisture and oxygen exposure. Store tools in a dry location—not the garage where humidity fluctuates, and definitely not the basement where moisture collects.
Use silica gel packets or desiccant packs in your toolbox. These absorb ambient moisture before it reaches your tools. Keep tools in a climate-controlled space if possible. If you’re storing tools long-term, apply a thin coat of light machine oil or paste wax to protect the metal. This creates a barrier against moisture without gumming up moving parts.
For tools you use regularly, a quick wipe with an oily cloth after use goes a long way. It removes moisture and creates a protective layer. This is especially important for tools that get wet during use—shovels, garden tools, or anything used outdoors.
Consider investing in a tool chest with a locking lid rather than leaving tools scattered in open storage. This simple step reduces humidity exposure dramatically. If you live in a humid climate, a small dehumidifier in your workshop is worth every penny.
Finishing Touches Matter
After you’ve removed all the rust using your chosen method, the finishing step determines whether your tools stay clean or rust returns. This is where most DIYers drop the ball.
First, dry everything completely. Use a cloth, compressed air, or even a heat gun if you’re dealing with tools that have crevices where moisture can hide. Any water left behind will start oxidation again within hours.
Next, apply a protective coating. For tools you use frequently, a light coat of machine oil is perfect. For storage, paste wax provides longer-lasting protection. For outdoor tools, consider a spray-on coating like Boeshield T-9 or similar products. These create a protective layer that lasts weeks or months depending on the product.
For tools with moving parts—hinges, joints, adjustable mechanisms—make sure your protective coating doesn’t interfere with function. Test the tool before storing it. A wrench that’s too slippery from oil coating is useless.
Finally, store your freshly cleaned tools properly. Don’t just throw them back in the toolbox where they’ll pick up moisture again. Use a dedicated, dry storage location. If you’re storing tools long-term, check on them periodically. Even with prevention measures, some rust can develop over months or years. Catching it early means a quick touch-up instead of a major restoration.
Frequently Asked Questions
How long does it take to clean rusty tools?
Light surface rust can be cleaned in 30 minutes to an hour using wire brushing or the baking soda method. Moderate rust soaked in vinegar takes 24-48 hours of soaking plus an hour of scrubbing. Heavy rust using electrolysis can take 12-24 hours of soaking, but requires minimal active work. The time investment depends on rust severity and your chosen method.
Can I use regular household vinegar?
Yes, white vinegar works great. The acetic acid content is what matters—typically 5% in household vinegar. Apple cider vinegar works too, but white vinegar is cheaper and more effective. Avoid balsamic or wine vinegars; they’re not acidic enough and will leave sticky residue on your tools.
Will rust removal damage my tool?
Proper rust removal doesn’t damage tools. Wire brushing and chemical methods remove rust without affecting the underlying steel. Electrolysis is actually the gentlest method because it removes only the rust layer. The only way to damage tools is through improper technique—using excessive force, exposing them to extreme temperatures, or leaving them wet after cleaning.
What’s the best prevention method?
Storage in a dry location combined with light oil coating is the best prevention. Keep tools in a climate-controlled space, wipe them with an oily cloth after use, and use silica gel in storage containers. This combination prevents 95% of rust issues. For outdoor tools, apply a protective spray coating annually.
Can I clean vintage or antique tools?
Yes, but carefully. For valuable vintage tools, use the gentlest methods first—baking soda paste or light wire brushing. Avoid aggressive electrolysis or heavy chemical treatments that might remove patina collectors value. When in doubt, consult a tool restoration specialist. For tools you actually use, standard cleaning methods are fine.
Is it safe to use electrolysis at home?
Electrolysis is safe if you follow proper electrical safety procedures. Use a 12-volt source, ensure connections are secure and insulated, and keep the solution away from children and pets. Never use household current (120 volts or higher)—that’s dangerous. If you’re uncomfortable with electrical work, use one of the other methods instead.
How often should I check stored tools for rust?
Check stored tools every 3-6 months, especially in humid climates. Even with prevention measures, some rust can develop. Early detection means a quick touch-up instead of a full restoration. Tools you use regularly need less frequent checking—just wipe them down after use and store them properly.


