

Learning how to clean PS5 is one of the best investments you can make in your gaming setup’s longevity. Your PlayStation 5 works hard, pulling in air constantly to keep those components cool, and that means dust buildup is inevitable. The good news? It’s not complicated, and you don’t need fancy equipment—just some patience and the right approach. I’m going to walk you through everything you need to know to keep your console running like it’s fresh out of the box.
Table of Contents
Why Cleaning Matters
Your PS5 is a precision piece of engineering. Inside that sleek white shell, there’s a custom AMD processor, a dedicated GPU, and a massive heatsink working overtime to keep temperatures in check. When dust accumulates on the heatsink and fan blades, airflow gets restricted. This forces your console to work harder, temperatures climb, and the fan spins faster trying to compensate. Over time, this thermal stress degrades components and can lead to throttling—where the system reduces performance to cool down—or worse, complete failure.
I’ve seen consoles that were never cleaned develop thermal issues within 18-24 months of heavy use. A quick cleaning session every 6 months prevents all of that. It takes maybe 30 minutes and costs nothing but a little elbow grease.
Tools You’ll Actually Need
Don’t overthink this. You need:
- Compressed air canister (the kind with a straw attachment—crucial)
- Soft-bristled brush (old toothbrush works great)
- Microfiber cloth (lint-free is important)
- Isopropyl alcohol (70% concentration, optional but helpful)
- Torx T8 screwdriver (for the side panel)
- Plastic pry tool or guitar pick (for gently separating panels)
- Small container or tray (to keep screws organized)
That’s it. You don’t need special “gaming console cleaners” or expensive kits. The basics work perfectly.
External Cleaning Steps
Start here because it’s the safest part. Power down your PS5 completely and unplug it from the wall. Wait five minutes for any residual charge to dissipate.
Wipe the shell: Use your microfiber cloth, slightly dampened with water, to wipe down the white plastic panels. Get into the crevices where dust loves to hide. If you’ve got stubborn marks, a tiny bit of isopropyl alcohol on the cloth handles it without damaging the finish.
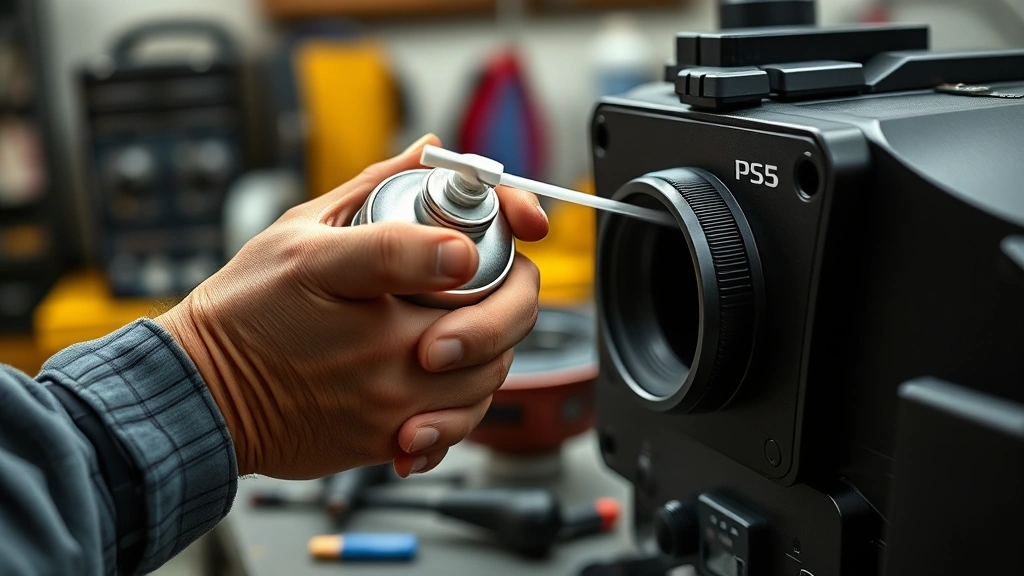
Clean the vents: The intake vents on the sides are where most dust enters. Use your compressed air canister here—short bursts, holding the straw close to push air through the fins. Don’t shake the canister; that sprays liquid propellant. Keep the can upright and use steady pressure.
Much like maintaining other electronics—similar to how you’d approach how to clean iPhone charging ports—you want to be deliberate and avoid moisture in sensitive areas.
USB ports and power connection: Blow out the USB-A and USB-C ports with compressed air. These collect dust over time and can cause connection issues. A quick blast clears them right out.
Heatsink & Fan Cleaning
This is where the real cleaning happens. You’re going to remove the side panel to access the internal components.
Removing the panel: The white side panel slides off. Look at the seam where it meets the console—there’s a small notch. Use your plastic pry tool or guitar pick to gently separate it. Don’t force it; it’ll come free with light pressure. Once loose, slide the panel toward the back of the console and it’ll pop off.
Accessing the heatsink: You’ll see the fan and heatsink assembly. There are two Torx T8 screws holding the fan in place. Remove these and set them aside in your container. The fan lifts straight up—no twisting or yanking.
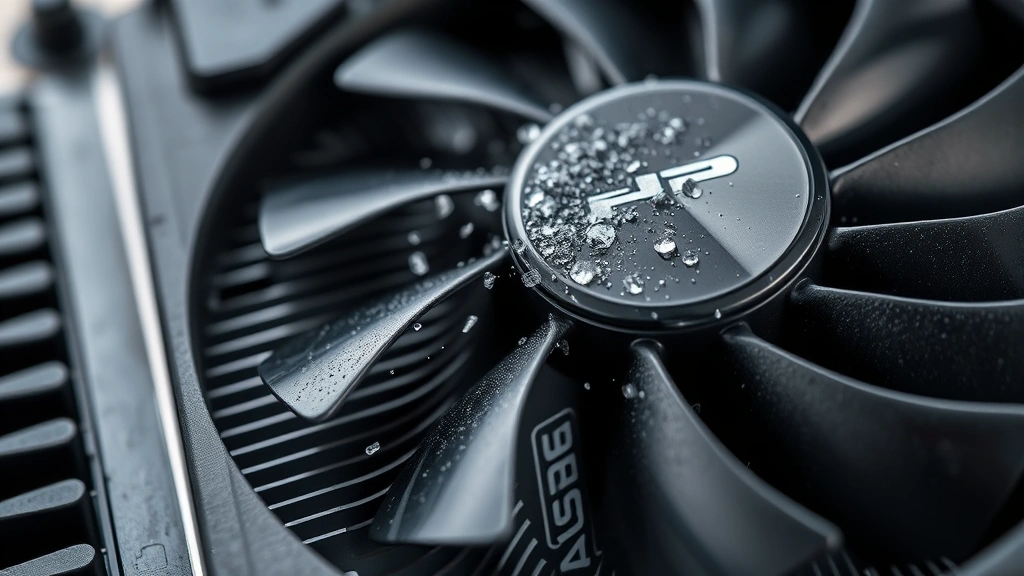
Compressed air technique: Here’s the critical part: hold the fan blade still with your finger while blasting compressed air through it. This prevents the motor from spinning, which can damage bearings. Work methodically across all the fins, using short bursts. You’ll see dust clouds—that’s what you’re after. The heatsink fins are delicate, so don’t use a brush here; air only.
Fan blade cleaning: Once the fan is out, use your soft brush to gently clean the blades. A damp microfiber cloth finishes it off. Make sure everything is completely dry before reinstalling.
The heatsink is where thermal paste sits, and you don’t want to disturb that unless you’re replacing it. A light dusting with compressed air is fine, but don’t scrub it.
Disc Drive Care
If you use the disc version, the laser lens collects dust. You can’t easily access it without risking damage, but you can help.
Use compressed air, blowing short bursts into the disc drive slot from the side. The goal is to dislodge dust that might be settling on the lens. Don’t insert anything into the drive—no brushes, no swabs. Compressed air only.
If you notice the console struggling to read discs, or if it takes longer than usual to load, that’s a sign the lens needs attention. At that point, you’re looking at professional cleaning or a replacement drive.
Reassembly & Testing
Reassembly is the reverse of disassembly, but there are a few things to keep in mind.
Reinstall the fan: Make sure the fan cable is routed properly—it shouldn’t be pinched or twisted. The fan slides back down into its mount, and the two Torx screws go back in. Tighten them snugly but not aggressively; you’re not stripping plastic here.
Reattach the panel: Slide the white panel back on, aligning it with the console body. It should seat with a satisfying click. If it doesn’t, you might have the cable in the way. Check the fan cable routing and try again.
Power test: Plug the console back in and power it on. Listen for the fan. It should be quieter than before if dust was the culprit. Let it run for 10-15 minutes, then check that it powers down normally and boots back up without issues.
This is similar to how you’d test other electronics after maintenance—like after how to clean an engine bay, you want to verify everything runs smoothly before considering the job done.
Maintenance Schedule
Prevention beats crisis management every time. Here’s what I recommend:
- Every 3 months: Light external cleaning with a microfiber cloth and compressed air on the vents.
- Every 6 months: Full cleaning as described above—external and internal heatsink work.
- Every 12 months: Deep dive cleaning plus inspection of all cable connections and ports.
If you live in a dusty environment, smoke around your console, or have pets, move that schedule up. Clean every 3 months instead of 6.
Common Mistakes to Avoid
Shaking the compressed air can: This introduces liquid propellant into your console. Bad news. Always keep the can upright.
Using a vacuum: Vacuums generate static electricity, which can fry components. Compressed air is your friend here.
Touching the thermal paste: If you accidentally disturb the paste on the heatsink, you’ll need to replace it with fresh paste and re-seat the heatsink. It’s doable but adds complexity. Avoid the temptation to scrub the heatsink clean.
Over-tightening screws: The Torx screws go in snug. You’re not building a car engine. Light pressure is enough.
Rushing reassembly: Take your time putting it back together. A loose cable or improperly seated fan causes problems you don’t want.
Cleaning while powered on: Always power down and unplug. Always. No exceptions.
Just like you’d be careful with other precision devices—whether it’s how to format a micro SD card or maintaining other tech—deliberate, methodical work prevents headaches.
Frequently Asked Questions
How often should I clean my PS5?
Every 6 months for standard use, every 3 months if you’re in a dusty environment or use your console heavily. Light external cleaning monthly keeps dust from accumulating.
Will cleaning void my warranty?
Removing the side panel doesn’t void the warranty. Sony designed it to be user-removable. However, if you damage components during cleaning, that’s on you. Work carefully and you’ll be fine.
Can I use a regular vacuum instead of compressed air?
No. Vacuums create static electricity that can damage components. Compressed air is the safe choice.
What if I accidentally spilled something on my PS5?
Power it down immediately and unplug it. Don’t try to use it. If it’s liquid, let it dry completely—at least 24 hours in a warm, dry place—before powering it back on. If it’s something sticky or conductive, you might need professional help.
Is thermal paste replacement necessary?
Only if you disturb the existing paste or if you notice thermal throttling that cleaning doesn’t fix. For normal cleaning, avoid touching it.
Can I clean the disc lens myself?
Only with compressed air. Don’t use brushes or liquids on the lens. If the drive still struggles after compressed air cleaning, professional service is your best bet.
How do I know if my PS5 needs cleaning?
Listen for it. If the fan is noticeably louder than it used to be, that’s dust buildup. If you notice thermal throttling (games running slower or frame rates dropping), that’s another sign. Preventive cleaning before these issues appear is ideal.
Keep Your Console Running Strong
Knowing how to clean PS5 properly takes the mystery out of console maintenance. It’s straightforward work that pays dividends in performance and longevity. You’re not doing anything complicated—just removing dust and making sure airflow stays unobstructed. Thirty minutes every six months keeps your console running like it’s brand new, keeps thermals in check, and prevents the fan from sounding like a jet engine during intense gaming sessions.
The tools are cheap, the process is simple, and the payoff is huge. Your PS5 will thank you with years of reliable performance. Now grab that compressed air canister and get to work.


