
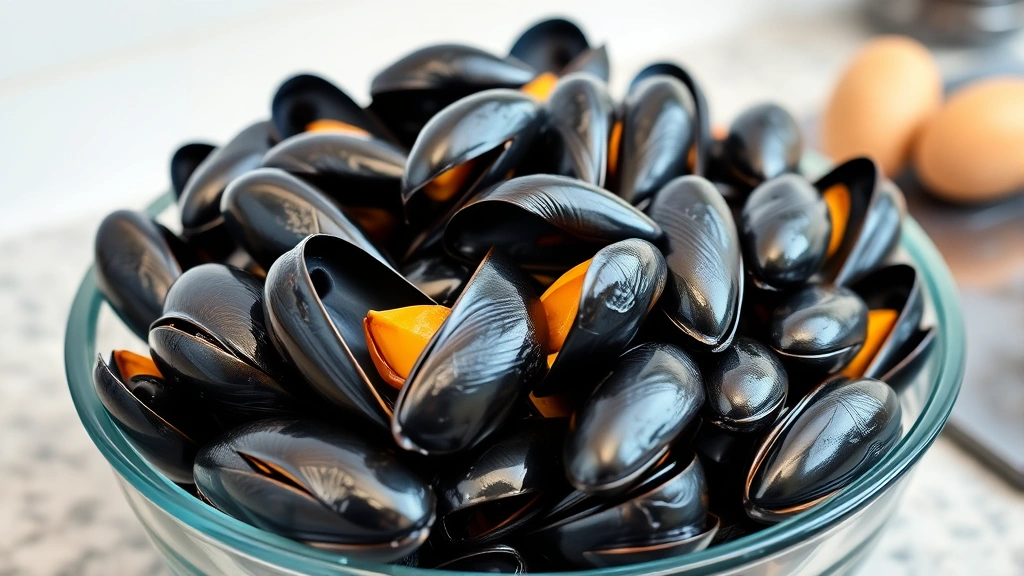
Learning how to clean mussels is one of those kitchen skills that seems intimidating until you actually do it—then you realize it’s genuinely straightforward. Whether you’re planning a fancy dinner or just grabbed some fresh mussels from the market, proper cleaning is non-negotiable. It takes maybe five minutes, requires zero special equipment, and makes a massive difference in your final dish.
Table of Contents
Why Clean Mussels First
Mussels are filter feeders living in ocean or brackish water, which means they collect sand, grit, seaweed, and barnacles on their shells. If you skip cleaning, you’re biting into gritty, sandy mouthfuls—and nobody wants that surprise. Plus, mussels can contain harmful bacteria or toxins if they’ve been in contaminated waters, so proper cleaning and purging helps eliminate that risk. It’s literally the difference between a pleasant meal and ruining dinner.
The good news? Cleaning takes minimal effort and you don’t need fancy tools. Just your hands, cold water, and maybe five minutes of attention. Think of it as basic food prep respect—like rinsing lettuce or peeling garlic.
What You Actually Need
This is refreshingly simple. Grab:
- Cold running water (tap water is fine)
- A colander or mesh strainer (optional but helpful)
- A stiff brush or old toothbrush (for stubborn barnacles)
- A bowl (for the final soak)
- Your hands (the best tool)
That’s it. No special mussel-cleaning gadgets needed. A regular kitchen brush works perfectly fine, and if you don’t have one, even a rough sponge or cloth will do the job.
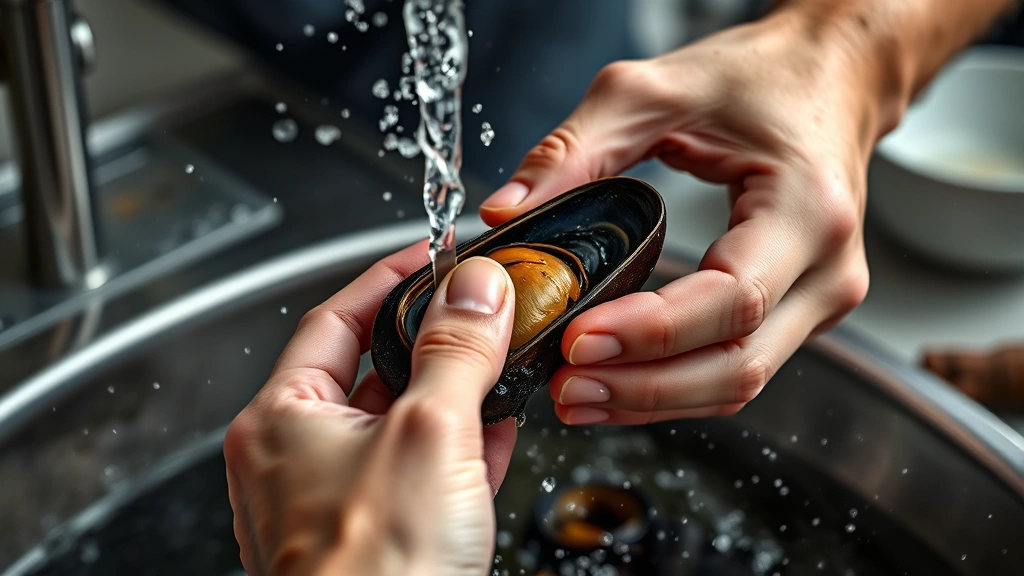
Rinse & Inspect Each One
Start by dumping your mussels into a colander and running them under cold water. Rub each one gently with your hands while the water flows over them. You’re removing loose debris, sand, and algae coating the shell. This is where you also do a crucial inspection.
Look for:
- Cracked or broken shells — toss these immediately
- Shells that are wide open and won’t close — dead mussels, discard them
- Shells that feel unusually heavy — these might be full of sand or mud; set aside for extra attention
- Any weird smell — fresh mussels smell like ocean, not like rotting fish
Dead mussels are dangerous, so don’t take chances. If a mussel is gaping open and doesn’t snap shut when you tap it, it’s gone. This quick inspection takes 30 seconds and prevents food poisoning.
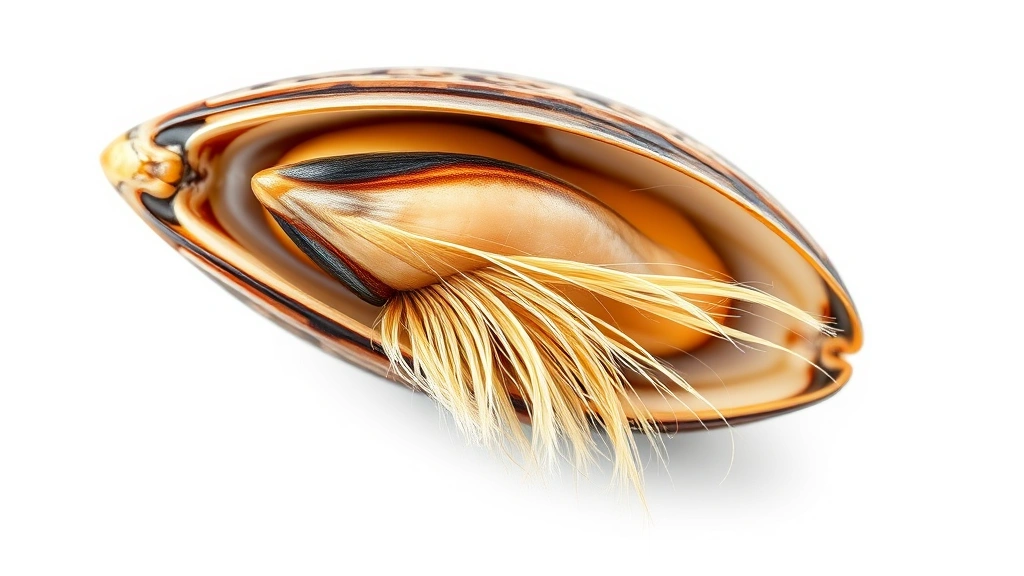
Remove the Beard
The “beard” is the fibrous bundle sticking out from the shell’s edge—it’s how mussels attach themselves to rocks and ropes. You need to remove it before cooking. Hold the mussel in one hand and grab the beard (usually dark, stringy strands) with your other hand or with a small knife. Pull firmly toward the hinge of the shell. It should come off cleanly in one motion.
Some people use a knife to cut it, others just yank it with their fingers. Either works. The beard is tough, so don’t worry about damaging the mussel—just pull confidently. If it doesn’t come off easily, you might be pulling the wrong direction; try pulling toward the hinge instead of away from it.
For mussels with really stubborn beards or lots of barnacles, use your stiff brush to scrub the outside of the shell. This is also where that old toothbrush comes in handy for the tight spots around the hinge.
Final Soak & Storage
After removing all the beards, place your cleaned mussels in a bowl of cold, salted water (about 1 tablespoon of salt per quart of water). Let them soak for 20-30 minutes. This is called “purging,” and it encourages the mussels to expel any remaining sand or grit from inside their shells. You’ll actually see them filtering water—it’s kind of cool to watch.
After soaking, drain them one more time under cold running water. Give them a final gentle rinse and they’re ready to cook. Store cleaned mussels in the refrigerator in a bowl (not in a sealed plastic bag—they need to breathe) covered loosely with a damp cloth. They’ll keep for 1-2 days.
Cooking Your Clean Mussels
Now that your mussels are properly cleaned, cooking is straightforward. The most common method is steaming: throw them in a pot with a little white wine, seasoning, and aromatics (garlic, shallots, bay leaf). Cover and heat over medium-high until they open, about 5-7 minutes. Discard any that don’t open.
You can also roast them in the oven at 450°F for 8-10 minutes, or add them to pasta, soups, or paella. The key is high heat and quick cooking. Overcooked mussels become rubbery and unpleasant.
Pair your mussels with sides like boiled green beans or fried green beans for a complete meal. Or serve them with crusty bread and a sauce for dipping.
Common Cleaning Mistakes
Don’t make these:
- Soaking mussels too long — more than an hour and they’ll start dying. 20-30 minutes is perfect.
- Using hot water — stick with cold. Hot water stresses them out.
- Storing them in sealed plastic — they’re alive and need airflow. Use a bowl with a damp cloth on top.
- Ignoring the smell test — fresh mussels smell briny and ocean-like. Anything fishy or rotten means they’re bad.
- Cooking mussels that won’t close — if they’re gaping and unresponsive to a tap, they’re dead.
- Skipping the beard removal — you’ll bite into it while eating. It’s not edible and tastes weird.
These mistakes are easy to avoid once you know about them. The whole cleaning process is forgiving—just pay attention to the basics.
Storage & Timeline
Buy mussels the day you plan to cook them if possible. If you must store them, keep them in the coldest part of your fridge (usually the back of the bottom shelf) in a bowl loosely covered with a damp cloth. They’ll stay good for 1-2 days maximum.
Never store them in airtight containers or sealed bags—they need oxygen. And never store them on ice directly; the fresh water from melting ice will kill them. A damp cloth is your friend.
If you’re buying frozen mussels, thaw them in the refrigerator overnight and treat them the same way as fresh ones. Some frozen mussels come pre-cleaned, so check the package.
Frequently Asked Questions
Can you clean mussels the night before cooking?
Yes, but they’re best cleaned within a few hours of cooking. You can rinse and remove the beards the night before, then do the final purge soak a few hours before cooking. Just keep them in the fridge covered with a damp cloth.
What if a mussel won’t open after cooking?
Discard it. Mussels that don’t open during cooking are likely dead and shouldn’t be eaten. It’s a safety thing—don’t take chances.
Do you need to purge mussels if they’re farm-raised?
Farm-raised mussels are generally cleaner than wild ones, but purging doesn’t hurt. It’s a quick step that ensures any remaining grit is expelled. Most chefs do it regardless.
Can you clean mussels in saltwater from the ocean?
If you’re harvesting wild mussels, use ocean water from a clean area away from pollution. For store-bought mussels, tap water with added salt works fine. The salt content matters more than the source.
What’s the difference between mussels and clams?
Mussels have beards; clams don’t. Clams have thicker shells and need more aggressive scrubbing. The cleaning process is similar, but mussels are generally easier because of the beard—once it’s off, you’re mostly done.
How do you know if mussels are fresh?
Fresh mussels smell like ocean (briny, not fishy), have closed or snapping-shut shells, feel heavy for their size, and have shiny, intact shells. Avoid any with cracks, chips, or that smell off.
Final Thoughts
Learning how to clean mussels is genuinely one of the easiest cooking skills you can master. Rinse, inspect, remove the beard, purge, and you’re done. Five minutes of work transforms your mussels from gritty and risky to restaurant-quality ready. Once you’ve done it once, it becomes second nature.
The key is not overthinking it. Mussels are tough little creatures—they can handle a firm rinse and beard removal. Just be respectful of the purging step (let them filter out grit naturally) and discard any that look or smell suspicious. After that, you’re free to cook them however you like. Whether you’re making a simple white wine steam, a fancy pasta, or something with garbanzo beans or great northern beans as a side, properly cleaned mussels will elevate your meal.


