

Learning how to clean sterling silver doesn’t require fancy chemicals or expensive professional services—just a few household items and about 15 minutes of your time. Whether you’re dealing with tarnished jewelry, heirloom flatware, or decorative pieces gathering dust in a cabinet, I’ve got five proven methods that actually work without damaging your precious metals.
Table of Contents
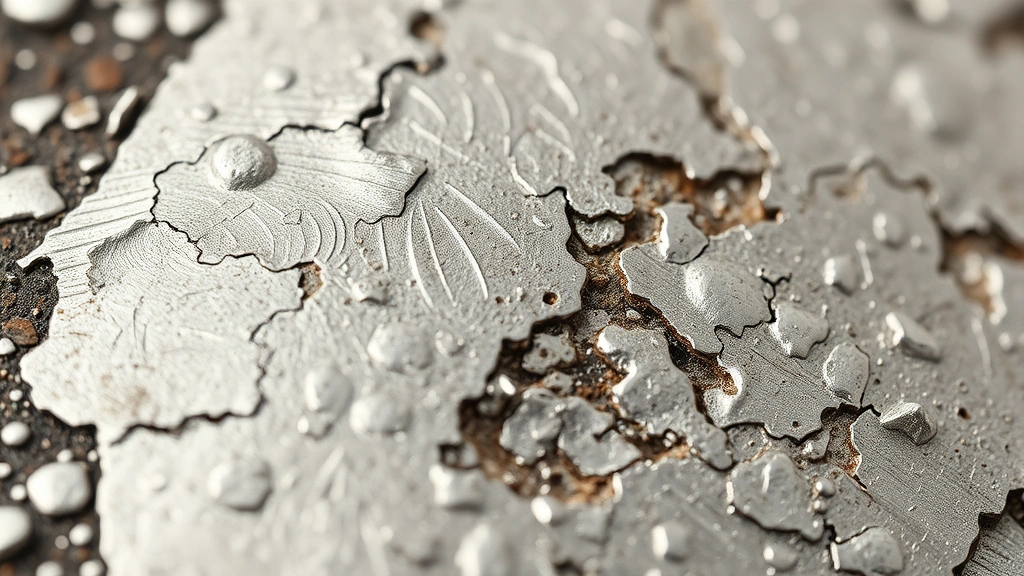
Why Silver Tarnishes Over Time
Before diving into the cleaning methods, let’s talk about what’s actually happening to your silver. Tarnish isn’t dirt—it’s a chemical reaction. Sterling silver (92.5% pure silver) reacts with sulfur compounds in the air, creating a dark layer of silver sulfide on the surface. This happens faster in humid environments, especially near sources of sulfur like rubber bands, certain papers, or even some foods.
The good news? Tarnish is completely reversible, and you don’t need industrial-strength chemicals to remove it. Most tarnish responds beautifully to simple methods using stuff you probably already have in your kitchen. I’ve tested these approaches on everything from my grandmother’s silver tea set to modern sterling bracelets, and they consistently deliver professional-looking results.
The Baking Soda Method
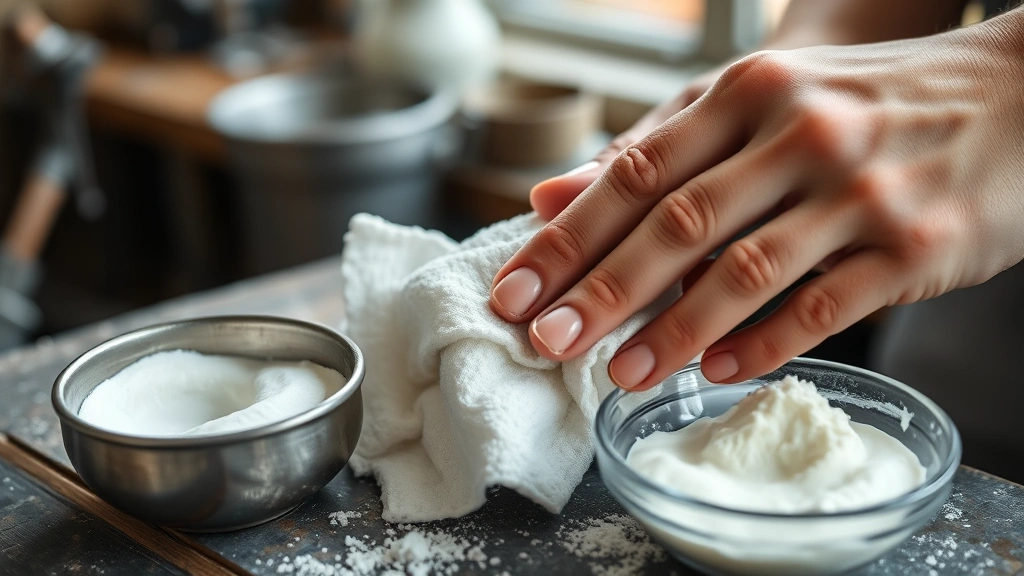
This is my go-to for light to moderate tarnish, and it’s ridiculously simple. Grab some baking soda from your pantry—the same box you use for cleaning other household items works perfectly here.
Mix three parts baking soda with one part water to create a paste with the consistency of peanut butter. If your silver pieces are delicate or have intricate details, add a bit more water to thin it out. Use a soft cloth or an old toothbrush (the soft kind, not the hard bristles) to gently rub the paste onto the tarnished areas in circular motions. Work slowly and methodically—rushing this step doesn’t save time, it just wastes effort.
Let the paste sit for about five minutes on heavily tarnished pieces. This gives the baking soda time to break down the tarnish layer. Then rinse thoroughly under cool running water and dry immediately with a lint-free cloth. The tarnish should lift away, revealing the bright silver underneath. For stubborn spots, repeat the process rather than scrubbing harder.
Aluminum Foil & Baking Soda Trick
This method is pure chemistry in action, and honestly, it feels like magic the first time you try it. Line a bowl with aluminum foil (shiny side up), fill it with hot water, add about a tablespoon of baking soda, and stir until dissolved. The aluminum and baking soda create an electrochemical reaction that transfers the tarnish from your silver to the foil.
Drop your silver pieces into the solution and let them sit for 5-10 minutes depending on how heavily tarnished they are. You’ll actually see the tarnish migrate from your silver to the foil—it’s genuinely fascinating to watch. Remove the pieces carefully (the water’s hot), rinse with cool water, and dry immediately.
This method works exceptionally well for pieces with lots of surface area and intricate designs where paste methods might miss spots. However, skip this approach if your silver has gemstones or pearls, as prolonged exposure to hot water can damage them. Also, don’t use this on antique or valuable pieces without testing on a small area first—while it’s gentle, better safe than sorry with heirlooms.
Vinegar & Polish Solution
White vinegar is a powerhouse cleaner for silver, especially when combined with a bit of elbow grease and the right technique. Pour about half a cup of white vinegar into a bowl and add a teaspoon of baking soda—it’ll fizz up, which is exactly what you want. This fizzing action helps break down tarnish.
Soak your silver pieces for 2-3 hours in this solution. For light tarnish, even 30 minutes works. After soaking, use a soft cloth to gently buff away any remaining tarnish. The combination of the acidic vinegar and the abrasive baking soda tackles stubborn spots that either method alone might miss.
This approach is particularly effective for flatware and pieces without gemstones. The longer soak time means you’re not applying physical pressure, which is great for delicate items. Just make sure you’re using white vinegar, not apple cider or other varieties—the acidity level matters here.
Lemon Salt Paste Technique
If you want to avoid baking soda, this citric acid approach delivers similar results. Mix table salt with fresh lemon juice to create a paste. The citric acid in lemon juice works as a natural tarnish remover, while salt provides gentle abrasive action.
Apply the paste with a soft cloth using gentle circular motions. This method works surprisingly fast—often within 3-5 minutes for moderate tarnish. Rinse thoroughly and dry immediately. The advantage here is that you’re using completely natural ingredients, which some people prefer for heirloom pieces.
One tip: don’t let the salt paste sit too long on your silver, as salt can be slightly corrosive over extended periods. Apply, work it gently, and rinse quickly. Also, this method isn’t ideal for pieces with intricate designs where salt crystals might get trapped in crevices.
Commercial Silver Polishes
Sometimes the job calls for commercial-grade products, and there’s nothing wrong with that. Quality silver polishes like Hagerty or Tarnish X are specifically formulated for sterling silver and deliver consistent results. They typically contain mild abrasives and chemical agents that work faster than household methods on severely tarnished pieces.
When using commercial polishes, follow the manufacturer’s instructions carefully. Most involve applying the polish with a cloth, letting it sit briefly, and then buffing it away. These products are generally safe for sterling silver but test on a hidden area first if you’re concerned. They’re particularly useful for pieces that require frequent cleaning or for professional-looking results when you’re short on time.
The downside? Cost and chemical exposure. For routine maintenance, household methods are more economical. For occasional deep cleaning or when you need restaurant-quality shine fast, commercial polishes earn their place in your cleaning arsenal.
Preventing Future Tarnish
Here’s the real secret to keeping silver looking beautiful: prevention beats cleaning every time. Store your silver in airtight containers or anti-tarnish bags. These bags contain materials that absorb sulfur compounds before they can react with your silver. They’re inexpensive and genuinely effective—I’ve kept pieces in these bags for months with zero tarnish.
Keep silver away from rubber bands, certain papers, and direct sunlight. Humidity accelerates tarnishing, so avoid storing silver in bathrooms or basements if possible. A cool, dry closet or cabinet is ideal. You can also store pieces with anti-tarnish strips or chalk, which absorb moisture and sulfur compounds.
Regular use actually helps prevent tarnish because the oils from your skin and the friction from wearing or handling pieces keeps the surface active. That heirloom necklace you’re saving for special occasions? Wear it more often, and it’ll stay brighter longer.
Storage Secrets for Silver
Proper storage is half the battle in maintaining sterling silver. Individual cloth bags work better than plastic for long-term storage because they allow minimal air circulation while protecting from dust. If you’re storing multiple pieces together, wrap each one separately in acid-free tissue paper to prevent them from scratching each other.
Some people swear by storing silver with pieces of chalk or activated charcoal, which absorb moisture and sulfur. Replace these every few months for best results. Silica gel packets work too if you’re storing in sealed containers. The key is creating an environment where sulfur compounds can’t reach your silver.
For pieces you use regularly, like everyday jewelry or flatware, simple cloth storage in a drawer works fine. Just keep them out of humid areas and away from direct sunlight. If you notice tarnish starting to form, that’s your cue to use one of the cleaning methods above before it gets heavy.
When to Call a Professional
Most tarnish situations you can handle yourself, but some circumstances warrant professional help. If your silver has valuable gemstones, pearls, or enamel work, a professional jeweler or silver restoration specialist has the expertise to clean it without damage. Antique pieces with historical value should generally go to professionals who understand restoration versus cleaning.
If your silver has deep pitting (small holes in the surface) or significant damage beyond tarnish, professional polishing can sometimes improve appearance, though it won’t eliminate pitting entirely. Severely corroded pieces or those with unknown composition also benefit from professional assessment.
Don’t attempt DIY cleaning on pieces you’re unsure about—a quick consultation with a professional costs far less than accidentally damaging a valuable heirloom. Most jewelers offer cleaning services at reasonable rates, and they can advise on storage and maintenance too.
Frequently Asked Questions
Is it safe to use aluminum foil on all silver?
The aluminum foil method is safe for sterling silver, but avoid it on pieces with gemstones, pearls, or enamel. Also skip it for valuable antiques until you’ve tested on a small area. The hot water can potentially damage some stone settings or historical finishes.
How often should I clean my silver?
With proper storage, you might only need to clean sterling silver every 6-12 months. Pieces you use regularly may need cleaning more frequently. Don’t clean more than necessary—each cleaning involves some mild abrasion, so less frequent cleaning is gentler on your silver long-term.
Can I use toothpaste to clean silver?
Traditional toothpaste is too abrasive for sterling silver and can scratch the surface. Some specialty silver polishes are toothpaste-like in consistency, but regular toothpaste isn’t recommended. Stick with the methods outlined above for better results and safer cleaning.
What’s the difference between sterling silver and silver plate?
Sterling silver is 92.5% pure silver throughout the entire piece. Silver plate has a thin layer of silver over a base metal. These cleaning methods work on both, but be gentler with silver plate since aggressive cleaning can wear through the silver layer and expose the base metal underneath.
Does vinegar damage silver?
White vinegar is safe for sterling silver when used properly. The acidity helps dissolve tarnish without harming the silver itself. However, don’t soak pieces indefinitely—a few hours maximum is ideal. Rinse and dry immediately after soaking to prevent any potential issues.
Why does my silver tarnish so quickly?
Quick tarnishing usually indicates high humidity, storage near sulfur sources (rubber, certain papers), or exposure to harsh chemicals. Review your storage method and environment. Anti-tarnish bags and proper storage in cool, dry locations significantly slow tarnishing.


