
Learning how to clean marker board properly is one of those skills that saves you time and frustration every single day. Whether you’re managing a classroom, running a home office, or keeping track of family schedules, a grimy whiteboard defeats its whole purpose. The good news? Cleaning marker boards isn’t rocket science—it just takes the right approach and a few household staples you probably already have on hand.
Table of Contents
- Understanding Dry Erase Surfaces
- Method 1: The Dry Erase Eraser Route
- Method 2: Isopropyl Alcohol Solution
- Method 3: Whiteboard Cleaner Products
- Method 4: Baking Soda Paste
- Method 5: Vinegar and Water Mix
- Tackling Stubborn Ghost Marks
- Prevention and Regular Maintenance
- Mistakes That Damage Boards
- Frequently Asked Questions
Understanding Dry Erase Surfaces
Before we dive into the nitty-gritty of cleaning, let’s talk about what we’re actually dealing with. Marker boards have a special coating designed to let ink sit on top without absorbing. That coating is your friend, but it’s also delicate. The surface is typically a melamine, porcelain, or glass coating that repels moisture and ink. Understanding this matters because the wrong cleaning method can actually damage that protective layer, making future cleaning harder and potentially ruining the board permanently.
Most marker boards you’ll encounter are melamine—affordable, durable, and found everywhere from classrooms to kitchens. Some premium boards use porcelain or tempered glass, which are more forgiving and longer-lasting. Knowing which type you have helps you choose the right cleaning method. Check the back of your board or the manufacturer’s label if you’re unsure.
Method 1: The Dry Erase Eraser Route
Let’s start with the simplest approach: the humble dry erase eraser. This should always be your first move when tackling fresh marker marks. The eraser works by using friction and the felt material to lift dried ink off the surface without requiring any liquids or chemicals.
Here’s the proper technique: Use firm, circular motions rather than light scrubbing. Apply consistent pressure as you work across the board in sections. Don’t just swipe randomly—work methodically from top to bottom or left to right. For stubborn spots, go back over them multiple times rather than pressing harder, which can damage the felt and scatter eraser debris everywhere.
Pro tip: Keep your eraser clean. A dusty, worn-out eraser won’t perform well. Tap it against a trash can regularly to knock loose the accumulated marker dust. If your eraser feels hard and crusty, it’s time for a replacement. A good quality eraser costs just a few dollars and lasts months with proper care.
Isopropyl Alcohol Solution
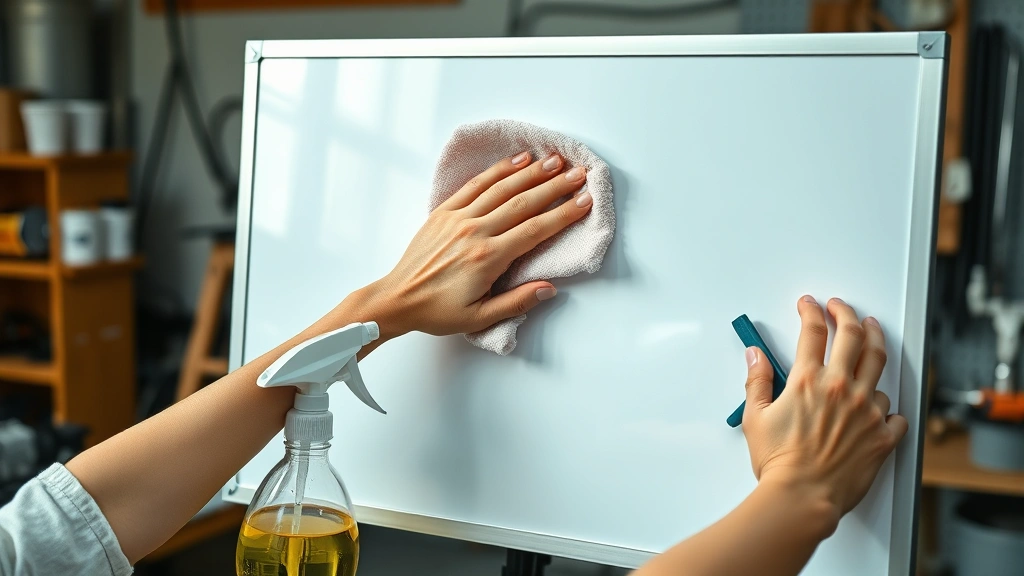
When dry erasers fall short, isopropyl alcohol is your heavy hitter. This is the method most teachers and office workers swear by for removing stubborn marks and ghost stains. The alcohol dissolves dried marker ink effectively without harming the board’s coating when used properly.
Mix a solution of 50% isopropyl alcohol and 50% water in a spray bottle. Spray the affected area generously and let it sit for 30 seconds—this dwell time is crucial. The alcohol needs a moment to break down the ink. Then wipe with a soft, lint-free cloth using circular motions. For particularly stubborn marks, spray again and use gentle pressure with a microfiber cloth.
One important caveat: never spray alcohol directly onto the board if it has electrical components or is mounted near electronics. Also, ensure good ventilation since alcohol fumes can be strong. If you’re working in a small space, open windows and take breaks. This method works brilliantly on glass and porcelain boards but use caution on melamine, as prolonged contact can sometimes affect the coating.
Whiteboard Cleaner Products
Commercial whiteboard cleaners exist for a reason—they’re specifically formulated to work with dry erase surfaces. Brands like Expo Dry Erase Board Cleaner and Cra-Z-Art are designed to dissolve marker ink without damaging the coating. These products often contain similar ingredients to isopropyl alcohol but may include additives that condition the surface.
Using commercial cleaners is straightforward: spray directly onto the board or onto a cloth, wait briefly, and wipe clean. Most dry erase cleaning products dry quickly and leave minimal residue. The advantage here is that they’re optimized for the job—no mixing required and no guesswork about ratios. The downside is cost; these products run $5-$10 per bottle.
If you go this route, stick with products specifically labeled for dry erase boards. General glass cleaners or all-purpose cleaners can leave streaks or damage the coating over time. Check the label to confirm it’s safe for your board type.
Baking Soda Paste
Here’s a method that works surprisingly well and uses something most kitchens have: baking soda. Mix baking soda with a small amount of water to create a thick paste—think toothpaste consistency. This gentle abrasive can lift stubborn marks without scratching the surface.
Apply the paste directly to stained areas and use a soft cloth to gently rub in circular motions. The mild abrasive action of baking soda combined with moisture helps break down dried marker residue. After 2-3 minutes of gentle rubbing, spray with water and wipe completely clean. Make sure you remove all baking soda residue, as it can leave a white film if left behind.
This method is excellent for melamine boards because it’s gentler than alcohol and doesn’t involve harsh chemicals. It also works well if you have kids or pets around and prefer avoiding chemical fumes. The only downside is it requires a bit more elbow grease than other methods.
Vinegar and Water Mix
White vinegar is another household staple that tackles marker board grime effectively. Mix equal parts white vinegar and water in a spray bottle. The acidity in vinegar helps dissolve ink while being less harsh than isopropyl alcohol. This method is particularly good for boards that see heavy daily use and accumulate general grime alongside marker residue.
Spray the solution onto the board and let it sit for about a minute. Wipe with a soft cloth using moderate pressure. The vinegar smell dissipates quickly as it dries. This method works well on all board types and is safe for families concerned about chemical exposure. If the smell bothers you, add a few drops of essential oil to the mixture—lemon or lavender work well and don’t interfere with cleaning effectiveness.
One note: if your board has metal trim or components, vinegar can cause spotting on some metals. Test in an inconspicuous area first, or wipe metal parts immediately after cleaning to prevent marks.
Tackling Stubborn Ghost Marks
Sometimes you’ll encounter ghost marks—faint images that remain even after thorough cleaning. These happen when marker ink has partially soaked into the coating or when the board surface has microscopic scratches that trap ink particles. Here’s how to handle them:
Start with the dry eraser again, but this time use a brand new eraser with firm, sustained pressure. Work the ghost mark area for 2-3 minutes straight. If that doesn’t work, move to isopropyl alcohol. Spray generously and let sit for a full minute before wiping. For stubborn cases, dampen a cloth with alcohol and lay it over the mark for several minutes to let the alcohol penetrate deeper.
If ghost marks persist after these methods, try the baking soda paste technique with slightly more vigorous rubbing—but stop short of aggressive scrubbing that could damage the coating. Some ghost marks are permanent if the coating itself has been compromised. In those cases, it’s time to accept them or consider board replacement. Check out our guide on how to get paint out of carpet for similar stubborn stain removal strategies that might inspire creative solutions.
Prevention and Regular Maintenance
The best cleaning is the cleaning you don’t have to do. Establish a maintenance routine that keeps your marker board in top shape. Erase the board daily if it’s in regular use. Don’t let marker sit on the surface for days or weeks—fresh marks are infinitely easier to remove than old, set-in ones.
Use quality dry erase markers. Cheap markers sometimes contain ingredients that stain more easily. Store markers with caps on and replace them when they start to dry out. Keep your eraser in good condition by tapping it regularly and replacing it when it becomes compressed or dirty.
Perform a deep clean weekly if your board sees heavy use, or monthly for light use. Choose one of the methods above and do a thorough pass. This prevents ghost marks from building up and keeps the surface looking fresh. Consider applying a dry erase board conditioner monthly—these products refresh the coating and make future cleaning easier. They’re optional but worthwhile for boards you plan to keep for years.
Mistakes That Damage Boards
Let’s talk about what NOT to do, because some cleaning methods will genuinely harm your marker board. Never use abrasive scrubbers like steel wool or rough sponges. These will scratch the coating and create permanent damage. Similarly, avoid harsh cleaners like bleach, acetone, or paint thinner—these dissolve the protective coating.

Don’t use permanent marker on a dry erase board, ever. Permanent markers use different solvents that bond with the coating and are nearly impossible to remove without damaging the board. If someone accidentally uses permanent marker, act fast with isopropyl alcohol or acetone (if you’re willing to risk the coating), but understand you might cause permanent staining.
Avoid spraying liquid directly onto the board if it has any electronic components or is mounted on a wall where liquid could run down and cause damage. Always spray onto a cloth first, then apply to the board. Don’t let liquids pool or drip down the back of the board.
Never use a microwave-heated cloth or extremely hot water on melamine boards—the heat can warp or damage the coating. Lukewarm water is fine; anything hotter is risky. Also, don’t store the board in direct sunlight or extreme heat, as this can degrade the coating over time and make it more prone to staining.
Frequently Asked Questions
Can I use Lysol or disinfectant wipes on my marker board?
Most Lysol products and disinfectant wipes aren’t ideal for marker boards, though occasional use won’t destroy them. The issue is that these products often contain oils or residues that can leave streaks and interfere with marker performance. If you want to disinfect, use isopropyl alcohol instead—it cleans and disinfects simultaneously without leaving residue. For a more thorough disinfection, use a 70% isopropyl alcohol solution, which is actually what hospitals use for surface sanitation.
Why does my board have permanent stains that won’t come off?
Permanent stains usually result from one of three things: permanent marker use, prolonged exposure to moisture, or a damaged coating. If permanent marker was used, the stain is likely permanent unless you’re willing to try aggressive solvents (which risk further damage). If the coating is damaged, stains will settle into the scratches and become nearly impossible to remove. Prevention is your best bet—use only dry erase markers and maintain the board properly. For stains from moisture or general use, try the isopropyl alcohol method or baking soda paste for several days before giving up.
Is it safe to clean marker boards around kids?
Yes, with precautions. Avoid isopropyl alcohol fumes around young children—ensure good ventilation and consider using the baking soda paste or vinegar methods instead. These are non-toxic and safe even if kids accidentally touch a freshly cleaned board. Dry erase markers themselves are generally non-toxic, but they’re not meant to be eaten or ingested. Keep cleaners stored safely away from children and always supervise cleaning activities in classrooms or kid spaces.
How often should I deep clean my marker board?
For heavy daily use (classrooms, busy offices), aim for a deep clean weekly. For moderate use (home office, family schedule board), monthly is sufficient. Light use (occasional notes) can go 2-3 months between deep cleans. Daily erasing of fresh marks is always recommended, regardless of how often you deep clean. This prevents buildup and keeps the board performing well between major cleanings.
What’s the difference between cleaning a melamine and glass board?
Glass and porcelain boards are more durable and forgiving—you can use stronger cleaners and more vigorous scrubbing without damage. Melamine boards are more delicate and require gentler methods. For melamine, stick with baking soda paste, vinegar solution, or gentle isopropyl alcohol use. For glass or porcelain, you have more flexibility and can use commercial whiteboard cleaners or stronger alcohol concentrations. When in doubt, start gentle and escalate if needed.
Final Thoughts
Knowing how to clean marker board properly keeps your board looking sharp and functioning well for years. The five methods we’ve covered—dry erase erasers, isopropyl alcohol, commercial cleaners, baking soda paste, and vinegar solution—give you options for every situation and preference. Start with the simplest method (the eraser) and escalate only if needed. Maintain your board with daily erasing and weekly deep cleans, and you’ll rarely face stubborn stains.
The key is consistency and using the right technique for your board type. Whether you’re managing a classroom whiteboard or a home office planning board, these methods work reliably. For more cleaning wisdom around your home, check out our guide on how to clean a washing machine and our tips on how to clean iPhone speaker—same principles of knowing your surface and choosing the right approach apply everywhere. Keep your marker board clean, and you’ll have a useful tool that stays functional and looks professional for the long haul.


