
Learning how to clean LPs is one of the best investments you can make for your vinyl collection. Dust, fingerprints, and debris don’t just look bad—they wear down your records faster than Father Time himself, creating pops, crackles, and skips that’ll drive you nuts. Whether you’ve inherited a stack of classics or you’re building a modern collection, proper vinyl care keeps those grooves singing for decades.
Table of Contents
Why Clean Vinyl Records
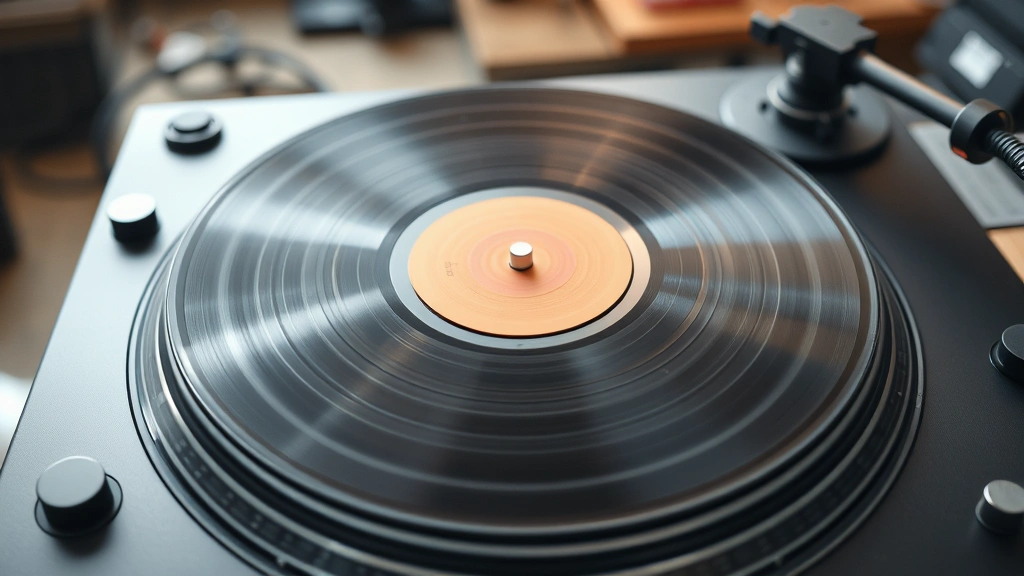
Your vinyl records are magnets for trouble. Every time you pull a record from its sleeve, dust particles settle into those microscopic grooves. Fingerprints leave oils that attract more gunk. Pet hair, smoke residue, and environmental debris pile up faster than you’d think. The problem? When your stylus rides through dirty grooves, it’s like driving down a pothole-filled road—you get skips, pops, and premature wear that’s irreversible.
Clean records don’t just sound better; they last longer. A properly maintained LP can outlive your turntable. Neglected vinyl? That’s a one-way ticket to a collection of coasters. Think of cleaning as preventive maintenance, the same way you’d maintain any valuable tool or instrument.
Essential Tools & Materials
You don’t need fancy equipment to get started. Here’s what actually works:
- Soft-bristle brush – A dedicated vinyl brush with natural bristles, not synthetic. Synthetic bristles hold static.
- Microfiber cloths – Get several. They grab dust without scratching.
- Distilled water – Tap water leaves mineral deposits. Don’t skip this step.
- Isopropyl alcohol – 90% concentration minimum. This cuts through oils and dries fast.
- Vinyl cleaning solution – Optional but worthwhile. Brands like Spin-Clean or Mobile Fidelity work great.
- Record cleaning machine – The luxury option. Not essential for occasional cleaning, but game-changing for serious collectors.
- Clean, flat workspace – A towel-lined table works perfectly.
Pro tip: Keep your tools in a dedicated box. Contaminated brushes and dirty cloths undo all your hard work.
The Dry Cleaning Method
Start here for light dust and surface grime. This is your first line of defense before any water touches your vinyl.
Step 1: Inspect the Record
Hold your LP up to a light source. Look for visible dust, hair, or debris. A clean surface means your dry method might be all you need. If you see buildup or sticky residue, you’re moving to wet cleaning.
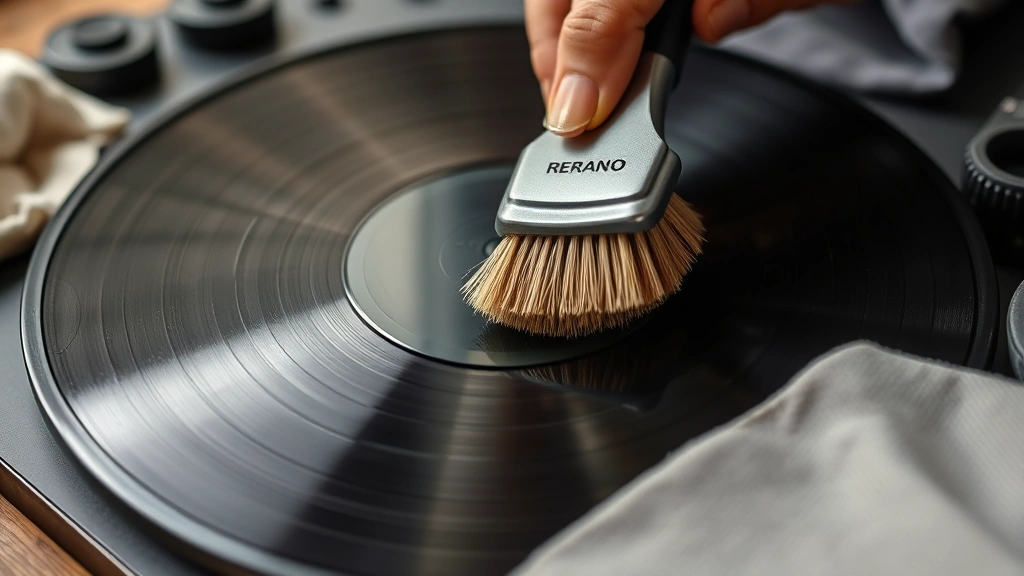
Step 2: Brush in Circular Motions
Place the record on a clean, flat surface. Using your soft-bristle brush, work in concentric circles following the grooves. Start from the center and move outward, or vice versa. The key is consistency—don’t scrub back and forth across the grooves like you’re cleaning a skillet. That’s how you damage vinyl.
Step 3: Wipe with Microfiber
Gently wipe the entire surface with a clean microfiber cloth, again following the groove pattern. One side might need multiple passes. Flip the record and repeat.
This method takes 3-5 minutes per record and handles everyday dust beautifully. For inherited collections or thrift store finds, you’ll need to go deeper.
Wet Cleaning for Deep Dirt
When dry cleaning isn’t cutting it, wet cleaning brings back records that look hopeless. This is where the real transformation happens.
The Solution Mix
Combine distilled water with isopropyl alcohol in a 3:1 ratio (or follow your cleaning solution’s instructions). The alcohol helps the liquid dry quickly and cuts through stubborn oils. Mix only what you need for that session.
Application Technique
Dampen a microfiber cloth—not soaking wet, just damp. Work in small sections, maybe a quarter of the record at a time. Apply light pressure and follow the groove direction. Overlap your sections slightly so you don’t miss spots. The cloth should pick up visible grime; if nothing’s coming off, you’re either done or the record’s cleaner than you thought.
The Rinse Step
This matters more than most people realize. Use a fresh cloth dampened with distilled water only—no alcohol. Make another pass over the wet areas to remove any cleaning residue. Residual cleaning solution dries sticky and defeats the purpose.
Second Side
Flip and repeat the entire process. Some collectors clean one side, let it dry for 30 minutes, then flip and clean the other. This prevents water from pooling in the center label area.
Spot Cleaning Problem Areas
Sometimes you’ve got specific problem spots—a stubborn fingerprint, a sticky residue patch, or mysterious gunk in one section.
Sticky Residue
Old records often have label glue or adhesive residue from old stickers. Increase your isopropyl alcohol concentration slightly (up to 50/50 with water) and work that area with gentle circular motions. Patience beats aggression here.
Fingerprints
Fresh fingerprints respond to the standard wet method. Older, baked-on prints might need a second pass or slightly more alcohol in your solution.
Visible Debris
If you see hair, lint, or particles stuck in grooves, start with the dry brush method to dislodge them before wet cleaning. Otherwise you’re just moving the problem around.
Drying & Proper Storage
Drying matters as much as cleaning. Wet vinyl is vulnerable vinyl.
Air Dry Method
Stand the record upright (leaning against something stable) or place it flat on a clean towel. Let air circulation do the work. With isopropyl alcohol in your solution, this takes 15-30 minutes. Avoid direct heat or sunlight—both can warp vinyl.
The Microfiber Final Wipe
Once mostly dry, do one final gentle wipe with a clean, dry microfiber cloth. This catches any remaining water spots or dust that settled during drying.
Storage After Cleaning
Don’t immediately return a freshly cleaned record to its original sleeve if that sleeve is dirty. If you’re cleaning a collection, clean the sleeves too (or invest in archival-quality replacements). Store records vertically, not stacked flat. Flat stacking creates pressure that warps vinyl over time. Keep them in a cool, dry place away from direct sunlight.
Common Mistakes to Avoid
Using Tap Water
Mineral deposits from tap water leave visible residue and actually attract more dust. Distilled water costs a couple bucks and saves your records.
Scrubbing Back and Forth
This is the cardinal sin of vinyl cleaning. Your stylus rides along the grooves in one direction; scrubbing perpendicular to the grooves damages the walls of those grooves. Always follow the groove pattern.
Using Paper Towels
Paper towels are abrasive and leave fibers behind. Microfiber cloths cost less than a pizza and work infinitely better.
Oversaturating with Liquid
Wet doesn’t mean soaked. Excess liquid pools in the center label and takes forever to dry. Damp cloth, not dripping wet.
Skipping the Rinse
Leftover cleaning solution dries sticky and gummy. Always rinse with distilled water after wet cleaning.
Regular Maintenance Schedule
Prevention beats restoration every time. Here’s a realistic schedule:
- Before Each Play – Quick dry brush if the record’s been sitting. Takes 30 seconds.
- Monthly – Full dry clean on frequently played records.
- Quarterly – Spot-clean any records showing visible dust or fingerprints.
- Annually – Deep wet clean on your entire collection, or at minimum the records you play regularly.
- As-Needed – Thrift store finds and inherited collections get the full wet treatment immediately.
Think of it like maintaining a car. Regular oil changes (quick brushing) prevent the need for an engine rebuild (professional restoration). Records that get consistent light maintenance stay playable for generations.
Frequently Asked Questions
Can I use regular household cleaning products on vinyl?
No. Window cleaner, furniture polish, and general-purpose cleaners leave residue or can damage the vinyl compound. Stick to isopropyl alcohol and distilled water, or use a dedicated vinyl cleaning solution. Your records aren’t worth the risk of experimentation.
How often should I clean my records?
Light dry cleaning before play is fine. Deep wet cleaning annually for regularly played records, or every few years for occasional players. If a record sits in storage untouched, clean it before playing after long periods of storage.
Will cleaning remove scratches and surface noise?
No. Cleaning removes dust and oils that cause pops and crackles, but actual scratches are permanent damage to the vinyl itself. However, you’d be surprised how much surface noise is actually just dirt—cleaning often reveals that your “damaged” record plays much better than you thought.
Is a record cleaning machine worth buying?
For casual collectors with 20-50 records, the manual method works great. For serious collectors with hundreds of records, a vacuum-based cleaning machine saves time and does a more thorough job. Expect to spend $100-300 for a decent entry-level machine. If you’re only cleaning a few records a year, skip it.
Can I use a hair dryer to speed up drying?
Avoid direct heat. Hair dryers can warp vinyl, especially older records that are already slightly flexible. Air drying takes 20-30 minutes and is safer. Patience is the vinyl collector’s virtue.
What about cleaning the labels?
Labels are glued on and can absorb water. Minimize moisture on labels. If you need to clean label grime, use a barely-damp cloth and wipe quickly. Never soak the label area. If label text is faded or damaged, that’s cosmetic—focus on keeping the vinyl itself clean.
The Bottom Line
Learning how to clean LPs isn’t complicated, but it requires patience and consistency. The dry brush method handles everyday dust. Wet cleaning brings neglected records back to life. Regular maintenance prevents the need for deep restoration. Your records represent music, memories, and investment—they deserve better than sitting in dusty sleeves.
Start with one record. Practice your technique on something you don’t mind experimenting with. Once you see the difference between a dirty and clean vinyl surface, and hear how much cleaner it plays, you’ll understand why collectors obsess over this stuff. It’s not fussiness—it’s respect for the music and the medium that carries it.
If you’re interested in maintaining other valuable items, check out our guide on how to clean silver at home, which covers similar patience-based restoration techniques. For those digitizing their collections, understanding how to format a micro SD card helps you store digital backups properly. And if you’re building a complete media collection, proper organization matters—similar principles to what we discuss with vinyl care apply across all your media formats.
Your vinyl collection will thank you. Clean records sound better, last longer, and bring more joy. That’s worth the effort every single time.


