
Learning how to clean mass air flow sensor is one of those maintenance tasks that’ll save you hundreds in mechanic bills and keep your engine running like it just rolled off the lot. Your mass air flow (MAF) sensor is basically your engine’s nose—it sniffs the air coming in and tells your fuel injection system exactly how much gas to spray. When it gets dirty, your car runs rough, wastes fuel, and throws check engine lights like confetti. The good news? You can clean it yourself in about 30 minutes with basic tools.
Table of Contents
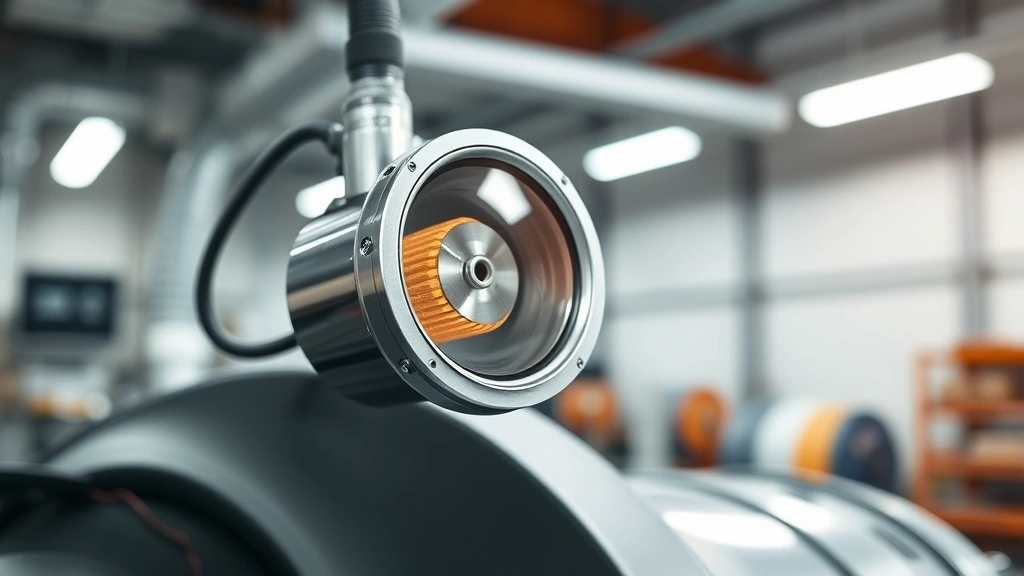
What Is a MAF Sensor?
The mass air flow sensor sits in your intake manifold and measures how much air your engine sucks in. It’s a tiny but crucial component—usually a thin wire or film that heats up and cools down based on incoming air. Your engine’s computer uses this data to calculate the perfect fuel mixture. Think of it like the balance scale at a pharmacy; if the scale’s dirty or broken, you’ll get the wrong dose every time. A clean MAF sensor means your engine gets the right air-to-fuel ratio, which means better performance, better mileage, and fewer emissions.
Signs Your Sensor Is Dirty
Before you grab your tools, make sure a dirty MAF sensor is actually your problem. Common symptoms include rough idling (your car shakes at red lights), hesitation when accelerating (like it’s thinking about it), poor fuel economy (your gas gauge drops faster), and that dreaded check engine light. You might also notice your engine stalling or running lean. If you’re seeing multiple symptoms together, there’s a solid chance your MAF sensor needs attention. You can always grab a cabin air filter replacement guide since a clogged cabin filter can sometimes contribute to MAF sensor problems.
Tools and Materials Needed
Here’s what you’ll need to get the job done right. Grab a socket set (usually 8mm or 10mm for most vehicles), a screwdriver set, needle-nose pliers, and a flashlight because you’ll be working in tight spaces. For the actual cleaning, you’ll need mass air flow sensor cleaner—this is critical, don’t use carb cleaner or brake cleaner as they can damage the delicate sensor element. Get some clean rags or paper towels, and optionally grab an anti-seize compound if you’re working on an older vehicle. Most of these items cost under $30 total, and you’ll save $200-400 in shop labor.
Locate Your MAF Sensor
Your MAF sensor lives between your air filter box and your intake manifold. Pop your hood and look for a plastic tube running from your air intake box toward the engine. The sensor is usually a small cylindrical component mounted on or inside this tube. Consult your owner’s manual or do a quick YouTube search for your specific vehicle model—locations vary wildly between manufacturers. Some are easy to spot, others hide behind the intake manifold like they’re playing hide-and-seek. Take a photo with your phone before you start disassembling anything; you’ll thank yourself when it’s time to put it back together.
Disconnect Battery and Sensor
Safety first, buddy. Disconnect your negative battery terminal—this prevents any electrical gremlins while you’re poking around. Wait about five minutes for the system to fully discharge. Now locate the electrical connector on your MAF sensor. It’s usually a simple clip-style connector; gently press the clip and wiggle the connector straight out. Don’t yank on the wires themselves or you’ll fry the whole sensor. Take another photo of the connector orientation because you’ll need to plug it back in the same way. Some sensors have one or two mounting bolts; carefully remove these and set them aside in a small cup so they don’t disappear into the engine bay abyss.

The Cleaning Technique
This is where precision matters. Hold the sensor up to your flashlight and look for the tiny heating element inside—it looks like a thin wire or film, sometimes gold-colored. This is the sensitive part that measures air flow. Spray short bursts of MAF sensor cleaner directly onto the element, letting gravity help the cleaner run through. Don’t scrub, don’t brush, don’t touch it with anything physical. Just let the cleaner do the work. If it’s really gunked up, repeat the spray process 2-3 times. Let it air dry completely for at least 10 minutes before reinstalling. The cleaner evaporates quickly, but patience here prevents headaches later.
Reassemble and Test Drive
Once everything’s dry, carefully slide the sensor back into its mounting location and secure those bolts—snug but not gorilla-tight. Reconnect the electrical connector, making sure it clicks into place. Reconnect your negative battery terminal and close the hood. Start the engine and listen for any unusual sounds. Take a test drive around the block at various speeds. Your car should idle smoother, accelerate without hesitation, and feel more responsive overall. If the check engine light was on before, it might take a few drive cycles for it to clear, or you can use an OBD-II scanner to clear it manually.
Prevention Tips
Keep your MAF sensor happy by changing your engine air filter regularly—a clogged filter forces your sensor to work harder and collect more dirt. Use quality fuel from reputable stations; cheap gas can leave more deposits. Avoid driving through deep water or extreme dust storms when possible. Consider using fuel system cleaners periodically as preventive maintenance. If you’re really into keeping things running smooth, check out how often you should change your cabin air filter for overall engine health. Most MAF sensors last 80,000-100,000 miles with proper care, and cleaning extends that lifespan significantly.
Common Mistakes to Avoid
Don’t use compressed air on the sensor element—the force can damage it. Don’t use regular carburetor cleaner or brake cleaner; these will destroy the sensor coating. Don’t touch the heating element with your fingers or tools. Don’t reinstall a wet sensor; let it dry completely. Don’t forget to disconnect the battery before starting work. Don’t over-tighten the mounting bolts or you’ll crack the housing. And definitely don’t ignore warning signs—a dirty MAF sensor gets progressively worse and can eventually damage your catalytic converter if left unchecked.
When to Replace Instead of Clean
Sometimes cleaning isn’t enough. If your sensor is physically cracked or corroded, replacement is your only option. If you’ve cleaned it multiple times and problems keep returning, the element might be damaged beyond cleaning. Modern sensors are fairly affordable—usually $100-300 depending on your vehicle—and replacement only takes slightly longer than cleaning. If you’re uncertain whether cleaning will help, an OBD-II scanner can sometimes pinpoint MAF sensor issues specifically. When in doubt, a fresh sensor beats a temperamental old one.
Frequently Asked Questions
How often should I clean my MAF sensor?
Most vehicles need MAF cleaning every 50,000-80,000 miles, but this depends on your driving conditions and air filter quality. If you drive in dusty areas or tow frequently, clean it more often. City drivers with lots of stop-and-go might go longer between cleanings.
Can I drive with a dirty MAF sensor?
Technically yes, but you shouldn’t. A dirty sensor causes poor fuel economy, rough running, and can damage other components over time. It’s like driving on a flat tire—technically possible, but you’re making things worse.
Will cleaning my MAF sensor clear the check engine light?
Often yes, but not always immediately. The light might stay on for 50-100 miles of normal driving while the computer re-learns. If it doesn’t clear after a week of normal driving, use an OBD-II scanner to clear it manually or visit a shop.
What’s the difference between MAF and MAP sensors?
MAF (mass air flow) measures how much air enters the engine, while MAP (manifold absolute pressure) measures air pressure. They serve different purposes, and your vehicle likely has both. Cleaning procedures differ, so don’t confuse them.
Can I use carb cleaner on my MAF sensor?
Absolutely not. Carb cleaner is too harsh and will damage the sensor’s coating. Use only MAF-specific cleaner—it’s gentler and designed for this exact job. This is one of those situations where the right tool really matters.


