
Learning how to clean an ice maker is one of those maintenance tasks that separates people who enjoy fresh, clean ice from those who wonder why their cubes taste funky. Whether you’ve got a built-in fridge ice maker or a standalone unit, the process is straightforward once you know what you’re doing. I’m going to walk you through exactly what you need to do, the tools you’ll need, and some pro tips I’ve picked up over the years.
Table of Contents
Why Clean Your Ice Maker
Most people don’t think about their ice maker until something goes wrong. But here’s the thing: ice makers are basically water delivery systems, and water sitting in pipes and trays creates the perfect breeding ground for mold, mineral buildup, and bacteria. If your ice tastes off or smells weird, that’s your first clue that a cleaning is overdue.
Beyond taste issues, mineral deposits from hard water can actually damage your machine’s internal components. A quick cleaning every few months prevents expensive repairs down the road. Think of it like changing your car’s oil—a little preventive maintenance saves you a ton of headaches.
Gather Your Supplies First
Before you touch anything, grab these items:
- White vinegar (the MVP of ice maker cleaning)
- Soft-bristled brush or old toothbrush
- Microfiber cloth or soft towels
- Warm water
- Small bowl or cup
- Gloves (optional but keeps your hands clean)
- Flashlight (helpful for spotting hidden gunk)
You don’t need fancy commercial cleaners. White vinegar is your best friend here—it cuts through mineral deposits and kills bacteria naturally. I’ve used it on dozens of machines and it works every single time. If your unit has heavy mineral buildup, you might grab a commercial ice machine cleaner from your local hardware store, but vinegar handles 90% of the job.
Unplug and Disconnect Everything
This is non-negotiable. Unplug your ice maker from the wall outlet. If it’s a built-in fridge unit, turn off the ice maker function and locate the water supply line behind your refrigerator. You’ll typically find a small shut-off valve—turn it clockwise to stop water flow. Don’t skip this step. Water and electricity are a dangerous combo, and you don’t want your machine cycling while you’re working on it.
Let the unit sit unplugged for about 15 minutes. This gives any residual charge time to dissipate and lets you work safely.
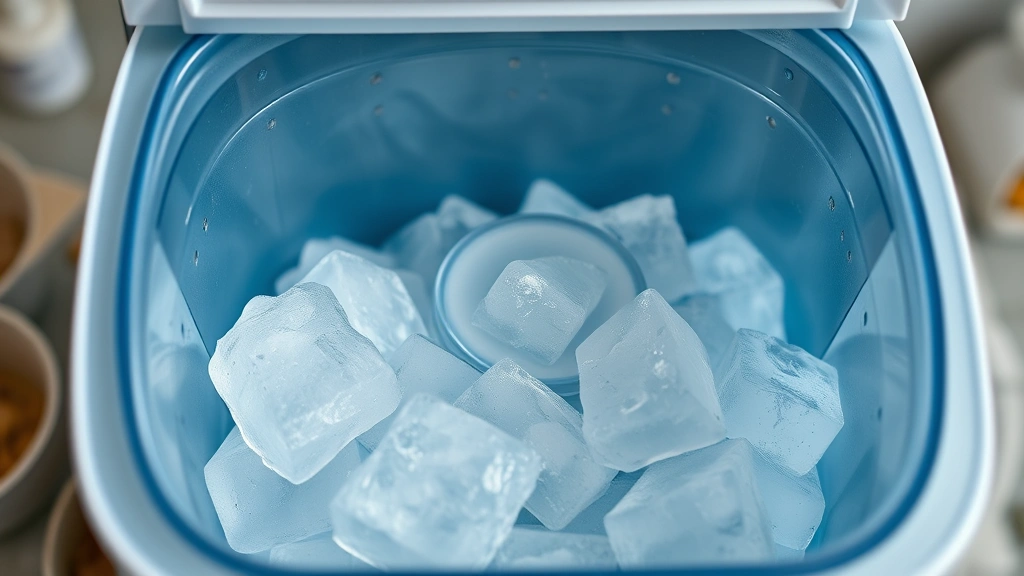
Remove the Ice Bucket
Pull out the ice bucket—this is the easiest part. Empty any remaining ice into a sink and set the bucket aside. Take a moment to inspect it. If the bucket has visible mold, discoloration, or a funky smell, soak it in a mixture of one part vinegar to three parts warm water for 30 minutes. Then scrub it with your soft brush and rinse thoroughly.
While the bucket soaks, you can start on the interior. Use your flashlight to peer into the ice maker’s interior chamber. You’re looking for white mineral deposits, dark spots (mold), or slimy buildup. This tells you how aggressive your cleaning needs to be.
Clean Interior Components Thoroughly
Here’s where the real work happens. Mix equal parts white vinegar and warm water in your bowl. Dip your soft brush into the solution and scrub the interior surfaces of the ice maker. Pay special attention to:
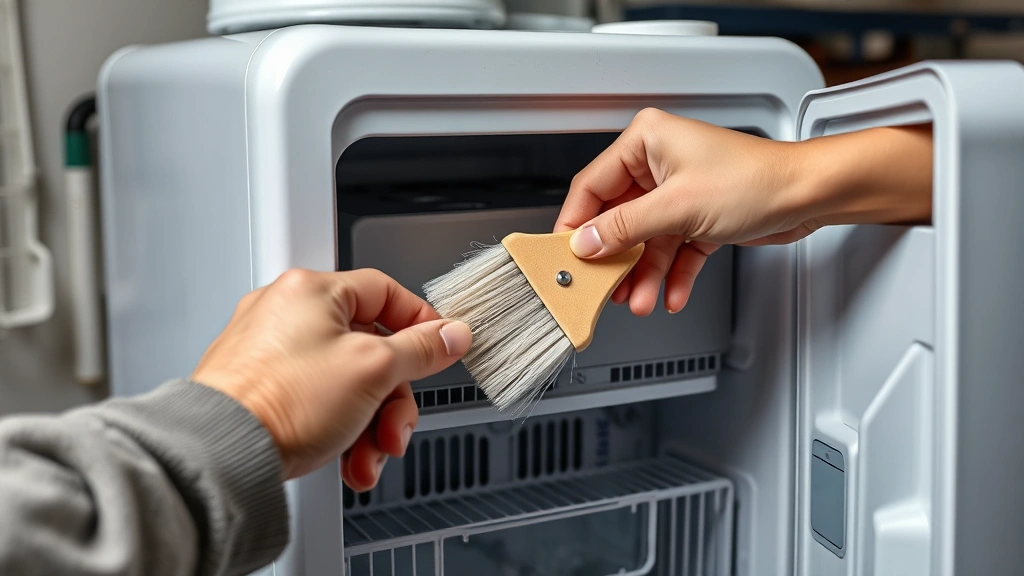
- The ice tray or mold where cubes form
- The ejector arm (the part that pushes ice out)
- Any visible water lines or channels
- The walls of the ice chamber
Use your microfiber cloth to wipe down everything you’ve scrubbed. For stubborn mineral deposits, let the vinegar solution sit for 5-10 minutes before scrubbing again. The acidity in vinegar dissolves those crusty white deposits naturally.
If you’re dealing with heavy mold or buildup, you might need to repeat this process. I’ve had machines that needed two rounds of cleaning, especially if they hadn’t been maintained in a while. Don’t rush it—taking your time now means better tasting ice later.
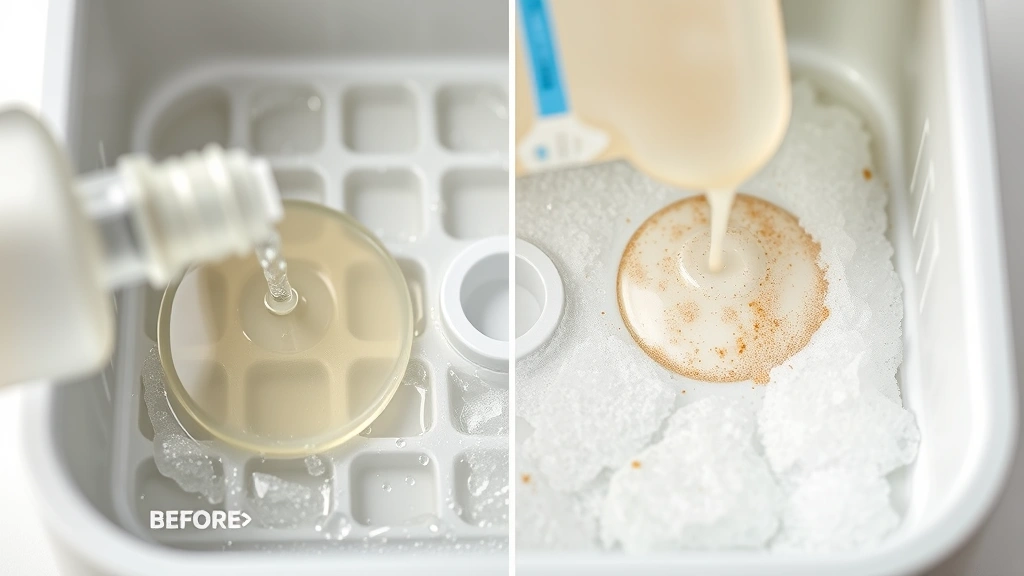
Descale the Water Lines
This is the step most people skip, and it’s actually critical. Your ice maker has water lines running through it, and mineral buildup inside those lines restricts water flow and affects ice quality. Pour your vinegar solution into the water reservoir (if your unit has one accessible) or use a turkey baster to inject vinegar into the water inlet area.
Let it sit for 30 minutes. This gives the vinegar time to work through the lines and dissolve mineral deposits. After 30 minutes, run water through the system by plugging it back in briefly (just to cycle water through) or manually flushing it with warm water if your unit allows that. Check your manual for specific instructions here—different machines have different designs.
You want to run fresh water through the system at least twice after the vinegar treatment to flush out any remaining vinegar smell or taste.
Reassemble and Test Run
Once everything is clean and rinsed, reassemble your ice maker. Make sure the bucket is dry before inserting it. Reconnect your water supply line (if you disconnected one) and plug the unit back in. Turn the ice maker function back on.
Your first batch of ice might taste slightly vinegary—that’s normal. Dump that batch and run a second cycle. By the third batch, you should have perfectly clean, fresh-tasting ice. If you’re still getting an off taste after three batches, run one more vinegar cycle and repeat the flushing process.
Maintenance Schedule Tips
Now that you know how to clean an ice maker, let’s talk about keeping it clean long-term. If you have soft water, clean your ice maker every 6 months. If you have hard water (that white crusty stuff in your kettle?), bump that up to every 3 months.
Some simple habits help too: change your refrigerator’s water filter every 6 months, don’t let ice sit in the bucket for weeks, and if your ice maker has a drain, make sure it’s not clogged. These small steps mean you won’t face heavy buildup requiring aggressive cleaning later.
Keep a bottle of white vinegar under your sink. When you notice your ice tasting off or your machine running slower, that’s your signal to do a quick cleaning. The whole process takes about 45 minutes once you’ve done it a few times, and your ice will taste noticeably better.
Frequently Asked Questions
Can I use bleach to clean my ice maker?
No. Bleach is too harsh and can damage internal components. It also leaves chemical residue that’s unsafe for something that produces food. Stick with white vinegar—it’s safer, cheaper, and just as effective. For more information on safe cleaning practices, check out Family Handyman’s cleaning guides.
How often should I clean my ice maker?
Every 3-6 months depending on your water hardness. Hard water requires more frequent cleaning. If you notice ice tasting off or the machine running slowly, that’s a sign it needs attention sooner. You can also check out This Old House’s appliance maintenance tips for more guidance.
What if my ice maker still smells bad after cleaning?
Run a second vinegar cycle. Sometimes stubborn mold or bacteria needs more than one treatment. Make sure you’re flushing with fresh water at least three times after the vinegar soak. If the smell persists, the issue might be in your water supply—check your fridge’s water filter.
Can I use apple cider vinegar instead of white vinegar?
White vinegar is better. Apple cider vinegar has sugars that can leave residue. White vinegar is pure acidity with no added ingredients, making it ideal for appliance cleaning.
Do I need to turn off the water supply?
Yes, for safety and to prevent accidental water flow while you’re working. It takes 30 seconds and prevents water damage to your kitchen. Better safe than sorry.
Why does my ice taste like plastic?
That usually means your ice maker needs cleaning or your water filter needs replacing. Start with a thorough cleaning using the steps above. If the taste persists, replace your water filter. For detailed appliance troubleshooting, Bob Vila’s appliance guides have excellent resources.
Final Thoughts
Cleaning your ice maker isn’t glamorous, but it’s one of those home maintenance tasks that pays immediate dividends. Fresh, clean ice makes drinks taste better, and your machine will run more efficiently. Now that you know how to clean an ice maker, you can tackle this job confidently whenever needed.
The whole process comes down to: unplug, remove the bucket, scrub with vinegar solution, descale the water lines, rinse thoroughly, and test. That’s it. Spend 45 minutes on this task a few times a year and you’ll never have to worry about funky-tasting ice or a slow ice maker again. Your future self—and everyone enjoying cold drinks at your place—will thank you.


