
Learning how to clean an air fryer properly keeps your kitchen gadget running like a champ and your food tasting fresh every single time. Most folks think air fryers are maintenance-free, but they’re not—grease buildup, food particles, and residue can sneak up on you faster than you’d expect. The good news? Cleaning one is straightforward, takes maybe 15 minutes, and doesn’t require any fancy chemicals or tools you don’t already have lying around.
Table of Contents
Why Regular Cleaning Matters
Your air fryer basket and heating element work hard every time you cook. Grease splatters, breadcrumb debris, and oil residue accumulate faster than you think. When you ignore the buildup, two things happen: first, your food starts tasting like last week’s dinner instead of fresh and crispy, and second, you’re putting unnecessary strain on the heating element. Regular air fryer maintenance extends the life of your appliance and ensures consistent cooking results. Think of it like changing your car’s oil—small, regular effort beats major repairs down the road.
Gather Your Cleaning Supplies
Before you start, grab these essentials from your kitchen:
- Warm soapy water (dish soap and hot water)
- A soft sponge or non-abrasive cloth
- A soft-bristled brush (old toothbrush works great)
- Paper towels or clean kitchen towels
- Baking soda (optional, for stubborn spots)
- White vinegar (optional, for degreasing)
Skip the steel wool and harsh scouring pads—they’ll scratch the non-stick coating and ruin your fryer. Stick with gentle tools that won’t damage the surfaces. If you’re dealing with baked-on gunk, baking soda mixed with a little water creates a paste that cuts through grease without aggression.
Step One: Cool Down Completely
This is non-negotiable: let your air fryer cool for at least 30 minutes after use. I know you’re eager to clean up, but touching a hot basket or heating element is a one-way ticket to the burn ward. Unplug the unit from the wall outlet—safety first, always. The cooling period also makes the job easier because dried grease is harder to remove than warm grease, so patience actually pays off here.
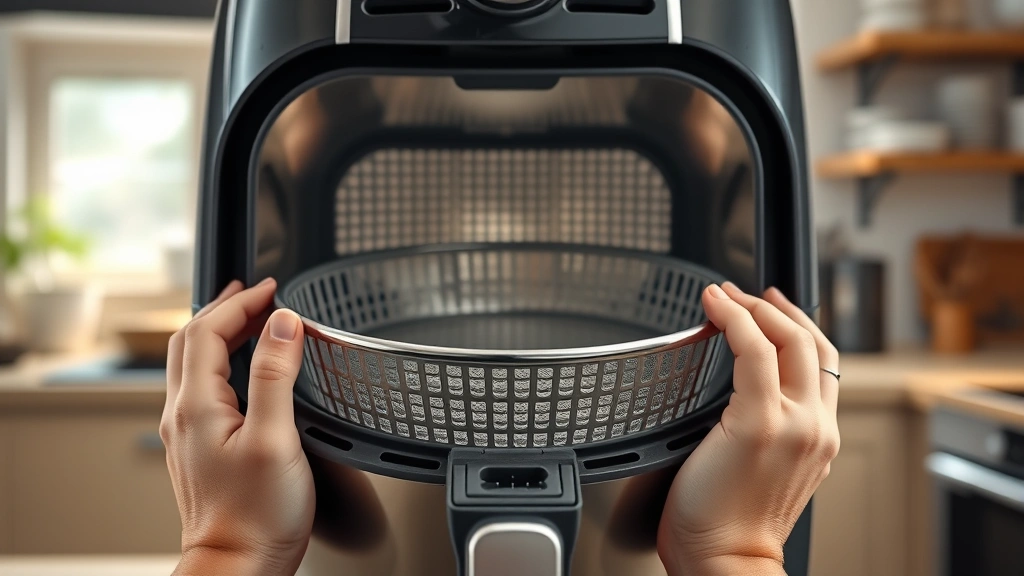
Step Two: Remove the Basket
Once everything’s cool, carefully slide out the air fryer basket. Most models have a simple pull-out design. Check your manual if you’re unsure—some baskets have a release button or latch. Set the basket aside on your counter. If your air fryer has a removable tray or liner, take that out too. These removable parts are where most of the action happens, so getting them out makes cleaning the interior way easier.
Step Three: Soak the Components
Fill your sink or a large bowl with warm soapy water and submerge the basket and any removable trays for 10-15 minutes. The warm water softens stuck-on food and grease, making it easier to wipe away. While those soak, you can tackle the interior of the fryer unit itself. If you’ve got really stubborn, baked-on spots on the basket, add a tablespoon of baking soda to the water—it’s a gentle abrasive that works wonders. For extra greasy situations, a splash of white vinegar in the water cuts through oil like nobody’s business.
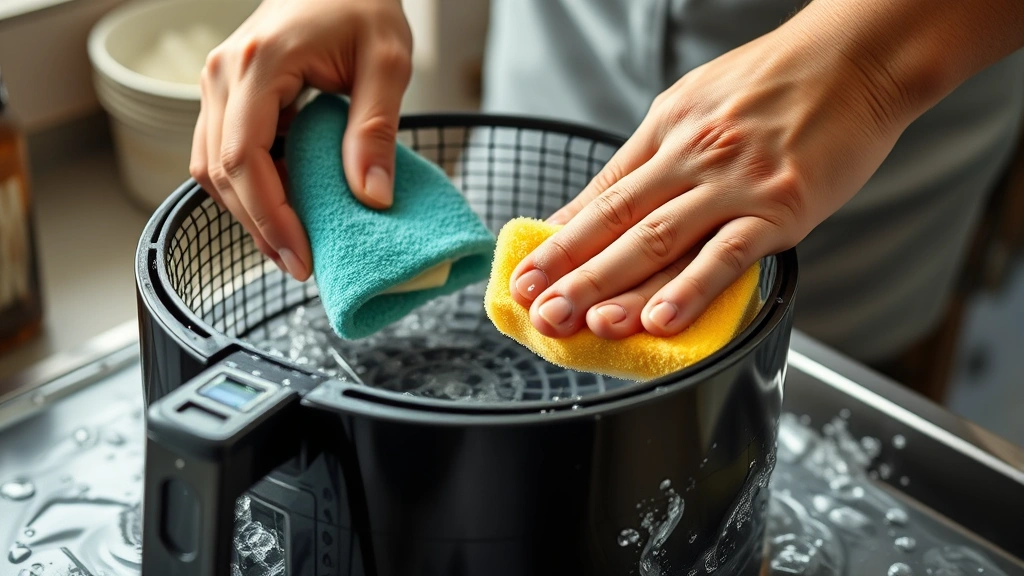
Step Four: Scrub the Interior
With the basket out, you’ve got clear access to the inside of your air fryer. Use a damp cloth or soft sponge to wipe down the interior walls, bottom, and heating element area. Don’t spray water directly at the heating element—just use a damp cloth and gentle strokes. For the basket itself, use your soft-bristled brush or sponge to scrub away any remaining food particles and grease. The non-stick coating is durable but not indestructible, so treat it with respect. Pay special attention to the corners and crevices where grease likes to hide.
If you’re cooking something like fried oysters or other particularly greasy items, you might find more stubborn buildup. The same gentle approach works—soak longer, use baking soda paste if needed, and let the warmth of the water do most of the work for you.
Step Five: Dry and Reassemble
Once everything’s clean, dry all components thoroughly with a clean kitchen towel. Moisture and electronics don’t mix, so don’t skip this step. Make sure the interior of the unit is completely dry before you reassemble. Slide the basket back in, making sure it clicks or locks into place properly. If your model has a removable tray, pop that back in too. Double-check that everything’s seated correctly and secure—loose parts can cause problems during cooking.
Quick Maintenance Between Uses
You don’t need a full cleaning after every single use, but a quick maintenance routine keeps things manageable. After your air fryer cools, wipe out the basket with a dry paper towel to catch loose crumbs. Once a week, do a deeper clean following the five steps above. If you’re using your fryer daily, bump that up to twice a week. Line your basket with parchment paper or an air fryer-safe liner if you’re cooking something particularly messy—it catches grease and makes cleanup even faster.
For folks who love cooking everything from banana bread to savory dishes, the versatility of air fryers is incredible. Just remember that different foods leave different residues, so adjust your cleaning frequency based on what you’re cooking.
Frequently Asked Questions
Can I put my air fryer basket in the dishwasher?
Most air fryer baskets are dishwasher-safe, but check your manual first. Hand washing is gentler on the non-stick coating and extends the basket’s life. If you do use the dishwasher, use the gentle cycle and skip the heated dry setting.
What if food is stuck and won’t come off?
Soak the basket longer—20-30 minutes instead of 10-15. Make a paste of baking soda and water and let it sit on the stuck spot for a few minutes before scrubbing gently. Patience beats elbow grease every time with non-stick surfaces.
Is it safe to use vinegar inside the air fryer?
Yes, vinegar is safe and effective for degreasing. Mix equal parts white vinegar and water, dampen a cloth, and wipe down the interior. The smell fades once everything dries. Just avoid spraying it directly on the heating element—use a damp cloth instead.
How often should I deep clean my air fryer?
Deep clean weekly if you use your fryer daily, or every two weeks if it’s occasional use. A quick wipe-down with a dry cloth after cooling is good practice every single time you cook.
Can I use cooking spray in my air fryer?
Avoid aerosol cooking sprays—they leave a residue that builds up and becomes hard to clean. Instead, use a silicone brush or paper towel to apply a tiny bit of oil directly to food before cooking. Your cleanup will be significantly easier.
What’s the best way to clean the heating element?
Don’t scrub the heating element directly. Once the basket is removed, use a damp cloth to gently wipe around it. If there’s stubborn buildup, dampen the cloth with a vinegar-water solution and let it sit for a minute before wiping. Never spray liquid directly on the element.
Final Thoughts
Knowing how to clean an air fryer properly is one of those skills that pays dividends. You’re looking at maybe 15 minutes of work per week to keep your appliance running perfectly and your food tasting restaurant-quality. The five-step process is straightforward, doesn’t require special tools or chemicals, and becomes second nature after the first couple of times. Whether you’re whipping up frozen drink recipes or everyday dinners, a clean air fryer is a happy air fryer. Stick with the gentle approach, use tools that won’t damage the non-stick coating, and you’ll get years of reliable service from your kitchen workhorse. Your future self will thank you for maintaining it properly now.
For more comprehensive kitchen maintenance guidance, check out resources from Family Handyman, which covers appliance care in depth. You can also find detailed appliance cleaning tips on This Old House. For professional-grade advice on kitchen equipment maintenance, Bob Vila offers excellent resources.


