
Learning how to clean a washer is one of those maintenance tasks that separates people who actually enjoy doing laundry from those who dread it. Your washing machine works hard every single week, pulling dirt and grime from your clothes, and over time, it accumulates buildup that can leave your clothes smelling off and reduce washing efficiency. The good news? Cleaning your washer is straightforward, takes about an hour, and requires nothing more than items you probably already have at home.
Table of Contents
Why Your Washer Needs Cleaning
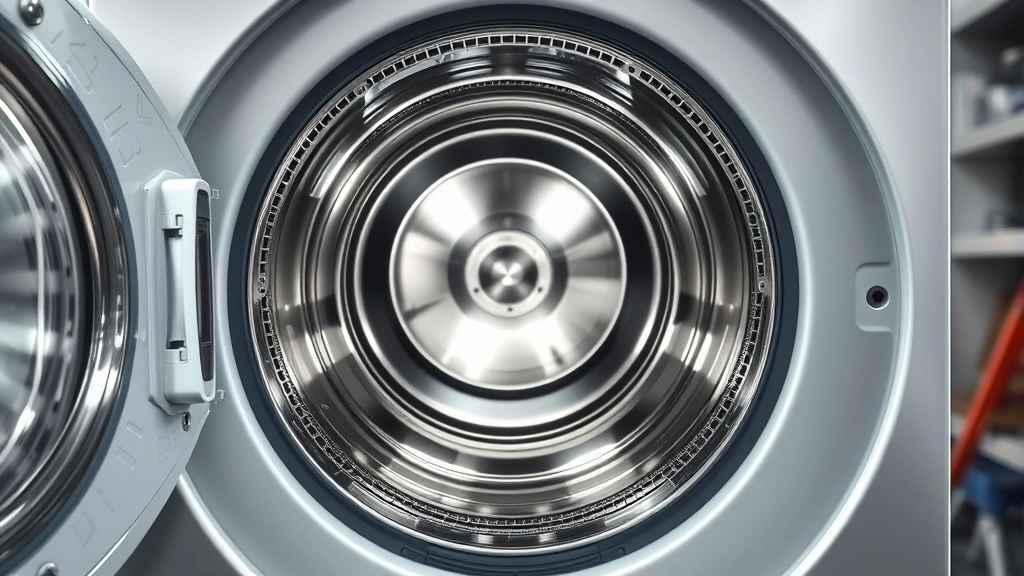
Think about what happens inside your washing machine every time you run a load. Detergent residue, fabric softener buildup, hard water mineral deposits, and lint all accumulate over time. Front-load washers are especially prone to this because water sits in the rubber gasket and drum, creating the perfect environment for mold and mildew growth. If you’ve noticed your clothes coming out with a musty smell or stains appearing on fabrics that should be clean, your washer is telling you it’s time for maintenance.
Regular cleaning of your washer prevents these issues and extends the life of the machine. It’s not complicated—just a bit of elbow grease and the right approach. Think of it like maintaining any other appliance in your home.
Supplies You’ll Actually Need
Here’s what to gather before you start:
- White vinegar – The MVP of natural cleaning. Use the cheap stuff; you don’t need premium.
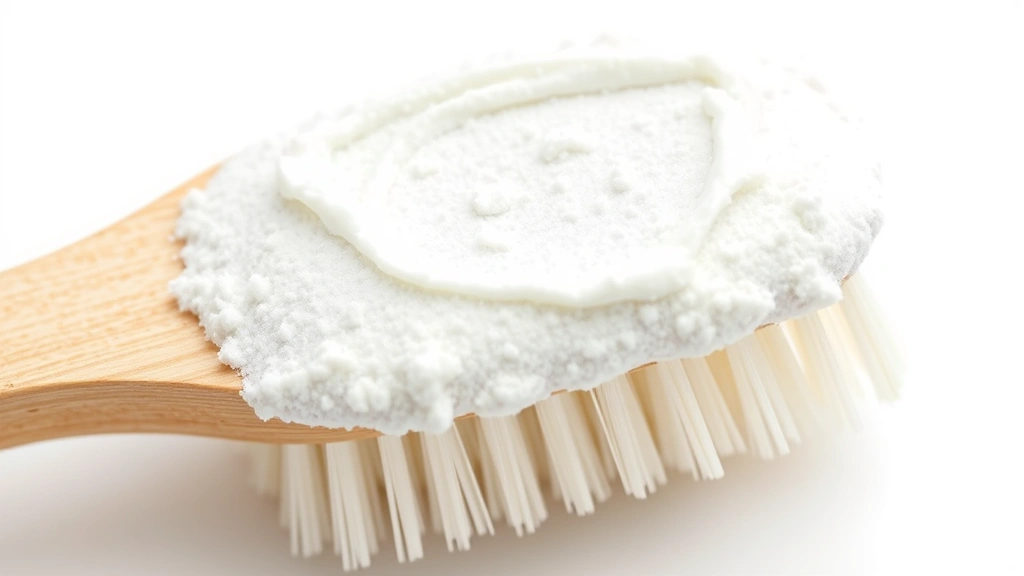
- Baking soda – Works with vinegar to break down stubborn deposits.
- Bleach (optional) – For front-loaders with heavy mold issues, though vinegar handles most jobs.
- Soft-bristle brush or old toothbrush – For scrubbing tight spaces.
- Microfiber cloth or sponge – Won’t scratch surfaces.
- Rubber gloves – Keep your hands clean and protected.
You might also find commercial washer cleaning products at your local hardware store, but honestly, vinegar and baking soda work just as well and cost a fraction of the price. I’ve been using this combo for years with zero complaints.
Run a Hot Water Cycle
Start by running your washer empty on the hottest water setting available. This initial cycle loosens up surface debris and prepares the drum for deeper cleaning. Add two cups of white vinegar to the detergent dispenser and let the machine run its full cycle. The heat and vinegar combination begins breaking down mineral deposits and killing bacteria that cause odors.
While this cycle runs, take a break. Don’t try to multitask here—you want the hot water to do its work. This step is foundational to the entire cleaning process, much like how you’d let a degreaser sit on a grimy surface before scrubbing.
Clean the Rubber Gasket
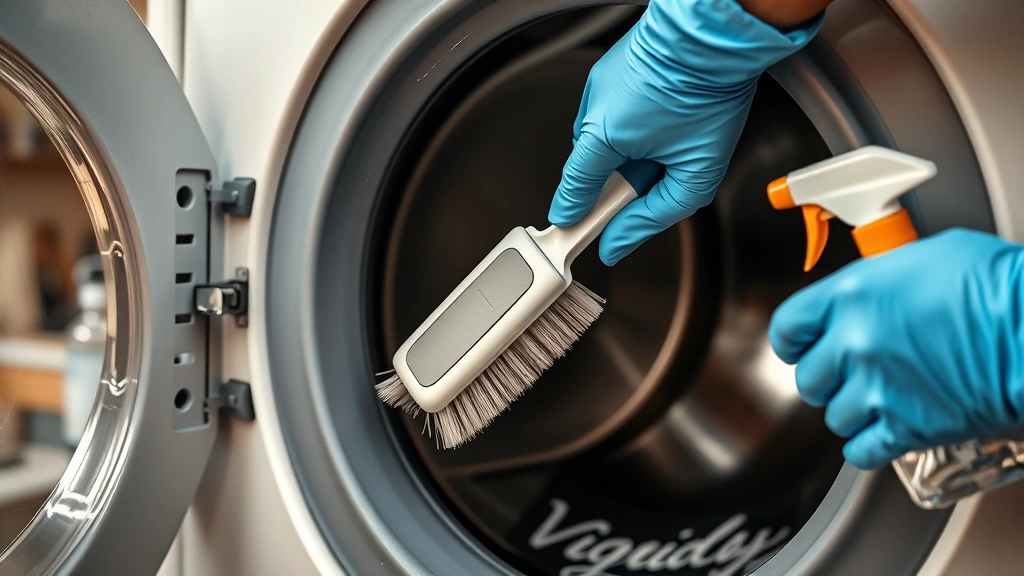
Once the vinegar cycle completes, it’s time to tackle the rubber gasket—that flexible ring around the door of front-loading washers. This is where mold and mildew love to hide. Pull back the gasket gently and inspect the rubber. You’ll likely see some dark spots or buildup.
Mix equal parts white vinegar and baking soda to create a paste. Use your soft-bristle brush or old toothbrush to scrub inside the gasket, working into all the folds and crevices. Don’t be shy—this is where the gunk hides. Wipe everything down with a damp cloth afterward to remove the paste and debris. If you spot stubborn mold, spray undiluted vinegar directly on the spot and let it sit for 15 minutes before scrubbing again.
For top-loaders, inspect the underside of the lid and the agitator area. Same approach applies—vinegar paste, scrub, and wipe clean.
Scrub the Detergent Dispenser
The detergent dispenser drawer is another common trouble spot. Detergent and fabric softener residue accumulates here, reducing cleaning effectiveness and creating a breeding ground for mold. Most dispenser drawers slide right out—check your manual if you’re unsure how to remove yours.
Soak the drawer in hot water mixed with two tablespoons of baking soda for 10 minutes. Use your brush to scrub away buildup, paying special attention to the corners and crevices where residue collects. Rinse thoroughly under running water and let it air dry before reinserting. While the drawer is out, wipe down the dispenser cavity inside the machine with a vinegar-dampened cloth.
Use Vinegar and Baking Soda
Now run a second empty cycle with baking soda. Add one cup of baking soda directly to the drum and run a hot water cycle. This follows up on the vinegar treatment and neutralizes any remaining odors while polishing the interior. The combination of vinegar and baking soda is surprisingly effective—it’s the same reaction you’d use to clean a clogged drain or refresh a smelly refrigerator.
Some people prefer to do this step simultaneously with the vinegar step, but I’ve found running them separately gives better results. The vinegar tackles mineral deposits and bacteria first, then baking soda refreshes and deodorizes afterward.
Set Up a Cleaning Schedule
Here’s the real secret to keeping your washer fresh: don’t let it get that dirty again. Set a maintenance schedule and stick to it. I recommend running a cleaning cycle once monthly if you do laundry weekly. If you have a large family and run the washer constantly, bump it up to twice monthly.
Make it easy on yourself. Pick the first Sunday of every month and run your vinegar cycle while you’re doing other chores. Takes five minutes to set up, and the machine does the work. This preventative approach saves you from ever needing to do deep cleaning again.
Also, leave the washer door open between loads to allow moisture to evaporate. This simple habit prevents mold growth and keeps everything smelling fresh. If you’re concerned about your washer’s long-term health, check out resources like Family Handyman’s appliance maintenance guides for manufacturer-specific recommendations.
Frequently Asked Questions
Can I use bleach instead of vinegar?
Yes, bleach works, especially for heavy mold issues. Use one cup of bleach in a hot water cycle. However, vinegar is gentler on rubber seals and is equally effective for routine cleaning. Save bleach for stubborn mold problems. Never mix bleach with vinegar or ammonia—it creates toxic fumes.
How often should I clean my washer?
Once monthly is ideal for regular use. If you notice odors or visible mold, clean immediately. Front-loaders need more frequent attention than top-loaders because water retention is higher. Adjust frequency based on your water hardness—hard water requires more frequent cleaning.
What if my washer still smells bad after cleaning?
Run the cleaning cycle again, but this time add one cup of bleach instead of vinegar. Make sure you’re leaving the door open between loads. If the smell persists, you might have a clogged drain pump filter—consult your manual or contact a technician.
Is it safe to use vinegar on all washer types?
Vinegar is safe for nearly all washers, including high-efficiency models. However, check your manual first. Some manufacturers recommend against vinegar for specific components. When in doubt, use baking soda instead—it’s gentler and still effective.
Can I run bleach and vinegar together?
Absolutely not. This combination creates chlorine gas, which is dangerous. Always rinse thoroughly between cycles if you’re switching cleaning agents, or run a water-only cycle in between.
Final Thoughts
Learning how to clean a washer properly transforms your laundry experience. You’ll notice clothes smell fresher, stains come out better, and your machine runs more quietly. The entire process takes about an hour of actual work time, spread across a couple of cycles. It’s one of those maintenance tasks that pays dividends immediately.
Stick with the monthly schedule, keep that door open between loads, and you’ll never deal with a stinking washer again. Your clothes—and your nose—will thank you. For additional appliance maintenance tips, This Old House offers comprehensive guides on keeping household equipment in top shape.


