
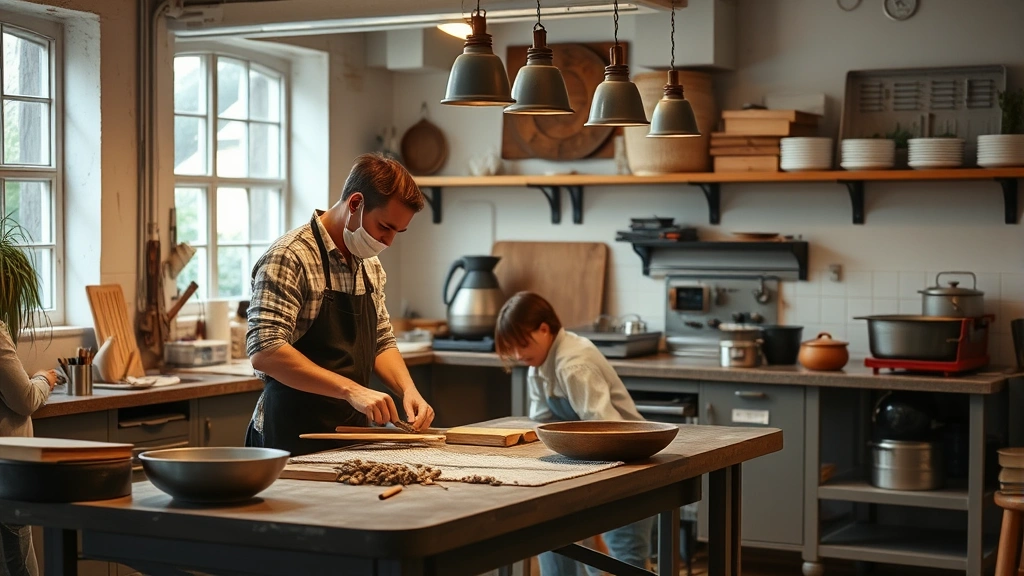
Learning how to chop an onion properly is one of those foundational kitchen skills that’ll save you time, protect your fingers, and honestly make cooking way more enjoyable. Whether you’re prepping ingredients for a weeknight dinner or tackling a big batch of dirty rice recipes, mastering this technique means you won’t be fumbling around with a knife while your eyes water like a broken faucet.
Table of Contents
Why Technique Matters
Before we dive into the actual steps, let’s talk about why knowing the right way to chop an onion matters. A proper technique gives you uniform pieces that cook evenly, which means better flavor distribution in your dishes. It also keeps your fingers safe—and that’s not a small thing when you’re handling a sharp blade repeatedly. Plus, the right grip and cutting motion is way less tiring on your wrist and hand than hacking away randomly.

When you’re making something like fajita marinade recipe ingredients or prepping for garlic parmesan sauce recipe, consistency in your onion pieces actually affects how quickly the aromatics release their flavor into your dish.

Gather Your Tools
You don’t need fancy equipment for this. Grab a sharp chef’s knife—and I mean actually sharp. A dull knife is more dangerous because it requires more pressure and is more likely to slip. You’ll also want a cutting board with good grip (one that won’t slide around on your counter), and honestly, that’s it. Some people keep a damp towel under their cutting board to prevent slipping, which is a solid move.
The knife should be at least 8 inches long for an onion. A smaller paring knife will work, but you’ll make more cuts and it’s slower. Invest in a decent chef’s knife if you don’t have one—it’s the most-used tool in any kitchen.

Prep the Onion First
Start with your onion at room temperature if possible (cold onions are harder to cut). Rinse it quickly under water and pat it dry. Now here’s the key: don’t cut off the root end yet. That root end is your anchor point and it keeps the onion stable while you’re cutting. You’ll only remove it at the very end.
Cut the onion in half from top (stem end) to bottom (root end). Place one half flat-side down on your cutting board. The flat surface gives you stability and prevents the onion from rolling. Save the other half for later—wrap it in plastic wrap if you’re not using it immediately.

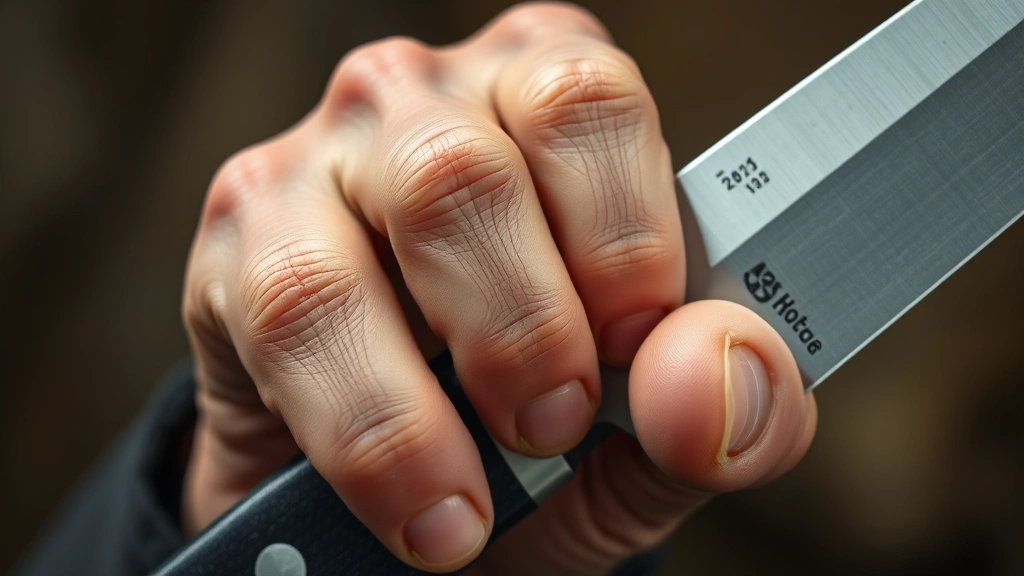
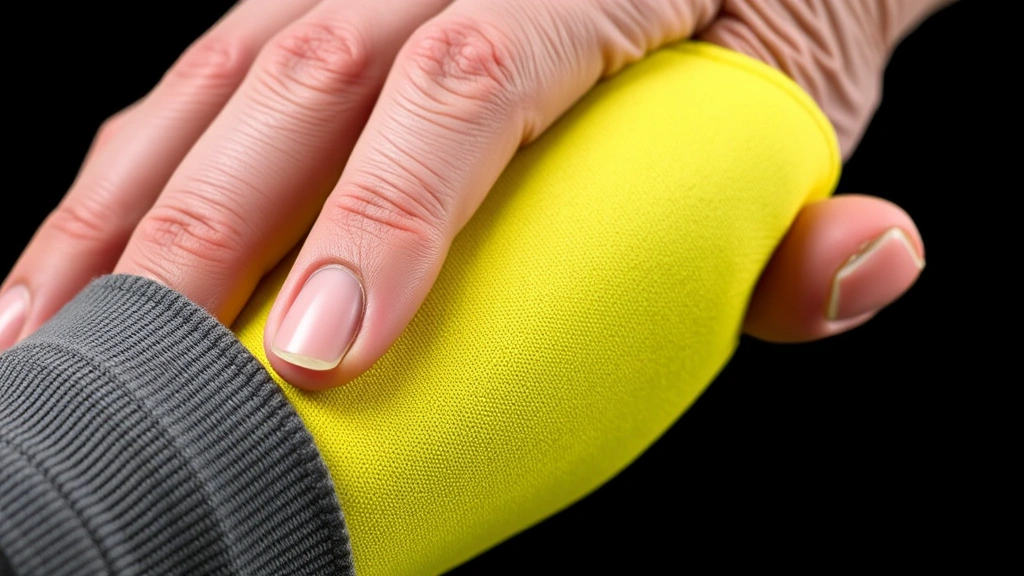
Master the Claw Grip
This is the move that protects your fingertips. Make a claw with your non-knife hand by curling your fingers inward so your knuckles point toward the knife blade. Your fingertips should be tucked safely inside your palm, away from any blade contact. Your thumb goes behind your fingers, not sticking out to the side.
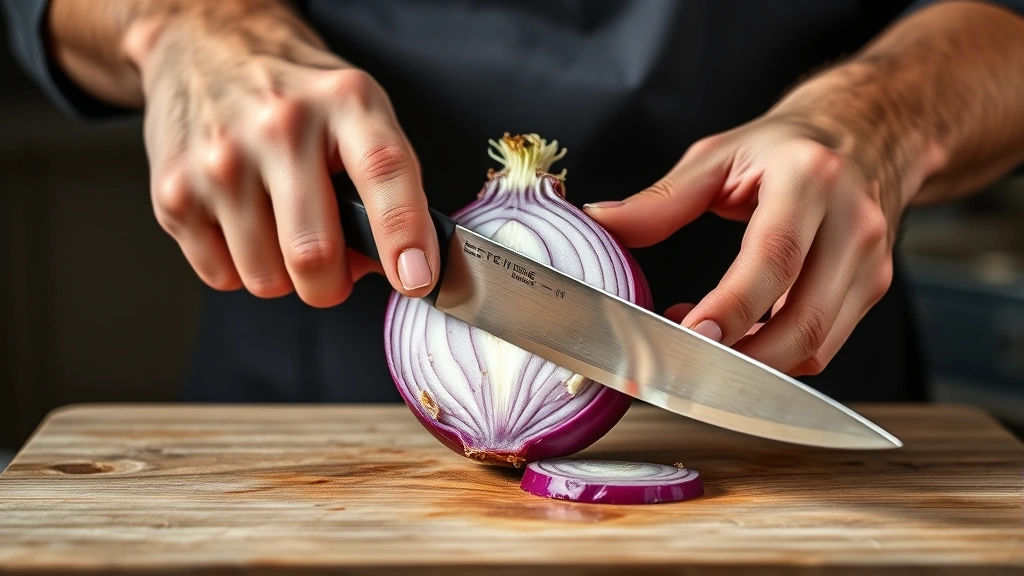
Rest the flat side of the knife blade against your knuckles. Your knuckles guide the blade and move backward incrementally with each cut. This way, if the knife slips, it hits your knuckles (which can take it) instead of your fingertips. It feels awkward the first few times, but it becomes automatic with practice.
Make Horizontal Cuts
With your flat-side-down onion half and your claw grip in place, you’re ready for the first set of cuts. Make 2-3 horizontal cuts parallel to the cutting board, working from the stem end toward the root end. Keep the knife blade nearly parallel to the board. These cuts should be about ¼-inch apart for medium dice.

Don’t cut all the way through the root end—stop about ½ inch before you reach it. That root end is still your anchor. Move your claw grip backward slightly after each cut to keep your knuckles in front of the blade. This is where the real safety happens.

Vertical Slicing Method
Now make vertical cuts from the stem end down toward the root end, again keeping about ¼-inch spacing between cuts. These cuts should go perpendicular to your horizontal cuts. You’re essentially creating a grid pattern inside the onion. Your claw grip stays active the whole time, moving backward as you work through the onion.

Keep the knife tip on the board and use a rocking motion with your wrist rather than lifting the entire blade up and down. This rocking motion is faster and gives you better control. The blade never leaves the board—it’s like a hinge point.

Final Chop Technique
Once you’ve made your horizontal and vertical cuts, make one final set of cuts perpendicular to the vertical ones. These are your cross-cuts that actually separate all those pieces. Start at the stem end and work toward the root, using the same rocking motion. Your pieces should now be roughly uniform cubes.
When you get close to the root end, carefully set the onion piece down flat and make a few final cuts. Once you’ve got small pieces, you can safely set down your claw grip and use your regular hand to hold the tiny remaining piece while you finish. Or just leave it—some chefs add that last bit to the pile and call it done.
Speed Comes With Practice
Don’t rush this learning phase. The first time you do this, it might take 2-3 minutes per onion. That’s totally fine. Professional chefs can do it in 30 seconds because they’ve done it thousands of times. Your speed will naturally increase as your muscle memory develops and you get more confident with the knife.

The key is consistency and control, not velocity. A slower, deliberate cut is safer and produces better results than fast, sloppy hacking. Once the technique is automatic, you’ll naturally speed up without thinking about it.

Avoid These Common Mistakes
The biggest mistake people make is not using the claw grip, which leads to nicked fingers. Another common one is using a dull knife—it requires more pressure and is way more likely to slip or bounce. Some folks also try to cut the onion in half the wrong way (side to side instead of top to bottom), which gives them a round piece that rolls everywhere.

Don’t skip the flat-side-down step. That stability is crucial. And don’t get frustrated if your first few attempts produce uneven pieces—that’s completely normal. Your knife control will improve rapidly with repetition. When you’re making cheesy rice recipe or other dishes that need onions, you’ll appreciate having this skill dialed in.

Frequently Asked Questions
Why do onions make you cry when chopping?
Onions release a gas called syn-propanethial-S-oxide when you cut them. This gas irritates your eyes and triggers tears. Keep your onion cold (refrigerate for 30 minutes before cutting), make sure your knife is sharp (less cell damage means less gas release), and work quickly. Some people swear by lighting a candle nearby—the flame can neutralize some of the gas.
What’s the difference between dicing and chopping?
Dicing produces uniform cubes (usually ¼-inch or smaller), while chopping is more casual and produces irregular pieces. For most recipes, dicing gives better results because the pieces cook evenly. However, if a recipe just says “chop,” uniform pieces are still better than random chunks.
Can I use a food processor instead?
You can, but it often over-processes onions into mush, especially if you’re not careful with the pulse button. Hand-chopping gives you much better control over texture. Plus, there’s something satisfying about doing it with a knife—it’s actually faster than pulling out the food processor, cleaning it, and putting it away.
How do I know when my knife is sharp enough?
A sharp knife should easily slice through paper or tomato skin without requiring pressure. If you’re using force to cut an onion, your knife needs sharpening. Most kitchen knife stores can sharpen blades for $5-10, or you can invest in a honing steel to maintain your knife between sharpenings.
Should I cut onions lengthwise or crosswise?
For most cooking, you want to cut from root end to stem end (lengthwise). This gives you pieces that hold together better during cooking. Crosswise cuts separate the layers more, which is sometimes what you want for raw applications like salads, but for cooking, lengthwise is your go-to.
What about onion varieties—do they chop differently?
The technique is the same regardless of onion type. Yellow onions, white onions, and red onions all chop the same way. Sweet onions are slightly softer and might be a bit easier to cut, but the method doesn’t change. Shallots use the same technique but are smaller, so you’ll have fewer cuts to make.
How do I prevent my cutting board from sliding?
Place a damp kitchen towel under your cutting board. The moisture creates friction that keeps the board stable. Some people use non-slip mats designed for this purpose. A stable cutting board is non-negotiable for safe knife work.
Final Thoughts
Mastering how to chop an onion is genuinely one of those skills that pays dividends every single time you cook. You’ll use this technique for hundreds of recipes, from hoisin sauce recipe to everyday stir-fries and stews. The claw grip, the flat-side-down stability, and the rocking motion with your knife blade become second nature after a few times.
Start slow, focus on safety and consistency, and don’t worry about speed. Your knife skills will improve naturally with practice, and you’ll find yourself chopping onions faster and more confidently each time. Keep your knife sharp, use that claw grip every single time, and you’ll never nick a fingertip while prepping dinner again. Now get in that kitchen and start practicing!


