
Learning how to check a fuse with a multimeter is one of the most practical skills you can pick up in your workshop. Whether you’re troubleshooting a dead circuit, fixing an appliance that won’t turn on, or diagnosing electrical gremlins in your car, knowing how to test a fuse quickly separates the DIYers from the guessers. A multimeter is your best friend here—it’s fast, accurate, and beats the old eyeball method every single time.
Table of Contents
Why Test Fuses Anyway?
Fuses are the gatekeepers of your electrical circuits. When something goes wrong—a power surge, an overload, a short circuit—the fuse sacrifices itself to protect everything downstream. It’s basically a one-time hero. The problem is, you can’t always tell by looking if a fuse is blown or still good. That’s where your multimeter comes in. Testing takes about 30 seconds and saves you from replacing good fuses or missing the real culprit. Plus, if you’re working on vintage equipment or specialty circuits, knowing how to verify a fuse with a multimeter is essential.

Multimeter Basics Explained
A multimeter is a handheld electrical testing device that measures voltage, current, and resistance. For checking fuses, you’re mainly concerned with the continuity function or the resistance setting. Most modern multimeters have a dedicated continuity mode—usually marked with a little sound wave symbol. This mode sends a tiny signal through the fuse and beeps if electricity can flow freely. It’s the quickest way to verify if a fuse is intact or blown. If you don’t have continuity mode, you can use the resistance (ohms) setting instead, which we’ll cover in detail below.

Safety First, Always
Before you even touch a fuse, kill the power. Seriously. Switch off the circuit breaker or unplug the device you’re testing. Fuses sit in live circuits, and testing them while power is running is dangerous—you could get shocked or damage your multimeter. If you’re testing a car fuse, remove the key from the ignition. Give yourself a solid 30 seconds after cutting power to let any residual charge dissipate. Wear safety glasses if you’re working in tight spaces. Your eyes are worth more than any repair job.

Step-by-Step Testing Process
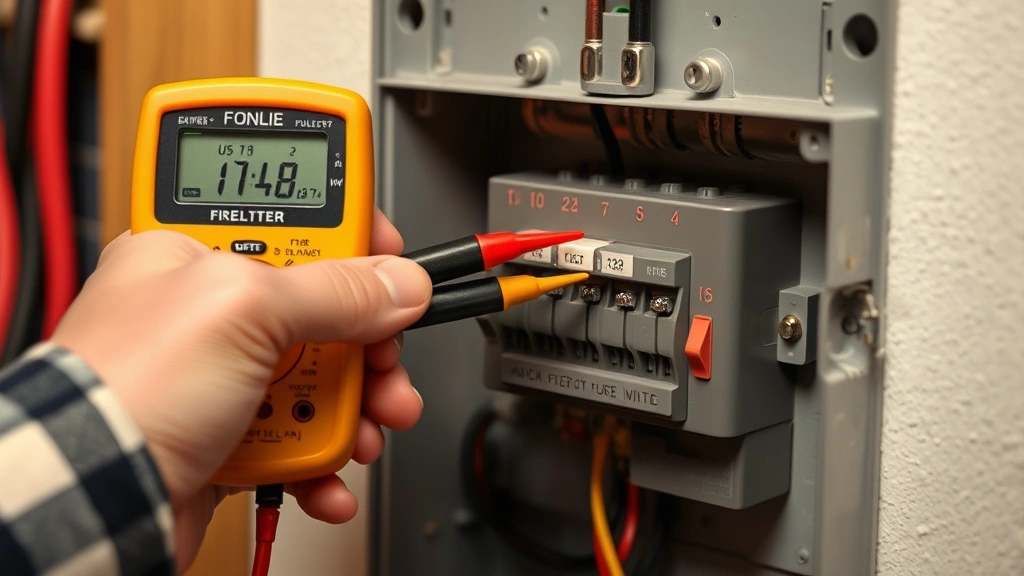
Step 1: Locate and Remove the Fuse Find your fuse box or panel. In homes, it’s usually in the basement, garage, or utility closet. In cars, check the manual or look under the dashboard or hood. Gently pull the fuse straight out using a fuse puller tool if available, or carefully wiggle it out by hand. Don’t force it—fuses are fragile.

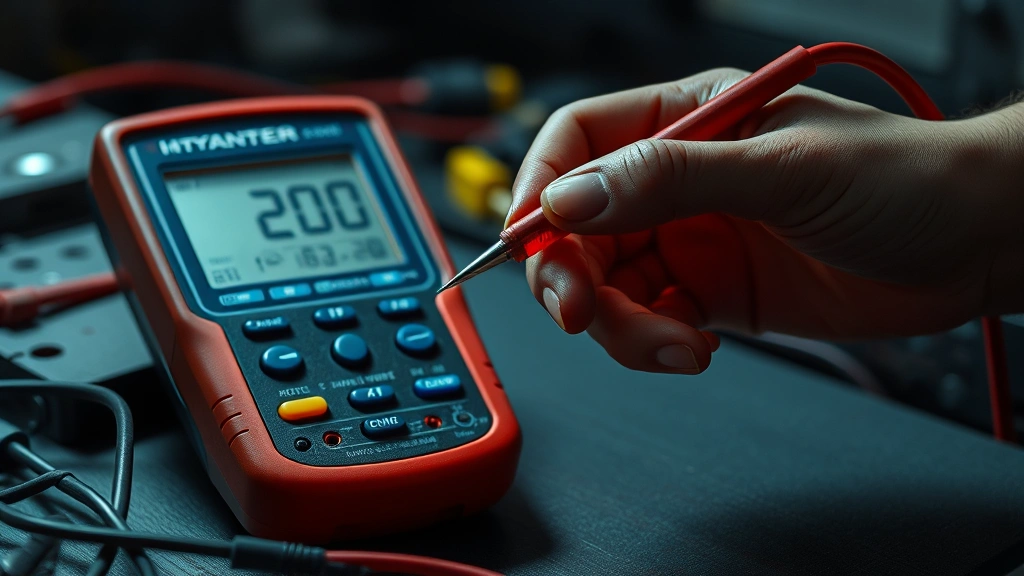
Step 2: Set Your Multimeter to Continuity Mode Hold your multimeter and locate the continuity setting. It looks like a sound wave or a little speaker symbol. Twist the dial to that setting. If your meter doesn’t have continuity, set it to the 200-ohm resistance range instead. This tells the meter you’re checking for electrical flow, not measuring voltage.

Step 3: Touch the Probes to the Fuse Take the red and black probes from your multimeter. Touch one probe to each end of the fuse—it doesn’t matter which probe goes where for continuity testing. Make firm contact. You’re creating a complete circuit through the fuse so the meter can check if electricity can flow.

Step 4: Listen and Watch for Results In continuity mode, a good fuse will produce a beep and the meter will display zero or show a very low resistance reading (close to 0 ohms). A blown fuse will produce no beep and show infinite resistance or a very high number. The beep is your green light—that fuse is still good.
Step 5: Document Your Findings Take a mental note or jot down which fuses test good and which don’t. If you’re testing multiple fuses, this prevents confusion. A blown fuse is your smoking gun—it’s the culprit causing your circuit to fail. Now you know exactly what to replace.

Reading Your Multimeter Results
This is where the rubber meets the road. A good fuse shows one of two things: either your multimeter beeps (in continuity mode) or displays 0 to 0.5 ohms (in resistance mode). Both mean electricity flows freely through the fuse. A blown fuse will show no beep and display a reading of infinite ohms (often shown as “OL” or “1” on the display). This means the internal filament is broken and no current can pass. Some meters show a dash or an extremely high number instead. No beep = no good. It’s that simple. If you’re unsure, test a fuse you know is good first to get familiar with what a passing result looks like.

Common Mistakes to Avoid
Don’t test a fuse while power is still on—you’ll damage your meter or worse. Don’t assume a fuse is bad just because a circuit isn’t working; test it first. Some people forget to set the multimeter to the right mode and get confused readings. Always double-check your dial setting before testing. Don’t push the probes so hard you crack the fuse ceramic body. Light, steady contact is all you need. And here’s a big one: don’t replace a blown fuse with one of a higher amperage rating. If a 15-amp fuse keeps blowing, something is drawing too much power—putting in a 20-amp fuse won’t fix the problem; it’ll create a fire hazard.

When to Replace That Fuse
If your test shows a blown fuse, replacement is straightforward. Grab a new fuse with the exact same amperage rating (it’s printed right on the fuse) and gently insert it into the socket until it clicks or seats fully. If that fuse blows again within days or weeks, you’ve got a deeper electrical problem—a short circuit, a faulty appliance, or an overloaded circuit. Don’t keep replacing fuses; investigate the root cause. This is where knowledge of how to program your devices correctly can sometimes help prevent electrical overloads from misconfigured equipment. A good resource for home electrical safety is Family Handyman’s electrical section, which covers circuit basics and troubleshooting.

Troubleshooting Tips and Tricks
If you test a fuse and get a weird reading—like 50 ohms or something in between—the fuse might be on its way out. It’s a borderline case. Replace it to be safe. If multiple fuses in the same panel are blown, you’ve got a serious electrical issue. Stop testing and call a licensed electrician. If you’re testing car fuses and everything looks good but your circuit still doesn’t work, the problem might be in a relay, a switch, or wiring downstream. Keep testing systematically. Also, keep spare fuses of common ratings in your toolbox—15-amp and 20-amp are the workhorses in most homes. For detailed guidance on electrical diagnostics, This Old House offers comprehensive electrical repair articles. And if you’re dealing with older homes or vintage equipment, Bob Vila’s home repair guides often address fuse-related issues specific to different eras of construction.

Frequently Asked Questions
Can I test a fuse without removing it from the circuit?
Technically yes, but it’s risky and not recommended. Removing the fuse first ensures your safety and gives you a cleaner test. If you must test in-place, make absolutely sure the power is off and use extreme caution with your probes.

What if my multimeter doesn’t have a continuity mode?
Use the resistance (ohms) setting instead. Set it to 200 ohms or the lowest range available. A good fuse reads near 0 ohms; a blown fuse reads infinite or very high (OL on the display).
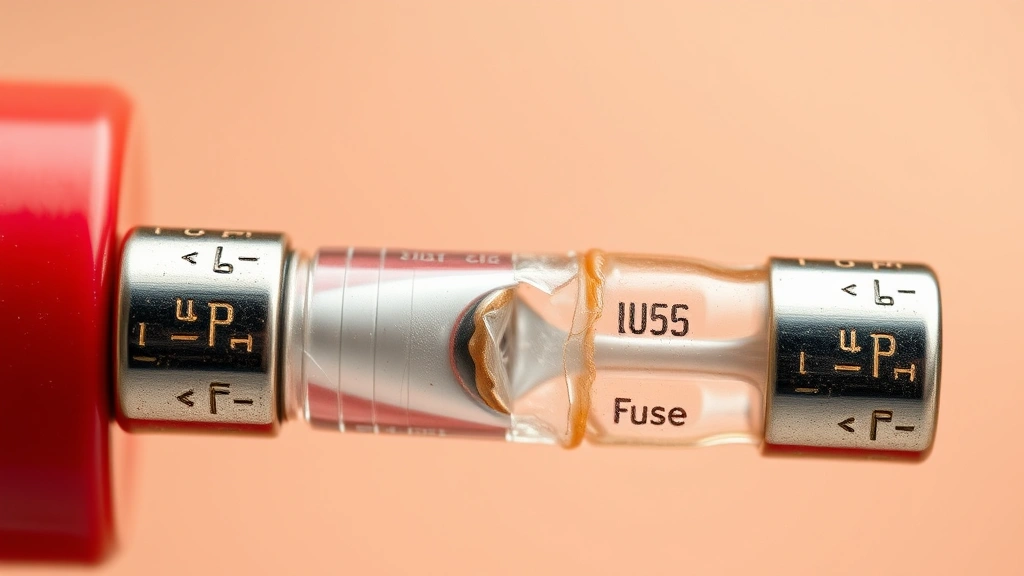
Is a fuse that’s slightly discolored still good?
Discoloration doesn’t always mean failure. Test it. If your multimeter shows continuity, the fuse is still functional. However, heavy blackening or a visible break inside the fuse means it’s definitely blown.

How often should I check my fuses?
Only when you suspect a problem. Fuses don’t degrade over time under normal conditions. Check them when a circuit stops working or when you’re diagnosing an electrical issue.

Can I use a multimeter on a car fuse the same way?
Yes, exactly the same process. Remove the fuse, set your multimeter to continuity or resistance mode, touch both ends, and read the result. Car fuses are typically smaller but work on the same principle.

What does it mean if the multimeter shows 0.1 ohms?
That’s a good fuse. Anything under 1 ohm is essentially a pass. The fuse is conducting electricity properly.

Final Thoughts
Knowing how to check a fuse with a multimeter is a skill that pays dividends every time you troubleshoot an electrical problem. It takes less than a minute, costs nothing, and gives you solid information to work from. You avoid replacing good fuses, you pinpoint bad ones instantly, and you save yourself hours of guesswork. Keep your multimeter handy, remember the safety basics, and test before you replace. Your workshop—and your wallet—will thank you.


