
Learning how to charge Switch controllers is one of those skills that seems simple until you’re stuck with dead Joy-Cons mid-gaming session. Whether you’re dealing with the standard Joy-Con pair, Pro Controllers, or the newer Switch OLED model, understanding your charging options can save you from frustration and keep your gaming uninterrupted.
Table of Contents
Understanding Your Switch Controllers
Before diving into charging, you need to know what you’re working with. The Nintendo Switch ecosystem includes three main controller types: the Joy-Con pair (the small controllers that attach to the sides of the handheld unit), the Pro Controller (the full-sized gamepad), and the Joy-Con Grip (which holds two Joy-Cons in a traditional controller configuration). Each has slightly different charging requirements, and knowing which one you own is the first step toward keeping them powered up.
Joy-Cons are rechargeable via the console itself when attached, while Pro Controllers require a dedicated charging method. The Switch OLED model introduced some improvements to the charging experience, but the fundamentals remain the same across all Switch models.
Charging Methods Overview
You’ve got multiple ways to charge your controllers, and the method you choose depends on your situation and what accessories you own. The three primary methods are using the official Joy-Con Charging Dock, connecting via USB-C cable directly to a power source, or charging through the console itself. Each approach has its pros and cons, and understanding them helps you pick the right solution for your gaming lifestyle.
The beauty of modern Switch controllers is their flexibility—you’re not locked into one charging method. This redundancy means you can always find a way to get your controllers powered up, whether you’re at home or traveling.
Joy-Con Charging Dock Method
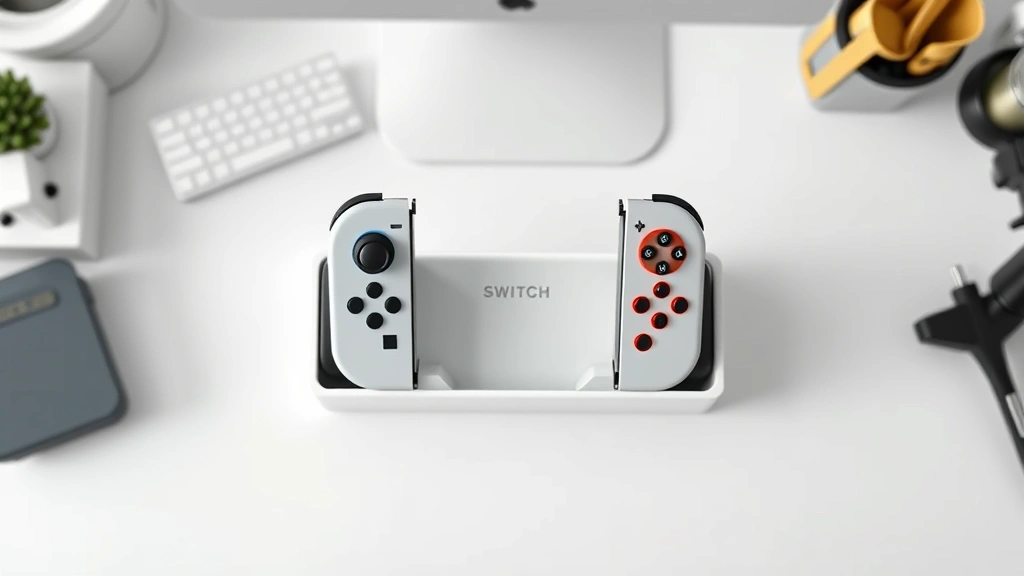
The official Joy-Con Charging Dock is the most convenient option for regular players. This dock holds two Joy-Cons upright and charges them simultaneously through their side connectors. To use it, simply slide each Joy-Con into the dock with the straps facing outward. The controllers should click into place, and you’ll see LED indicators light up to show charging status.
The charging dock connects to any USB power source—your wall outlet, a computer, or a portable power bank. A full charge typically takes around three to four hours, though this varies depending on the power adapter’s output and the battery’s current state. Many players keep their dock permanently set up next to their TV or gaming desk for maximum convenience.
One advantage of the dock is that it keeps your controllers organized and visible. You can see at a glance whether they’re charging and how much battery they have. It’s also the safest method for long-term storage, as it maintains optimal charging conditions. If you’re serious about your Switch gaming, this is the accessory worth investing in.
USB-C Direct Charging
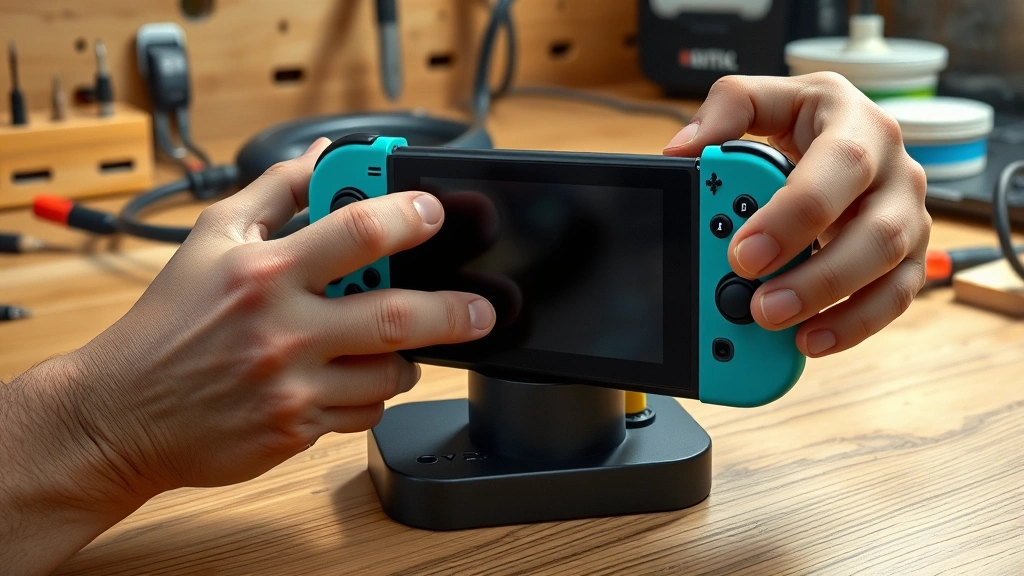
All modern Switch controllers feature USB-C ports, which means you can charge them directly using any USB-C cable and power adapter. This is incredibly convenient if you already have USB-C chargers lying around—and let’s face it, most of us do these days. Simply connect the cable to your controller and plug it into power.
For Joy-Cons, you’ll need to use the USB-C port on the bottom of each controller when they’re detached from the console. The Pro Controller has its USB-C port on the top. Direct charging is faster than using the dock—you can get a full charge in about two to three hours, depending on the power adapter’s wattage.
The downside is that you can’t use your controller while it’s charging via USB-C cable, unlike when it’s attached to the console. However, for overnight charging or when you have a backup controller, this method works perfectly. Just remember to use quality USB-C cables to avoid damaging the charging port. This is where knowing how to clean charging port becomes valuable if you notice slow charging speeds.
Pro Controller Charging
The Nintendo Switch Pro Controller charges exclusively via USB-C—there’s no dock option like with Joy-Cons. The USB-C port is located on the top edge of the controller, and you’ll connect your cable there. The Pro Controller has a larger battery than Joy-Cons, so expect charging to take around three to four hours for a full charge.
Pro Controllers are built with gaming longevity in mind, and their batteries typically last longer on a single charge compared to Joy-Cons. A fully charged Pro Controller can provide 40+ hours of gameplay, making it the preferred choice for serious gamers who want minimal charging interruptions. When charging, you’ll see the LED indicator on the controller pulse to show it’s actively charging.
One helpful tip: don’t let your Pro Controller’s battery completely die. Like most rechargeable batteries, lithium-ion batteries perform best when you keep them between 20% and 80% capacity. Letting them drain completely occasionally is fine, but making it a habit can reduce overall battery lifespan.
Reading Battery Indicators
Understanding your controller’s battery status prevents those frustrating moments when your controller dies mid-match. Joy-Cons and Pro Controllers show battery status through LED indicators and on-screen displays. When you’re actively gaming, the console displays battery percentage in the system menu.
The LED lights on your controllers tell you charging status: a solid light means fully charged, while a pulsing light indicates active charging. Some controllers show different colors—white for charging, green for fully charged. Always check your specific controller model’s manual for exact indicator meanings, as they vary slightly between Joy-Con and Pro Controller versions.
On the Switch screen itself, you can check battery levels by going to System Settings and looking at the controller battery status. This gives you precise percentages rather than guessing. It’s a good habit to check this weekly, especially if you game frequently.
Troubleshooting Common Issues
Sometimes controllers won’t charge, and it’s usually not a hardware failure—it’s something simple you can fix. First, check if the USB-C cable is damaged or the charging port is dirty. Debris and dust accumulate in ports over time, blocking the connection. A gentle cleaning with a dry cloth or compressed air often solves slow charging issues.
If your controller still won’t charge, try a different USB-C cable and power adapter. Sometimes the cable is the culprit, not the controller. If you’re using a low-power adapter (like a phone charger with minimal wattage), switch to a higher-output adapter. The Switch’s official charger or any quality USB-C power adapter rated for at least 5V/2A works well.
For persistent issues, try resetting your controller. Hold the small reset button on the back of Joy-Cons or Pro Controllers for a few seconds. This can resolve software glitches preventing proper charging recognition. If none of these steps work, your battery might be failing, and you’ll need to contact Nintendo support or consider replacement.
Extending Controller Battery Life
Your controller’s battery won’t last forever, but you can extend its lifespan significantly with smart habits. Avoid exposing controllers to extreme heat or cold, which degrades battery chemistry. Store them in a cool, dry place when not in use. Never leave them charging for weeks on end—charge them when needed and disconnect promptly.

Reduce unnecessary background drain by turning off motion controls and HD rumble when you’re not using them. These features consume power even during idle periods. Also, disable wireless connectivity when playing handheld mode if you don’t need online features. Every little bit of power conservation adds up over time.
Most importantly, avoid completely draining your batteries regularly. The occasional full discharge is fine for battery calibration, but constant deep drains shorten overall lifespan. Think of it like your car battery—how to check car battery health applies similar principles of preventive maintenance.
Frequently Asked Questions
How long does it take to fully charge Switch controllers?
Joy-Cons typically take 3-4 hours to fully charge via the dock or USB-C cable. Pro Controllers take a similar timeframe, around 3-4 hours for a complete charge. Using a higher-wattage power adapter can slightly speed up charging times.
Can I charge Joy-Cons while playing?
Yes, if you attach them to the console, they’ll charge while you play in handheld or tabletop mode. However, if you’re using them wirelessly with a dock or TV, you cannot charge them simultaneously while gaming.
What’s the best way to store controllers long-term?
Store controllers in a cool, dry place with batteries charged to around 50%. Avoid extreme temperatures and humidity. If storing for months, charge them to 50% every few months to maintain battery health.
Why is my controller charging slowly?
Slow charging usually indicates a dirty charging port or a low-power adapter. Clean the port gently with compressed air or a dry cloth, and try a different USB-C cable or higher-wattage power adapter.
Do I need the official Nintendo charging dock?
No, you can charge Joy-Cons with any USB-C cable and power adapter. However, the official dock is convenient for regular players and provides organized charging without cable clutter.
How often should I charge my controllers?
Charge when battery drops to 20-30% for optimal longevity. Avoid letting them completely die regularly. Most players charge weekly or as needed based on gaming habits.
Now that you understand how to charge Switch controllers properly, you’re equipped to keep your gaming sessions uninterrupted. Whether you prefer the convenience of a charging dock, the flexibility of USB-C direct charging, or charging through the console itself, you’ve got options that fit your lifestyle. Regular maintenance and smart charging habits will keep your controllers performing reliably for years of gaming enjoyment. For additional tech troubleshooting, check out our guide on how to connect two monitors to a laptop for other device setup tips.


