
Learning how to char grill is one of those skills that separates backyard grillers from actual pitmasters. It’s not just about throwing meat on hot metal and hoping for the best—it’s about understanding heat, timing, and technique to get those beautiful caramelized crusts that make your mouth water. Whether you’re working with a gas grill, charcoal beast, or pellet smoker, the fundamentals of charring are the same, and I’m here to walk you through exactly what you need to know.
Table of Contents
Heat Management Matters Most
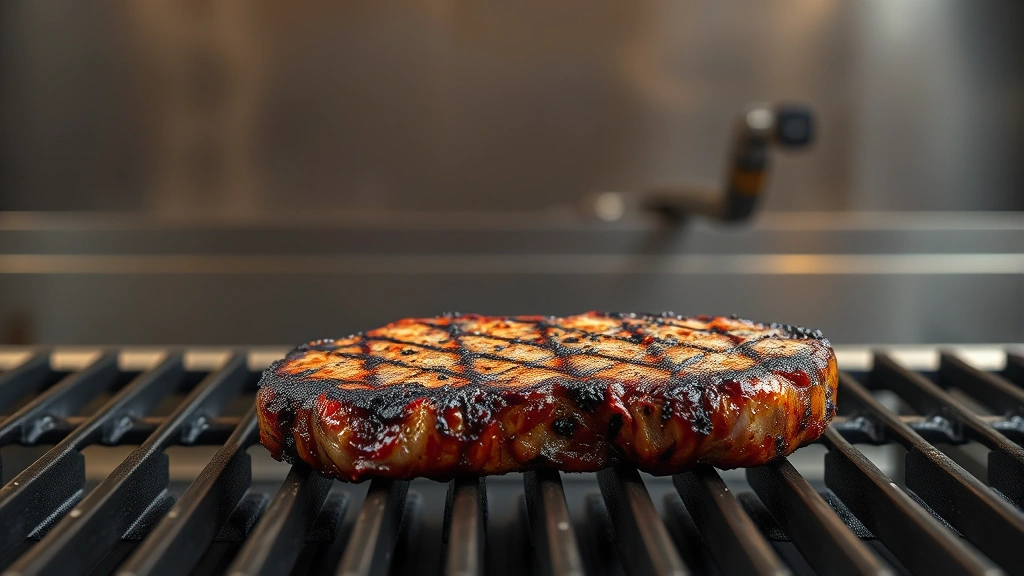
Before you even touch your grill, understand this: charring requires serious heat. We’re talking 450°F minimum, ideally 500°F or higher for a proper char. The reason is simple—you need enough thermal energy to create that Maillard reaction, the chemical magic that browns meat and develops flavor. If your grill isn’t hot enough, you’ll just dry out your protein instead of creating that gorgeous crust.
Start by preheating your grill for at least 15 minutes before you place any food on it. This isn’t negotiable. A cold or lukewarm grill won’t give you the sear you want. If you’re using charcoal, let your coals burn down until they’re white-hot. For gas grills, crank all burners to high and keep them there while preheating. The thermal mass needs to build up so that when you add cold meat, the temperature doesn’t plummet.
One thing I always do is test the grill temperature with my hand—hold your palm about 6 inches above the grate. If you can only hold it there for 2-3 seconds before the heat forces you to pull away, you’ve got legitimate char-ready heat. This old-school method works better than you’d think.
Prep Your Grill Surface Right
A dirty grill grate won’t char properly. Buildup and residue act as insulators, preventing direct heat transfer to your meat. Before every grilling session, brush your grates clean with a wire brush while the grill is still hot from preheating. This takes 60 seconds and makes a huge difference.
After brushing, oil those grates. Use a high-smoke-point oil like avocado or refined vegetable oil. Dip a paper towel in the oil and wipe it across the grates using tongs. This prevents sticking and helps create better contact between meat and heat, which is essential for charring. Don’t skip this step—it’s the difference between a beautiful char and meat that sticks and tears.
If you’re doing a long grilling session with multiple items, re-oil between batches. The oil burns off, and you want that protection throughout your cook.
Choose the Right Cuts
Not all meat chars equally. Thick-cut steaks (1.5 to 2 inches) are your best friend here. They give you time to develop a crust without cooking the interior to death. Ribeyes, New York strips, and porterhouses are classics for a reason—they’ve got enough fat and structure to handle high heat.
For chicken, bone-in skin-on thighs and breasts work better than thin cutlets. The skin crisps up beautifully when you know how long to cook chicken at 400 degrees and can adjust for higher temps. Pork chops should be at least an inch thick. Thin cuts just won’t give you that charred exterior before the inside overcooks.
Pat your meat completely dry before it hits the grill. Moisture is the enemy of charring—it creates steam, which prevents browning. Use paper towels and don’t be shy about it. Dry meat = better char. Every single time.
Timing and Sear Technique
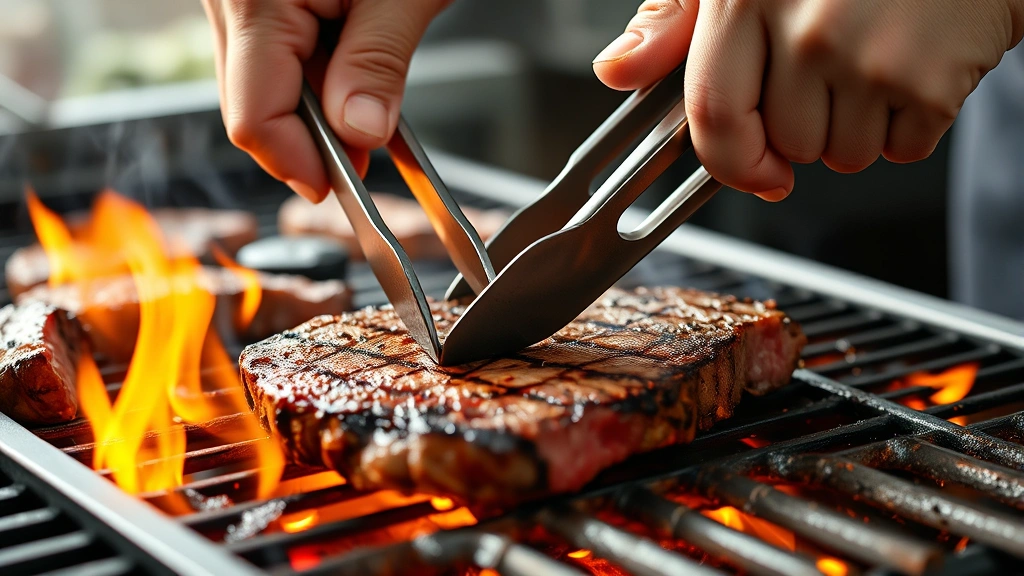
Here’s where technique separates the masters from the amateurs. When your meat hits the grill, leave it alone. Don’t poke it, flip it constantly, or move it around. You need 3-4 minutes of uninterrupted contact with the heat to develop a proper char. This is when the Maillard reaction is working its magic.
Flip only once. After that initial sear, flip the meat once and give it another 3-4 minutes on the second side. If you’re doing a thick steak that needs more cooking, move it to a cooler part of the grill after searing both sides, or lower the heat. But during those initial sears, maximum heat and patience are your tools.
For items like how long to smoke a ham, the charring happens on the surface before the long, slow cook. Get that exterior caramelized first, then move to lower heat for the long haul.
Temperature Control Secrets
Charring and cooking through are two different goals. You want a hot sear followed by controlled cooking. On a charcoal grill, this means setting up a two-zone fire—hot coals on one side, fewer or no coals on the other. Sear over the hot zone, then move to the cool zone to finish cooking without burning.
Gas grills make this easier. Sear over all burners on high, then turn off one or more burners and move the meat to the cooler side to finish. This gives you that char without charring the whole thing black.
Use a meat thermometer. This isn’t cheating—it’s the only way to know for sure when your meat is done. For steaks, 130°F internal temp (medium-rare) is the sweet spot. Pull it off at 125°F and let carryover cooking finish the job while it rests.
Wood and Smoke Integration
If you want to add smoke flavor while charring, use wood chips or chunks. Soak wood chips for 30 minutes, then place them directly on hot coals or in a smoker box on a gas grill. The smoke adds complexity to that char flavor—it’s not just brown, it’s brown with depth.
Don’t overdo it. Light smoke is elegant; thick smoke is bitter. You want just enough smoke to see it curling off the grill. Mesquite is intense and works for beef. Hickory is middle-of-the-road and works for everything. Fruitwoods like apple are milder and excellent for pork and poultry.
Resting After the Char
This is critical and often ignored. After you pull your meat off the grill, let it rest for at least 5-10 minutes depending on thickness. A thick steak needs 10 minutes; thinner cuts need 5. During this time, the juices redistribute throughout the meat instead of running all over your plate.
Tent it loosely with foil to keep it warm without trapping steam that would soften that beautiful char you just created. This resting period is when the meat finishes cooking slightly from carryover heat, and the temperature stabilizes. It’s also when you can prep your sides—maybe whip up some easy Mexican rice recipes or French green beans recipes to serve alongside.
Common Charring Mistakes
Flipping too often is the number-one mistake I see. People get nervous and flip every 30 seconds. Stop it. You won’t get a char without contact time. Trust the process.
Using too much seasoning before grilling is another problem. Salt draws moisture out, and you need that surface dry for charring. Season just before the meat hits the grill, or salt it 40+ minutes ahead so the salt has time to be reabsorbed. Don’t season in that awkward 10-minute window before grilling.
Closing the lid during the sear is a mistake on charcoal grills. You want direct, radiant heat from the coals, not convection heat from a closed environment. Keep the lid up during the sear, then close it if you need to finish cooking through.
Not letting your grill get hot enough is the silent killer. If you’re not getting a char in 3-4 minutes, your grill isn’t hot enough. Crank it higher and try again. There’s no such thing as too hot for the sear phase.
Frequently Asked Questions
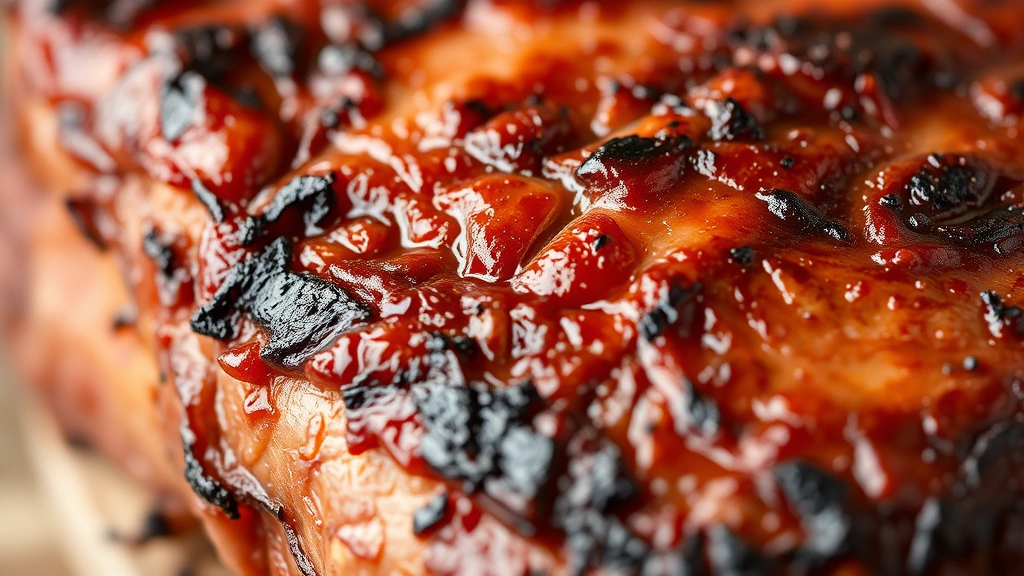
What’s the difference between char and burn?
Char is a flavorful, caramelized crust from the Maillard reaction. Burn is bitter, black, and tastes like ash. Char happens in 3-4 minutes at 450°F+. Burn happens when you leave it too long or the temperature is uncontrolled. The line is thin but real—timing and temperature control are everything.
Can you char grill on a gas grill as well as charcoal?
Absolutely. Gas grills can get just as hot as charcoal, and some argue they’re easier to control. The difference is that charcoal provides more radiant heat and can hit higher temperatures. But a well-preheated gas grill will char meat beautifully. The technique is identical.
Should you marinate meat before charring?
You can, but pat it completely dry afterward. Marinades add flavor, but wet surfaces don’t char. If you marinate, do it 2-4 hours ahead, then dry the meat thoroughly before grilling. Oil-based marinades are better than vinegar-based ones for charring because they don’t leave as much surface moisture.
What’s the best thermometer for checking doneness?
An instant-read meat thermometer is non-negotiable. I prefer digital models with a quick read time (2-3 seconds). Place it in the thickest part of the meat, not touching bone. For steaks, aim for 130°F (medium-rare). For chicken, 165°F. For pork, 145°F.
Can you char grill vegetables?
Yes, and they’re fantastic. Thick vegetables like zucchini, bell peppers, and eggplant char beautifully. Cut them lengthwise, oil them well, and treat them like meat—high heat, minimal flipping, 3-4 minutes per side. They develop incredible caramelization and sweetness. Try them in a Detroit style pizza recipe after charring.
How do you maintain grill temperature consistency?
For charcoal, use a chimney starter to light coals and spread them evenly. For gas, preheat all burners and adjust as needed. Use a grill thermometer (not just the built-in one) to verify temperature. Keep the lid closed between items to maintain heat. Don’t open it constantly to peek—every time you open it, temperature drops.
Final Thoughts on Charring Like a Pitmaster
Learning how to char grill isn’t magic—it’s the combination of proper heat, good preparation, and patience. Get your grill hot, keep your meat dry, sear it hard and fast, and resist the urge to mess with it. The char you develop in those first few minutes is what separates a decent grilled dinner from something truly memorable.
Practice these techniques on a few steaks, and you’ll develop an intuition for it. Soon you’ll be the person everyone wants cooking at their barbecue. And honestly, that’s worth the effort. Now get out there and char something delicious.
For more grilling inspiration, check out healthy dinner recipes for 2 to plan your next meal. And if you want to explore other cooking methods, resources like Family Handyman and This Old House have excellent grilling guides. The Bob Vila site also has solid equipment reviews if you’re shopping for a new grill.


