
Learning how to change transmission fluid is one of those skills that’ll save you serious cash and keep your vehicle running smooth for years to come. Your transmission is basically the heart of your drivetrain, and fresh fluid keeps everything lubricated, cool, and happy. Whether you’re driving an automatic or manual, this guide walks you through the whole process step-by-step, no shade-tree mechanic degree required.
Table of Contents
Why Transmission Fluid Matters
Think of transmission fluid as the lifeblood of your transmission. It does way more than just lubricate—it cools components, transfers power, cleans internal parts, and keeps everything sealed tight. Over time, heat, friction, and contamination break down the fluid’s effectiveness. That’s why knowing how to change transmission fluid isn’t just maintenance; it’s preventative medicine for your vehicle.
Most manufacturers recommend changing transmission fluid every 30,000 to 100,000 miles, depending on your make and model. Some newer synthetic fluids last longer, while older vehicles might need more frequent changes. Neglecting this task can lead to sluggish shifting, overheating, and eventually a transmission rebuild that’ll cost you thousands. Fresh fluid keeps your transmission operating at peak performance and extends its lifespan significantly.
Gather Your Supplies
Before you crawl under your vehicle, make sure you’ve got everything within arm’s reach. You’ll need the correct transmission fluid for your specific vehicle—this is non-negotiable, so check your owner’s manual or the dipstick label. Don’t just grab whatever’s on the shelf; using the wrong fluid can damage your transmission.
Here’s your complete tool and supply list:
- Correct transmission fluid (usually 4-8 quarts)
- New transmission filter and gasket kit
- Drain pan (at least 10-quart capacity)
- Jack and jack stands (or ramps)
- Socket set and wrenches
- Screwdrivers (both types)
- Gasket scraper or plastic tool
- Funnel
- Shop towels or rags
- Safety glasses and gloves
- Torque wrench
Pro tip: Buy an extra quart of fluid beyond what you think you’ll need. You might spill some, and it’s better to have extra than to run short mid-project. Also grab a turkey baster or fluid extractor pump—these make the job cleaner and easier than traditional draining.
Check Your Vehicle Manual
I can’t stress this enough—your owner’s manual is your best friend here. Different transmissions have different drain locations, filter types, capacities, and torque specifications. An automatic transmission’s drain pan setup looks completely different from a manual transmission, and even between automatic models, procedures vary wildly.
Your manual tells you exactly where the transmission pan sits, how many bolts hold it, the correct fluid specification, and the proper torque specs for reassembly. Skipping this step is like trying to follow a recipe without reading the ingredients—you’re guaranteed to mess something up. If you don’t have the manual, download it from the manufacturer’s website or grab a Haynes manual for your specific vehicle year and model.
Warm Up Your Transmission
Start your engine and let it run for a few minutes. You want the transmission fluid warm but not scorching hot. Warm fluid flows better and drains more completely, but hot fluid can burn you badly. Think of it like a warm shower—comfortable, not boiling.
Running the transmission briefly also helps circulate the fluid and dislodge some of the accumulated sludge and particles that settle at the bottom. This means more contaminants get flushed out with the old fluid. After a few minutes of idling, shut it down and let it cool just enough that you can touch the pan without yanking your hand away. This usually takes about 5-10 minutes.
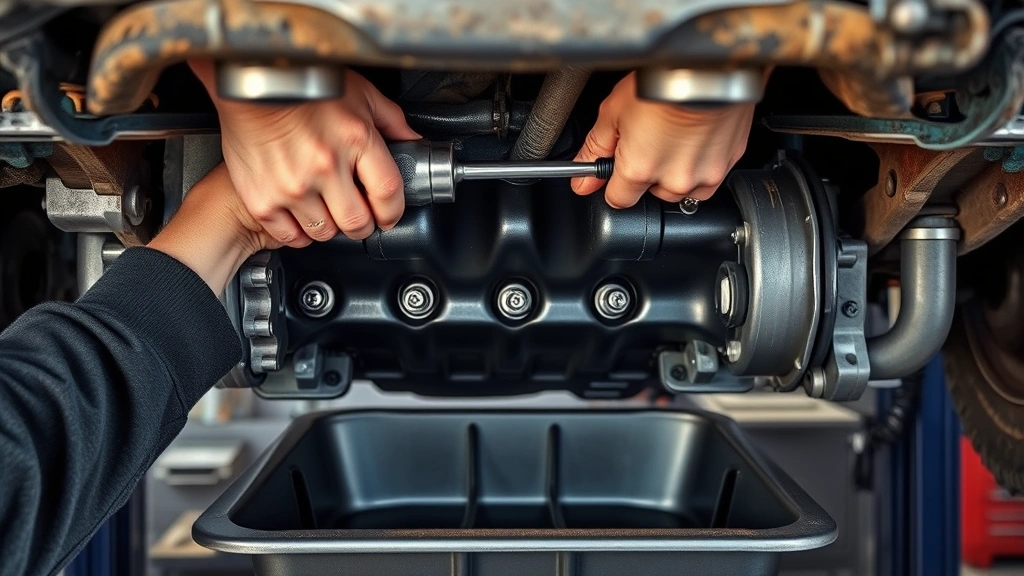
Drain the Old Fluid
Position your drain pan underneath the transmission pan—and I mean directly underneath, because this fluid will flow fast and it stains everything. Remove the bolts holding the transmission pan, but here’s the trick: loosen all the bolts first, then remove every other bolt, letting the pan tilt and drain on one side before fully separating it.
This controlled approach prevents a tidal wave of fluid from pouring out at once and making a mess. Once the pan is loose and draining, carefully pull it completely away and set it aside. The old fluid will be dark—likely brown or black—and might have a burnt smell. That’s normal and actually a sign you’re doing this maintenance at the right time.
Let the pan drain completely into your drain pan. Don’t rush this step. While you’re waiting, inspect the old fluid for metal particles or debris. A little sediment is normal, but large metal flakes indicate internal wear and might mean you need to have a mechanic inspect things further. Use a scraper to remove the old gasket material from the pan—get it clean but don’t gouge the sealing surface.
Replace the Transmission Filter
Most transmissions have an internal filter mounted inside the pan or in a separate housing. If it’s in the pan, you’ll see it once the pan is off. The filter usually has a clip or bolt holding it in place. Remove it carefully and inspect the element—it should be relatively clean, though it may have some dark residue.
Install the new filter, making sure the rubber gasket seats properly. If your transmission has an external filter housing (some do), locate it, unbolt the canister, and replace the filter element inside. Torque everything to the specifications in your manual—usually just snug, not gorilla-tight. Over-tightening filters can crack the housing or strip threads.
Clean the transmission pan thoroughly with a lint-free cloth. Any debris left behind will circulate through your new fluid and reduce its effectiveness. If the pan has a magnet (many do), wipe that clean too. Some folks like to rinse the pan with fresh transmission fluid to remove any last particles, then dry it completely.
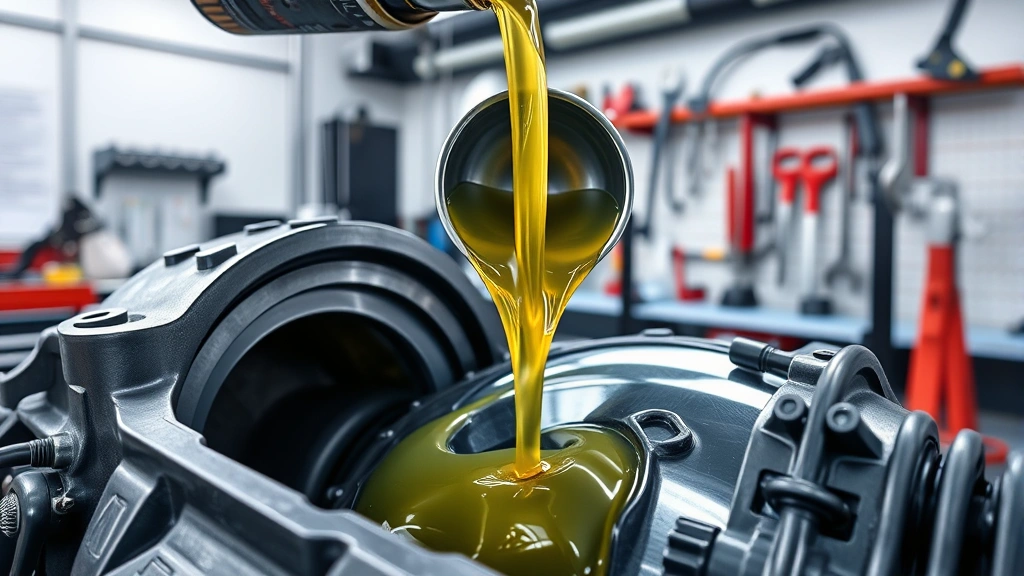
Refill with New Fluid
Install a new gasket on the transmission pan—don’t reuse the old one. Position the pan carefully and install the bolts finger-tight first. Once all bolts are in, tighten them in a cross pattern (like tightening lug nuts on a wheel) to ensure even pressure and a proper seal. Torque to your manual’s specification, which is usually around 10-15 foot-pounds for most vehicles.
Now comes the refill. Use your funnel and pour the new transmission fluid slowly into the filler tube. Don’t overfill—you’ll check the level properly in the next step. The amount varies by vehicle; your manual specifies exactly how much goes in. For most vehicles, you’re looking at 4-8 quarts, but don’t guess.
If you’re unsure about capacity, add fluid gradually, check the level, and add more. It’s easier to add fluid than to drain excess. Start your engine and let it run for a minute or two to circulate the new fluid through the transmission. This primes the system and helps the filter fill completely.
Check and Adjust Fluid Level
This step separates the folks who do it right from the ones who end up with transmission problems. The fluid level must be checked with the transmission at operating temperature and the engine running. Yes, running. This is crucial because cold fluid reads differently than warm fluid, and you need an accurate level to avoid damage.
With the engine idling, shift through all gears (P, R, N, D) and back to P. This circulates fluid throughout the transmission. Now check the dipstick—pull it out, wipe it clean, reinsert it fully, then pull it again to get an accurate reading. The level should be between the MIN and MAX marks. If it’s low, add a bit more fluid and recheck. If it’s high, you’ll need to drain some out carefully.
The proper level is critical. Too low and you risk starvation and overheating; too high and you get foaming, leaks, and pressure issues. Take your time getting this right. Once the level is perfect, shut off the engine and take a test drive.
Test Drive and Monitor
Drive your vehicle normally for 10-15 minutes, hitting various speeds and making several gear shifts. Pay attention to how the transmission feels. Shifts should be smooth and responsive. If you notice any slipping, hesitation, or unusual noises, pull over and check your work. Nine times out of ten, an issue at this stage is either an incorrect fluid level or using the wrong fluid type.
After your test drive, park on level ground and recheck the fluid level one more time with the engine running and transmission warm. Make final adjustments if needed. Check under your vehicle for any leaks around the pan or filter. A small drip or two is normal as things settle, but steady leaking means something isn’t sealed properly and needs attention.
Monitor your transmission over the next few hundred miles. It might shift slightly differently for a bit as the new fluid breaks in—this is completely normal. If anything seems off after that settling-in period, have a mechanic inspect it. Most of the time, though, you’ll notice smoother shifting and better overall transmission feel.

Common Mistakes to Avoid
The biggest mistake people make is using the wrong transmission fluid. Your Accord needs different fluid than your F-150, and mixing types can cause serious damage. Always verify the specification before buying anything.
Another common error is overfilling. People think more fluid means better protection, but excess fluid causes foaming, pressure buildup, and leaks. Check the level carefully and stick to specifications.
Not letting the transmission warm up before draining means old fluid stays in the pan and doesn’t drain completely. This contaminates your new fluid immediately. Similarly, not torquing bolts properly can cause leaks or seal damage.
Many DIYers also skip the filter replacement or don’t clean the pan thoroughly. The filter traps particles, and a dirty pan contaminates fresh fluid. Do both jobs completely. Finally, don’t skip the test drive or fluid level recheck. These final steps catch problems before they become expensive repairs.
Frequently Asked Questions
How often should I change my transmission fluid?
Most manufacturers recommend every 30,000 to 100,000 miles depending on your vehicle and driving conditions. Check your owner’s manual for the specific interval. If you do a lot of towing or drive in extreme heat, consider changing it more frequently. Synthetic fluids typically last longer than conventional fluids.
Can I change transmission fluid myself on a manual transmission?
Yes, manual transmissions are actually simpler than automatics. You’ll drain fluid from the bottom plug and refill through the filler hole until it reaches the proper level. The process is similar to changing engine oil, though access can be tighter. Always check your manual for the correct fluid type and capacity.
What if I spill transmission fluid on my skin?
Wash immediately with soap and water. Transmission fluid can cause skin irritation with prolonged contact. If you get it in your eyes, flush with water and seek medical attention. Always wear gloves and safety glasses when working with transmission fluid.
Is it necessary to replace the transmission filter every time?
Yes. The filter collects particles and contaminants. A clogged or old filter reduces circulation and defeats the purpose of fresh fluid. It’s a small cost compared to transmission damage, so always install a new filter during fluid changes.
Can I drive immediately after changing transmission fluid?
Yes, but gently. Drive normally for the first 10-15 minutes to circulate the new fluid and let the transmission adjust. Avoid hard acceleration or towing until the fluid has broken in properly, usually after 50-100 miles.
What should I do with the old transmission fluid?
Never pour it down the drain—transmission fluid is hazardous waste. Take it to a recycling center, auto parts store, or mechanic shop that accepts used fluids. Many places recycle it for free or charge a small fee. Check Earth911.com or call your local waste management facility for drop-off locations.
Final Thoughts
Learning how to change transmission fluid puts you in control of one of the most important maintenance tasks for your vehicle. It’s not complicated, it doesn’t require specialized training, and the money you save by doing it yourself adds up fast. Plus, you get the satisfaction of keeping your transmission healthy and your vehicle running strong.
Take your time, follow your manual religiously, and don’t cut corners on fluid quality or filter replacement. Your transmission will reward you with smooth, reliable shifting for years to come. If you’re comfortable changing your car battery, you’ve got the skills to handle a transmission fluid change. Start with the right supplies, work methodically, and you’ll be done before you know it. Your wallet—and your transmission—will thank you.


