
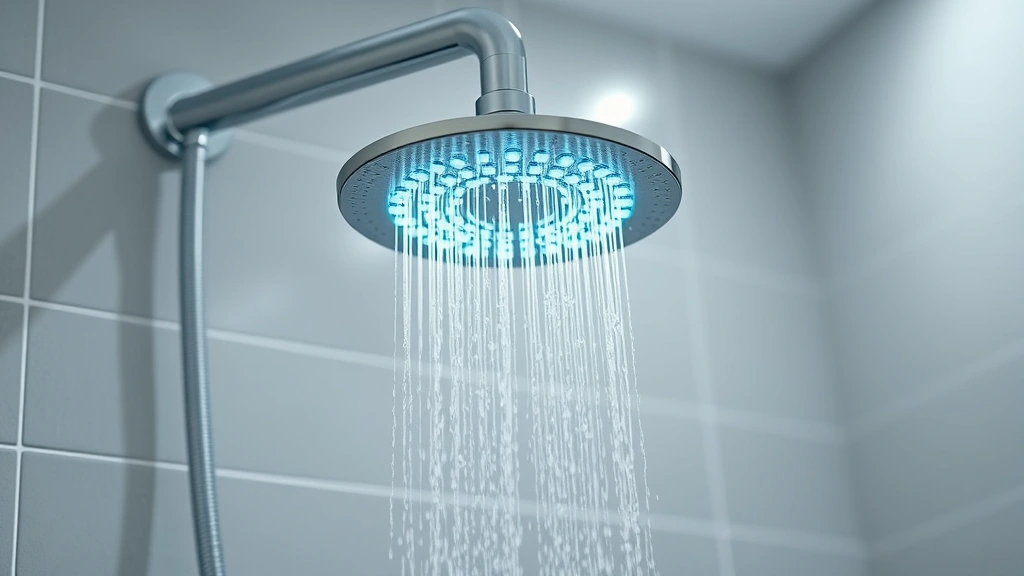
Learning how to change shower head is one of those quick wins that makes you feel like a plumbing pro, even if you’ve never touched a wrench in your life. Whether you’re upgrading to a rainfall showerhead, fixing a leaky one, or just swapping out that tired old fixture, this is genuinely one of the easiest DIY projects you can tackle. No special skills required, no expensive tools needed, and you’ll be done in minutes.
Table of Contents
Gather Your Tools and Materials
Before you start, let’s make sure you’ve got everything within arm’s reach. This isn’t a complicated job, but having the right gear makes it even easier. You’ll need an adjustable wrench or a pipe wrench—honestly, most people use whatever wrench they have lying around. A small flathead screwdriver can help with stubborn connections. Grab some plumber’s tape (also called PTFE tape or Teflon tape) from any hardware store for about a dollar. A tube of plumber’s putty or silicone caulk is optional but recommended for extra sealing. And of course, your shiny new showerhead.
Pro tip: Have a small towel or cloth ready to catch any water that drips out when you disconnect the old one. It’s not a geyser, but it beats mopping.
Remove the Old Showerhead
This is where the magic starts. Grab your wrench and position it on the connector nut—that’s the part where the showerhead screws onto the arm. Hold the shower arm steady with one hand (you don’t want to crack the pipe inside the wall) and turn the wrench counterclockwise. You shouldn’t need to muscle it; if it’s stuck, spray some penetrating oil and wait five minutes.
Once it’s loose enough, you can usually unscrew it by hand. Some showerheads have a collar you can grip directly. As you unscrew it, water will likely drip out—that’s normal. Keep turning until the old head comes free. If you’re dealing with a fixed showerhead that won’t budge, wrapping a rubber band around the nut gives your wrench better grip without scratching the finish.
Clean the Threads Properly
Now here’s the step most people skip, and it’s exactly why they end up with leaks later. Take a clean cloth and wipe out the threads on the shower arm. You’re removing old tape residue, mineral deposits, and gunk that’s been sitting there for years. If there’s stubborn buildup, use an old toothbrush or a wire brush. For mineral deposits from hard water, a little white vinegar on the cloth works wonders.
Don’t skip this. Clean threads mean a better seal, which means no drips. It takes 30 seconds and prevents future headaches. While you’re at it, inspect the threads for damage. If they’re stripped or cracked, you might need a new shower arm—but that’s a different project.
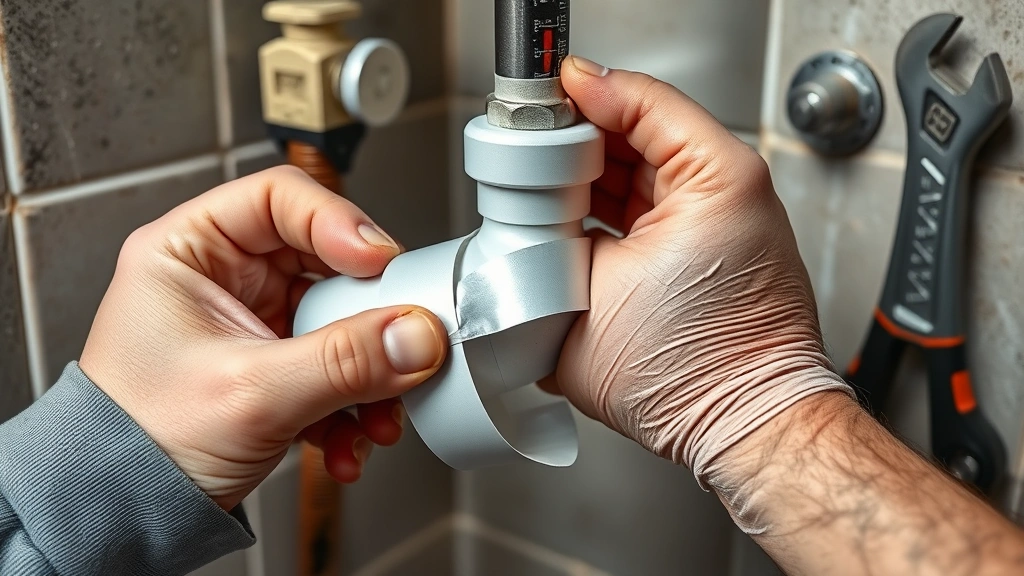
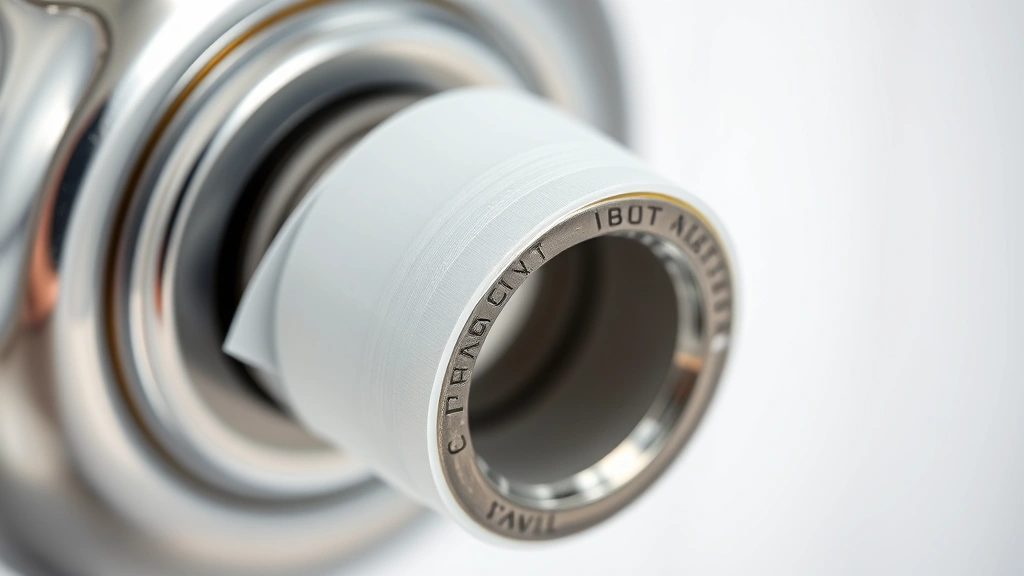
Apply Tape and Sealant
Plumber’s tape is your best friend here. Wrap it around the male threads (the threads on the shower arm) in a clockwise direction. Use three to four layers—think of it like wrapping a present, but tighter. The tape creates a watertight seal and fills tiny gaps in the threads. Start at the base of the threads and wrap toward the end, overlapping slightly with each pass.
Some folks also apply a small amount of plumber’s putty or silicone under the showerhead flange (the part that sits against the wall) for extra insurance against leaks. This is optional, but if you’re dealing with an older shower or you’ve had leak problems before, it’s worth doing. Just use a thin bead—you don’t want gunk squishing out when you tighten it.
Install Your New Showerhead
This is the satisfying part. Screw the new showerhead onto the arm by hand first. Get it snug, then use your wrench to tighten it. You want it tight enough that it won’t leak, but not so tight that you’re using all your strength. Over-tightening can strip the threads or crack the showerhead. A quarter to half turn with the wrench after hand-tightening is usually perfect.
Make sure the showerhead is pointing in the right direction before you finish. You’d be surprised how many people get this wrong. If you need to adjust the angle slightly, loosen it just a tiny bit, rotate it, and tighten again. It should sit flush against the wall with no gaps.
Test for Leaks
Turn on the shower and let the water run for a minute. Watch where the showerhead connects to the arm. You’re looking for any drips or sprays coming from the connection point. If it’s bone dry, congratulations—you nailed it. If there’s a slow drip, tighten it another quarter turn and check again.
If water is still leaking after a few tightening attempts, turn off the water, unscrew the head, and rewrap the threads with fresh tape. Sometimes one layer wasn’t quite enough, especially if you’re dealing with larger diameter connections. This isn’t a failure—it’s part of the process, and it still takes less than 10 minutes total.
Troubleshooting Common Issues
Got a showerhead that’s stuck tighter than a drum? Soak the connection with penetrating oil for 15-30 minutes, then try again. If the threads are truly stripped and the head spins without unscrewing, you might need to replace the shower arm itself. That’s beyond basic showerhead swapping, but any plumber can handle it in an hour.
If your new showerhead has low water pressure, check if there’s a flow restrictor inside—many modern heads have them for water conservation. You can usually remove it by unscrewing the internal screen. Just remember to put it back if you ever sell the house, as many building codes require them.
Water spraying sideways instead of down? Make sure the showerhead is fully seated and pointing straight. Some adjustable heads need the ball joint tightened. If it’s a rainfall head that came with a special gasket, double-check that the gasket is installed correctly—it’s usually inside the connection.
Popular Showerhead Upgrade Options
Since you’re already in there, why not grab something better than what you had? Rainfall showerheads give you that spa-like experience and usually cost $30-80. They’re heavier, so make sure your shower arm can handle it. Low-flow heads are great if you’re trying to save water without sacrificing pressure—they use 1.5-2 gallons per minute instead of the standard 2.5.
Handheld showerheads with a diverter let you switch between fixed and handheld, perfect if you’ve got kids or pets to wash. Massage showerheads have multiple spray patterns that feel amazing on sore muscles. Thermostatic heads maintain water temperature so you don’t get shocked by sudden changes. Whatever you choose, the installation process is identical to what we just covered.
Keep It Running Smooth
Once you’ve got your new showerhead installed, a little maintenance keeps it running like new. Hard water deposits are the enemy—they clog the spray holes and reduce pressure. Every month or two, soak the showerhead in white vinegar for 30 minutes. For stubborn buildup, use an old toothbrush to gently scrub the spray face.
If you notice reduced water pressure over time, it’s usually mineral deposits, not a problem with the head itself. That vinegar soak usually fixes it. If the connection starts leaking months or years later, you might just need to tighten it again or rewrap the threads. It’s a five-minute fix.
Frequently Asked Questions
Do I need a plumber to change a showerhead?
Absolutely not. This is genuinely one of the easiest DIY projects. If you can turn a wrench and follow basic steps, you’ve got this. A plumber would charge $100-200 for something that takes you 10 minutes and costs a dollar in materials.
What if I don’t have plumber’s tape?
Plumber’s tape is cheap and available at every hardware store, but in a pinch, you can use a thin layer of plumber’s putty or even petroleum jelly on the threads. It won’t seal as well, so leaks are more likely. Just grab the tape—it’s worth having around.
Can I change a showerhead without turning off the water?
Yes, you don’t need to shut off the main water supply. There will be some dripping when you disconnect the old head, but it’s minimal. Have a towel ready and you’re fine. If water keeps running out, there might be a check valve issue, but that’s rare.
How tight should I make it?
Tight enough that it doesn’t leak, but not so tight that you’re straining. A quarter to half turn with the wrench after hand-tightening is the sweet spot. If you’re using all your strength, you’ve gone too far.
What if the showerhead won’t unscrew?
Spray penetrating oil around the connection and wait 15-30 minutes. Then try again with the wrench. If it’s still stuck, wrap a rubber band around the nut to give the wrench better grip. Patience beats force every time.
Can I install a heavier showerhead?
Most shower arms can handle standard showerheads without issue. Rainfall heads are heavier but usually still fine. If you’re concerned, install a shower arm support bracket—it’s a cheap insurance policy. Check the weight specifications of your new head against your shower arm’s rating.
Why is water leaking from the connection?
Most likely the threads weren’t sealed properly. Turn off the water, unscrew the head, clean the threads thoroughly, rewrap with fresh plumber’s tape, and reinstall. Tighten it a bit more this time. This fixes 90% of leaks.
Changing your shower head is genuinely one of those projects that builds confidence. You’re working with your hands, solving a real problem, and the results are immediate. Plus, you get to enjoy a better shower every single day. That’s a win in my book. If you’re feeling ambitious after this, check out how to clean quartz countertops or how to clean baseboards to tackle other home projects. For more complex plumbing questions, resources like Family Handyman and This Old House have excellent guides. And if you ever need to understand maintenance schedules better, how often to change transmission fluid follows the same basic principles of preventative care.


