
Learning how to calibrate Roku TV colors transforms your viewing experience from mediocre to absolutely stunning. Whether you’re streaming movies, gaming, or watching sports, color accuracy matters more than most people realize. Your Roku TV likely ships with factory settings that prioritize brightness over precision, leaving colors washed out or oversaturated. The good news? Calibration takes maybe 30 minutes and requires zero special equipment beyond what you already have at home.
Table of Contents
Why Calibrate Your Colors
Your Roku TV arrives with preset picture modes designed for showroom floors under bright fluorescent lights. These defaults crank up brightness and saturation to catch eyes on crowded store shelves. At home, with normal lighting, these settings produce unnatural colors and eye strain. Color calibration adjusts your display to match broadcast standards, which means reds look red, skin tones appear natural, and blacks have actual depth instead of looking like dark gray.
Think of it like tuning a guitar—factory settings are like loose strings. Everything plays, but nothing sounds quite right. Proper calibration is the difference between watching TV and experiencing it. Movies filmed by cinematographers who spent weeks perfecting color grading deserve to be seen as intended, not through your TV’s aggressive filters.
Access Picture Settings
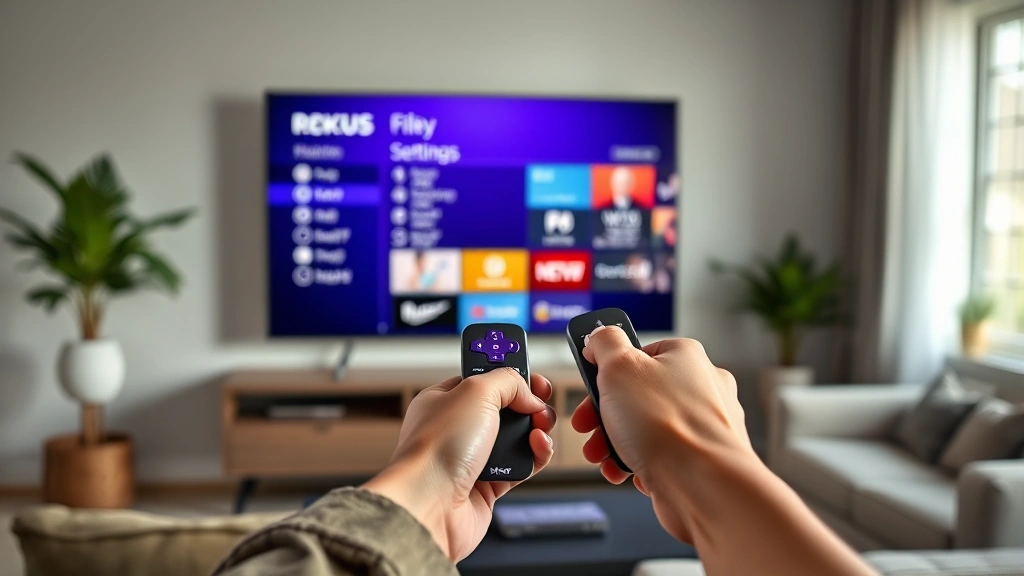
Start by grabbing your Roku remote and navigating to the home screen. Press the Home button if you’re not already there. Look for Settings in the menu—it’s usually represented by a gear icon. From Settings, scroll down to find Display & Sound or Picture. Roku’s interface varies slightly between models, but this path remains consistent across most Roku TVs.
Once you’re in Picture settings, you’ll see several options. Don’t get overwhelmed. You’re looking for Picture Mode, Brightness, Contrast, Color, and Tint. Some Roku TVs call these different names, but the functionality stays the same. Write down your original settings before making changes—this gives you a safety net if things go sideways.
Brightness and Contrast
Brightness and contrast form the foundation of proper color calibration. Start with brightness. Pull up a dark scene from any streaming app—a night scene works perfectly. Adjust brightness until the darkest blacks show detail without looking washed out. You want to see texture in shadows, not a uniform black void. A good test is a dark hallway scene in a thriller; you should make out details without the image looking artificially bright.
Contrast controls the difference between light and dark areas. Set this too high and bright scenes blow out into white. Set it too low and everything looks flat. Find the sweet spot by watching a bright daylight scene. Adjust contrast until whites appear bright but retain detail. Your goal is range—the ability to see both dark shadows and bright highlights in the same frame without either getting crushed.
Pro tip: do this calibration in a dimly lit room with your TV’s backlight at medium. Bright room lighting washes out your perception of proper levels. If you calibrate in daylight, your TV will look too dark when you watch at night.
Color and Tint Adjustments
Color saturation controls how vivid colors appear. Most factory presets run saturation between 60-80%, which looks punchy in stores but unnatural at home. Dial this back to 40-50% for a more natural palette. Watch a scene with lots of colors—a landscape, a colorful room, someone wearing bright clothing. Colors should pop without looking cartoonish. Skin tones are your best reference point; they should look like actual human skin, not orange or pink.
Tint (sometimes called Hue) shifts the color balance between red and green. This is where most people hesitate because it seems technical. Don’t overthink it. Watch a scene with faces and adjust tint until skin tones look natural and warm, not sickly green or too red. A good reference is a talk show where you can see multiple people’s faces. If everyone looks like they have the flu, your tint leans too green. If they look sunburned, it’s too red.
Make these adjustments in small increments. One notch at a time. Your eyes need a few seconds to adjust to each change before you move the slider again.
Backlight and Local Dimming
Backlight controls the overall brightness of the panel. This is different from brightness setting—backlight is the light source itself. Set this to 80-90% for most viewing conditions. If your room is very bright during the day, you might push it to 95%. If you mostly watch at night, 70-75% reduces eye strain and saves power.
Local dimming (available on higher-end Roku TVs) dims specific zones of the screen independently. This technology dramatically improves contrast and black levels. If your TV has this feature, enable it. It’s one of the best picture quality upgrades available. Some Roku models call this “contrast enhancer” or “dynamic contrast.” Check your manual for your specific model’s terminology.
Be aware that local dimming can sometimes create visible halos around bright objects on dark backgrounds. If this bothers you, dial back the local dimming intensity rather than disabling it entirely. Most TVs let you adjust the aggressiveness of this feature.
Advanced Color Modes
Your Roku TV likely offers preset color modes: Standard, Vivid, Movie, Sports, and possibly others. Standard mode is your baseline. Vivid cranks everything up for that showroom look. Movie mode is actually well-calibrated for cinema content. Sports mode boosts colors and brightness for daytime viewing. For everyday use, Movie mode or Standard mode provides the most accurate colors.
Some Roku TVs include color temperature settings. This controls how warm or cool the picture appears. Warm2 or Warm3 settings match broadcast standards. Avoid Cool settings unless you specifically want a bluish tint. The warmth setting affects how natural colors and skin tones appear, so don’t skip this adjustment.
Advanced users might find RGB controls or individual color channel adjustments. Unless you have a colorimeter and calibration software, skip these. They’re for professional calibration and can make things worse if you guess wrong.
Test Your Calibration
After making adjustments, test your work by watching actual content. Put on a movie or show you know well—something you’ve watched on other displays. Pay attention to how skin tones look, whether blacks have detail, and if colors feel natural or oversaturated. Watch for at least 10-15 minutes; your eyes need time to adjust to the new settings before you judge them.
Use multiple sources to test. Stream something from Netflix, YouTube, and your cable box if you have one. Different sources can have slightly different color profiles. Your calibration should look good across all of them. If one source looks off, it might be that source’s encoding rather than your TV settings.
Compare your calibrated TV to another display if possible—a phone, tablet, or monitor. Does your TV now look similar in color accuracy? That’s a good sign. The goal isn’t to make everything look crazy vivid; it’s to match professional standards.
Common Calibration Mistakes
The biggest mistake people make is cranking brightness to maximum. Bright doesn’t mean better. It actually destroys shadow detail and fatigues your eyes. Start with brightness at 50% and adjust from there. Second mistake: ignoring room lighting. Calibrate in the lighting conditions where you’ll actually watch TV. A room that’s pitch black at night requires different settings than one with ambient light.
Third mistake: trusting your initial instinct. Your eyes adapt to settings over time. What looks weird after one adjustment becomes normal after 20 minutes. Give each change time to settle before moving the slider again. Fourth mistake: adjusting everything at once. Change one setting, wait, observe, then move to the next. This prevents confusion about what caused what.
Fifth mistake: using Vivid mode as your daily driver. Vivid looks impressive for five minutes then causes eye strain and makes normal content look oversaturated. Save Vivid for impressing friends. Use Movie or Standard mode for actual watching.
When to Call Professionals
Professional calibration makes sense if you own a high-end Roku TV (premium models from Hisense, TCL’s premium line, or similar) and you’re serious about picture quality. Professionals use colorimeters and specialized software to achieve perfect accuracy. This costs $300-600 but results in flawless color reproduction.
You don’t need professional calibration for casual viewing. The manual adjustments described here get you 90% of the way there. Professional calibration is for videophiles, content creators, and people who watch a lot of cinema-quality content. For most households, proper manual calibration is absolutely sufficient.
Frequently Asked Questions
Can I calibrate my Roku TV without special equipment?
Absolutely. Everything in this guide uses only your eyes and your remote. Professional colorimeters cost thousands of dollars and are overkill for home use. Manual calibration using test patterns and reference content works great for typical viewing.
Will calibration void my warranty?
No. Adjusting picture settings is normal TV operation. You’re not opening the TV, replacing parts, or doing anything that could damage it. Roku specifically includes these settings for users to adjust.
How often should I recalibrate?
Once you’ve calibrated, your settings stay put. Recalibrate only if you change your viewing environment significantly—different room, different lighting setup, or if you notice the picture gradually degrading (which can happen after years of use). Most people calibrate once and forget about it.
What’s the difference between brightness and backlight?
Brightness adjusts the image itself—how bright the content appears. Backlight adjusts the panel’s light source. Think of it like a dimmer switch (brightness) versus a light bulb’s wattage (backlight). Both affect overall picture brightness but in different ways.
Should I use dynamic contrast or local dimming?
Yes, if your TV has it. These features improve picture quality significantly. They can occasionally create minor artifacts, but the overall improvement far outweighs any drawbacks. Enable it and adjust the intensity if halos bother you.
Why does my calibrated TV look different on different apps?
Different streaming services use different video encoding and processing. Netflix might look slightly different from YouTube because they compress video differently. Your TV settings are correct; the source material just varies. This is normal and not a calibration problem.
Is Movie mode always better than Standard mode?
Movie mode is designed for cinema content and usually has excellent color accuracy. Standard mode is more versatile for mixed content. Try both and pick whichever looks better to your eyes. There’s no wrong answer—it’s about your preference.


