
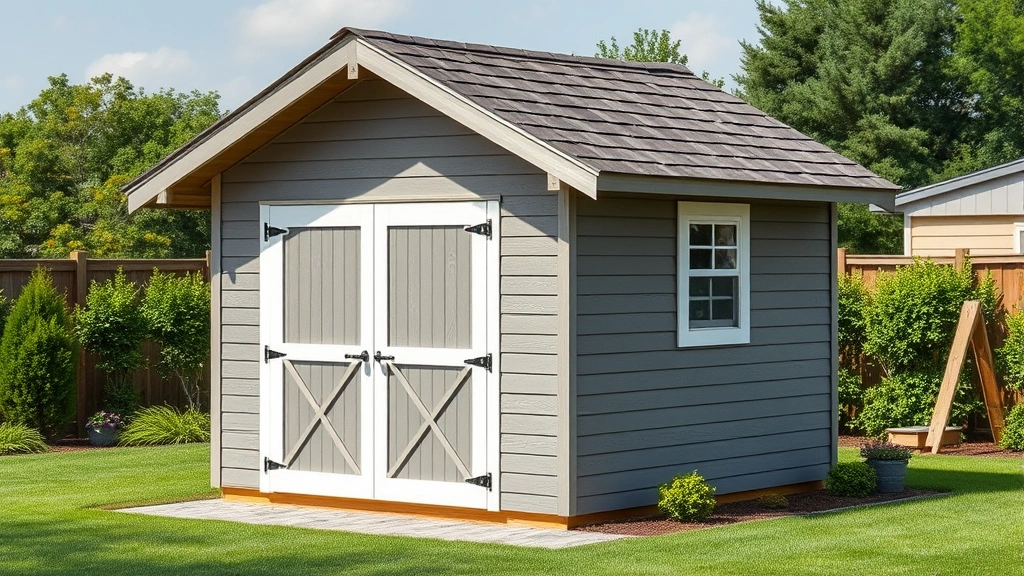
Learning how to build a shed is one of the most rewarding DIY projects you can tackle, and honestly, it’s way more achievable than most people think. Whether you need extra storage space, a workshop retreat, or just somewhere to stash your garden tools, building your own shed gives you total control over the design, size, and functionality. This guide walks you through every step—from planning and permits to framing, roofing, and finishing touches—so you can create a solid structure that’ll last for years.
Table of Contents
Planning & Permits
Before you swing a hammer, you need a solid plan. Start by sketching out your shed design—think about dimensions, roof style, and whether you want windows or shelving inside. Most municipalities require permits for structures over a certain size (often 100-200 square feet), so check with your local building department first. Trust me, getting a permit upfront saves massive headaches later. You’ll also want to verify setback requirements—how far your shed needs to be from property lines—and check if there are any HOA restrictions. Take measurements of your intended location and mark out the footprint with stakes and string. This is your chance to make sure everything fits and that you’re not building on a slope that’ll cause drainage problems.
Preparing Your Site
A level, well-prepared site is everything. Clear the area of grass, weeds, and debris, then check your ground level with a long straight board and a level. If you’ve got significant slopes, you’ll need to do some grading—either building up low spots or cutting down high ones. Remove any rocks or roots that could interfere with your foundation. Mark out the exact footprint using batter boards and string lines, making sure your corners are square by using the 3-4-5 triangle method (measure 3 feet along one side, 4 feet along the adjacent side, and the diagonal should be exactly 5 feet). This simple geometry trick ensures your shed won’t look wonky. Consider drainage too—make sure water won’t pool around your shed after rain. If your site tends to be wet, you might want to add a gravel base or create a slight slope away from the structure.
Foundation Basics Matter
Your foundation determines whether your shed stays put or shifts and settles unevenly. The most popular option for small sheds is concrete blocks or piers—they’re affordable, durable, and keep your structure off the ground (preventing rot). Space them about 4 feet apart in a grid pattern, making sure they’re level with each other. You can use a long straight board and level to check this. Some folks pour a concrete slab instead, which is great for keeping moisture out but requires more work upfront. If you’re in a cold climate with frost lines, your blocks need to sit below the frost line (your local building department can tell you how deep). Another option is a treated wood skid foundation, though this requires more maintenance over time. Whatever you choose, make sure it’s absolutely level—this makes framing so much easier and prevents doors from sticking.
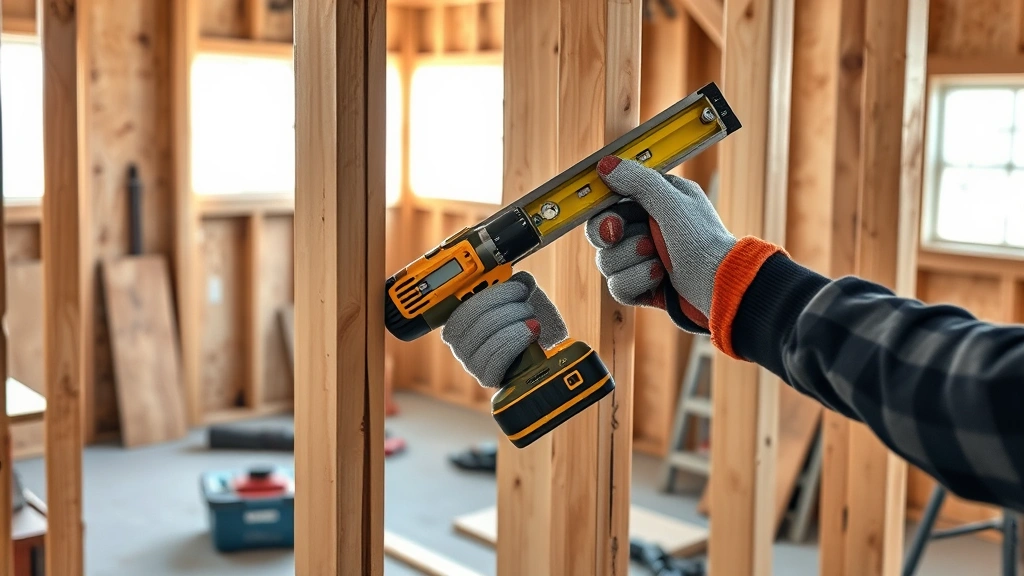
Framing the Walls
Now the real building starts. Begin with your rim joists and floor frame, using pressure-treated lumber to resist rot. Lay out your wall studs on the ground first, spacing them 16 inches on center (a standard measurement that makes everything line up nicely). Use 2x4s for typical sheds, and make sure your corners are square before you nail or screw them together. Once your walls are assembled, stand them up one at a time and brace them with temporary supports until you’ve got all four sides up and connected. Use a level constantly—walls need to be plumb (perfectly vertical). Install your top plates and double-check that everything is square and level before you move on. If you’re adding windows or doors, frame out those openings now, using headers above them to carry the load. This is also a good time to run any electrical conduit if you’re planning to add lights or outlets inside.
Roof Installation Essentials
The roof protects everything inside, so don’t skimp here. Start by installing your rafters or trusses—trusses are easier for beginners since they come pre-made and just need to be set in place and braced. Space them 16 or 24 inches on center depending on your design. Make sure they’re secured to your top plates with hurricane ties or appropriate fasteners. Once your framing is up, add plywood sheathing, then your underlayment (a moisture barrier), and finally your roofing material. Asphalt shingles are the most affordable and DIY-friendly option. Snap chalk lines to keep your shingles straight, and nail them down according to the manufacturer’s instructions—usually 4 nails per shingle. Don’t forget about ventilation and gutters. Proper ventilation prevents moisture buildup and extends your roof’s life, while gutters direct water away from your foundation. If you’re not comfortable working at heights, this is a perfect place to hire a professional.
Siding & Exterior Finish
Siding protects your walls and makes your shed look finished. You’ve got options: traditional wood siding (charming but requires maintenance), vinyl (durable and low-maintenance), metal (industrial and long-lasting), or even plywood with paint. Whatever you choose, make sure it’s installed over a weather barrier to keep moisture out. Start at the bottom and work your way up, overlapping each piece slightly so water runs down and off. Pre-drill nail holes to prevent splitting, especially with wood siding. Paint or stain your siding for both protection and aesthetics. Don’t forget about the trim around doors, windows, and the roof edge—quality trim details keep water out and make your shed look professional. A fresh coat of exterior paint every few years keeps everything protected and looking sharp.
Adding Doors & Windows
Doors and windows bring functionality and light to your shed. Standard entry doors come pre-hung in frames, making installation straightforward—just shim them level and plumb, then screw them to the rough opening. Windows work similarly. Make sure you’ve got proper flashing around both doors and windows to prevent water infiltration. If you’re adding a large double door for equipment access, you might need to reinforce the frame or use a special header. Consider your shed’s purpose when deciding on door and window placement. A workshop benefits from lots of natural light, while a storage shed might need just one small window. Weather stripping around doors keeps out drafts and pests, which is especially important if you’re storing sensitive items.
Final Touches & Maintenance
The interior finish depends on your shed’s purpose. A storage shed might just need shelving and hooks, while a workshop needs a workbench and good lighting. Install your shelves securely—they’re way more useful if they don’t collapse under load. Add adequate lighting with LED fixtures (they’re energy-efficient and last forever). If you’re storing valuable tools or equipment, make sure your shed is secure with a quality lock. Consider how you’ll manage moisture inside—a small vent or dehumidifier works wonders, especially in humid climates. Once you’re done building, maintain your shed regularly: inspect the roof annually for damage, touch up paint as needed, and keep gutters clean. Treat any wood siding with stain or sealant every few years. With proper maintenance, your shed will serve you reliably for decades. For related maintenance tasks, you might also want to know how to clean blackstone if you’re using metal surfaces, or check out guides on how often to change tires if you’re using a garden tractor to move materials.
Frequently Asked Questions
Do I really need a permit to build a shed?
Most areas require permits for structures over 100-200 square feet. Check your local building department—it’s worth the small fee to avoid fines or having to tear it down later. Permits exist to ensure safety and property value protection.
What’s the best foundation for a small shed?
Concrete blocks or piers are ideal for most DIYers. They’re affordable, prevent rot by keeping wood off the ground, and are relatively easy to install. Make sure they’re level with each other and spaced properly to support your structure.

Can I build a shed by myself?
Absolutely, though having a helper makes things like standing up walls much easier. Take your time, use proper bracing, and don’t hesitate to call in a professional for tasks like roofing if you’re uncomfortable with heights.
How much does it cost to build a shed?
A basic 8×10 shed typically costs $2,000-$5,000 in materials, depending on your choices for siding, roofing, and finishes. Larger sheds or those with premium materials cost more. DIY labor saves you thousands compared to hiring a contractor.
What size shed can I build without a permit?
This varies by location—most areas allow 100-200 square feet without a permit. A typical 8×8 or 8×10 shed often falls in the no-permit range, but always check first. It’s better to ask than to find out later you needed one.
How long does it take to build a shed?
A small shed takes 2-4 weeks for one person working part-time, or a few weekends if you’ve got help. Larger or more complex designs take longer. Don’t rush—quality work now prevents problems later.


