
Learning how to brew kombucha at home is easier than you think, and once you get the hang of it, you’ll wonder why you ever paid premium prices for store-bought bottles. This fermented tea drink has exploded in popularity over the past decade, and for good reason—it’s tangy, fizzy, customizable, and genuinely fun to make in your own kitchen.
Table of Contents
What Is Kombucha?
Kombucha is a lightly fermented tea beverage created through a symbiotic culture of bacteria and yeast—that’s the SCOBY we’ll talk about in a moment. The process takes black or green tea, adds sugar, and lets beneficial microorganisms work their magic over 7-30 days. The result is a fizzy, slightly sour drink packed with probiotics that your gut will thank you for.
The beauty of kombucha is that it’s not complicated chemistry—it’s controlled fermentation, which humans have been doing for thousands of years with everything from sauerkraut to kimchi. You’re just giving friendly bacteria and yeast the right environment to thrive.
Gather Your Supplies
Before you start, you’ll need some basic equipment. Most of it you probably already have in your kitchen:
- A glass jar (1-gallon works great for beginners—avoid metal and plastic)
- Cheesecloth or coffee filter to cover the jar opening
- A rubber band to secure the cloth
- A wooden spoon for stirring
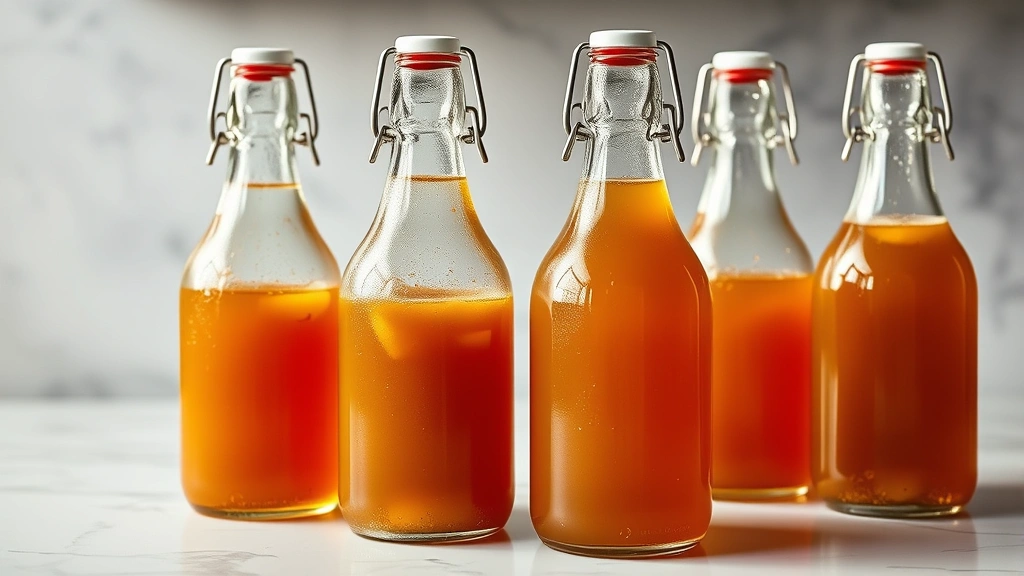
- Glass bottles for storing finished kombucha (swing-top bottles are ideal)
- A SCOBY (we’ll cover where to get one)
- Tea (black or green, loose leaf or bags)
- Sugar (white cane sugar works best)
- Starter liquid (unflavored kombucha from a previous batch or store-bought)
The total investment is minimal—probably less than $30 if you’re starting from scratch, and you’ll recoup that after your first few batches.
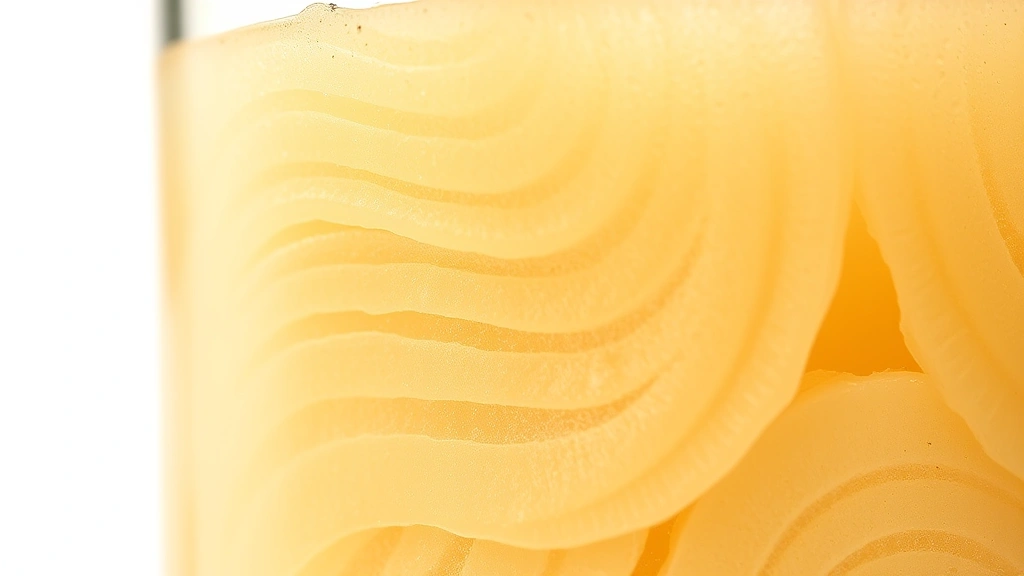
Prepare Your SCOBY
The SCOBY is the living culture that makes kombucha possible. It looks like a rubbery, beige pancake floating in liquid, and yes, it’s supposed to look slightly weird. If you don’t have one, ask around in kombucha communities online—people are usually happy to share a starter culture. You can also order one online or get one from a friend who brews.
Store your SCOBY in a glass jar with some starter liquid (unflavored kombucha) in a cool, dark place. It can survive dormant for months this way. When you’re ready to brew, make sure your SCOBY and starter liquid are at room temperature before you use them.
Don’t worry if your SCOBY looks thin or damaged—it regenerates with each batch. A new layer will form on top of the liquid as fermentation happens. You can even brew without a SCOBY if you have enough starter liquid with active cultures, though it takes longer.
Brew the Base Tea
This is where the process begins, and it’s straightforward:
- Boil water: Heat about 3-4 quarts of filtered or dechlorinated water. Chlorine can inhibit fermentation, so if your tap water is heavily chlorinated, let it sit uncovered for 24 hours or use filtered water.
- Steep the tea: Add 8-10 tea bags (or 1-2 tablespoons loose leaf) to the hot water. Black tea is traditional, but green tea works too. Steep for 5-15 minutes, then remove the tea bags.
- Dissolve the sugar: While the tea is still hot, stir in 3/4 to 1 cup of white cane sugar. The heat helps it dissolve completely. This sugar feeds the fermentation process—you won’t end up with a sugary drink because the bacteria and yeast consume most of it.
- Cool completely: This step is critical. Let your sweetened tea cool to room temperature. Warm liquid can kill your SCOBY. This usually takes 1-2 hours. You can speed it up by placing the jar in a cool water bath.
Temperature matters more than you’d think. Your SCOBY is happiest between 68-85°F (20-29°C). If your kitchen runs cold, find a warm spot—the top of the fridge, a sunny windowsill, or even a heating pad set to low can work.
Fermentation Timeline
Once your tea is cool, it’s time to combine everything:
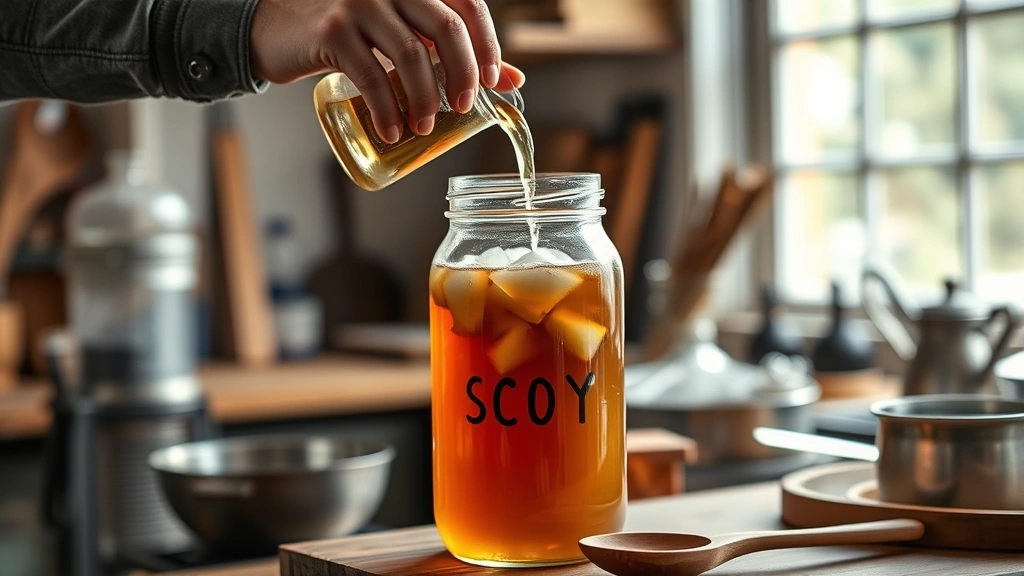
- Add starter liquid: Pour 1-2 cups of unflavored kombucha starter liquid into your cooled tea. This acidic liquid kickstarts fermentation and protects against unwanted bacteria.
- Add the SCOBY: Gently place your SCOBY into the jar. It might sink or float—both are normal. If it sinks, it’ll rise as gas bubbles form during fermentation.
- Cover and wait: Drape cheesecloth or a coffee filter over the jar opening and secure it with a rubber band. You want air circulation but no dust or insects getting in.
- Monitor daily: Starting around day 3-5, taste a small sample with a straw. The kombucha should start tasting less sweet and more tangy. By day 7-10, it should have a pleasant sour flavor with just a hint of sweetness remaining.
The exact timeline depends on temperature and your taste preference. Warmer = faster fermentation. Most people find their sweet spot around 7-14 days. Keep notes—you’ll quickly learn what works in your kitchen’s specific conditions.
Bottling and Flavoring
When your kombucha tastes right to you, it’s bottling time. This is where things get fun because you can add flavors. Here’s the process:
- Prepare bottles: Sterilize your glass bottles by running them through the dishwasher or washing with hot soapy water.
- Add flavor (optional): Pour a small amount of juice, fruit puree, or herbs into each bottle. Popular options include ginger, berries, citrus, or herbs like mint. You can also keep some plain. If you’re interested in complementary beverages, check out our cranberry juice recipe or chia seed water recipe for inspiration on flavor combinations.
- Strain and pour: Using a fine mesh strainer or cheesecloth, carefully pour the kombucha from your brewing jar into the bottles, leaving about an inch of headspace. Save your SCOBY and about 2 cups of liquid for your next batch.
- Seal loosely: Cap the bottles but don’t seal them completely yet. You want them to be able to release excess pressure.
Second Fermentation Magic
Here’s where the carbonation happens. After bottling, leave your sealed bottles at room temperature for 3-7 days. During this time, residual yeast and bacteria continue fermenting, creating carbonation and deepening the flavors.
This is the critical phase for achieving that satisfying fizz. The warmer your environment, the faster carbonation develops. Check bottles daily by carefully opening one to test pressure—you should hear a gentle hiss. If it’s too pressurized, burp the cap to release excess gas.
After 3-7 days (or when carbonation reaches your preference), move the bottles to cold storage. The cold slows fermentation dramatically, preserving your kombucha’s fizz and flavor. It’ll keep in the fridge for several weeks, though it’s usually gone long before that.
Troubleshooting Common Issues
Mold growth: This is the biggest concern. Real mold looks fuzzy—white, green, or black fuzz on the surface. If you see it, toss the batch and sanitize your jar. A thin white film (kahm yeast) is usually harmless, but when in doubt, throw it out.
Too sour: Your fermentation went too long. Next batch, bottle earlier. Taste daily starting around day 5 to dial in your preference.
Not fizzy enough: Your second fermentation was too short or too cold. Try extending it to 5-7 days or finding a warmer spot. Ensure you have enough active culture by using 2 cups of starter liquid instead of 1.
Weak or no fermentation: Temperature is likely the culprit. Kombucha ferments slowly below 65°F. Move your jar to a warmer spot. Also check that your SCOBY and starter liquid are genuinely active—old cultures might need rejuvenation.
Vinegary taste: This means fermentation went very long. Some people love this—it’s still safe and delicious. If you don’t, bottle earlier in your next batch.
Storage and Shelf Life
Properly stored kombucha lasts surprisingly long. Keep finished bottles in the refrigerator where cold temperatures halt fermentation. You can store it for 3-6 months in the fridge, though flavor and carbonation gradually diminish over time.
Your SCOBY and starter liquid for the next batch should be stored in a cool, dark place in a glass jar with some unflavored kombucha. This dormant state can last months—I’ve seen people revive SCOBYs after 6+ months of storage.
If you take a break from brewing, maintain a SCOBY hotel—a jar with multiple SCOBYs layered in starter liquid. This ensures you always have a healthy culture ready when you want to start again.
Frequently Asked Questions
Is homemade kombucha safe to drink?
Yes, when made with proper hygiene and fermented correctly. The acidic environment created during fermentation prevents harmful bacteria from growing. The key is recognizing actual mold (fuzzy growth) versus harmless byproducts like kahm yeast (thin white film). If you see true mold, discard the batch. Otherwise, kombucha made in a clean environment is safe.
Can I use honey instead of sugar?
Not for the primary fermentation—use white cane sugar. Honey can inhibit fermentation and contains compounds that interfere with SCOBY health. However, you can absolutely use honey for flavoring during the second fermentation. Check out our honey recipes for creative flavor ideas.
What if my SCOBY sinks?
This is completely normal. A new SCOBY layer will form on the surface as fermentation happens. Both the old SCOBY at the bottom and the new layer forming on top are working for you. You can use either one for your next batch.
How much caffeine is in kombucha?
Kombucha retains some caffeine from the tea—roughly 25-50% of the original amount depending on fermentation length. It’s significantly less than the original tea but more than decaf. If you’re sensitive to caffeine, use decaffeinated tea or herbal tea (though fermentation is slower with herbal options).
Can I brew kombucha in plastic?
No. Plastic can leach chemicals during the acidic fermentation process, and it’s harder to keep clean. Stick with glass jars—they’re inert, easy to monitor, and will last forever.
Why does my kombucha taste different each batch?
Variables like temperature, tea brand, sugar type, fermentation length, and even seasonal changes affect flavor. This inconsistency is actually part of the charm—you’re working with living cultures. Keep notes on what you do, and you’ll start recognizing patterns in your kitchen’s specific conditions.
The Bottom Line: Brewing kombucha at home transforms a simple process into a rewarding routine. You’ll save money, customize flavors exactly how you like them, and develop a genuine appreciation for fermentation science. Start with one batch, keep notes, and don’t stress about perfection—your SCOBY is forgiving, and every batch teaches you something. Before you know it, you’ll be the person sharing SCOBY cultures with friends and experimenting with wild flavor combinations. Welcome to the kombucha brewing club.


