
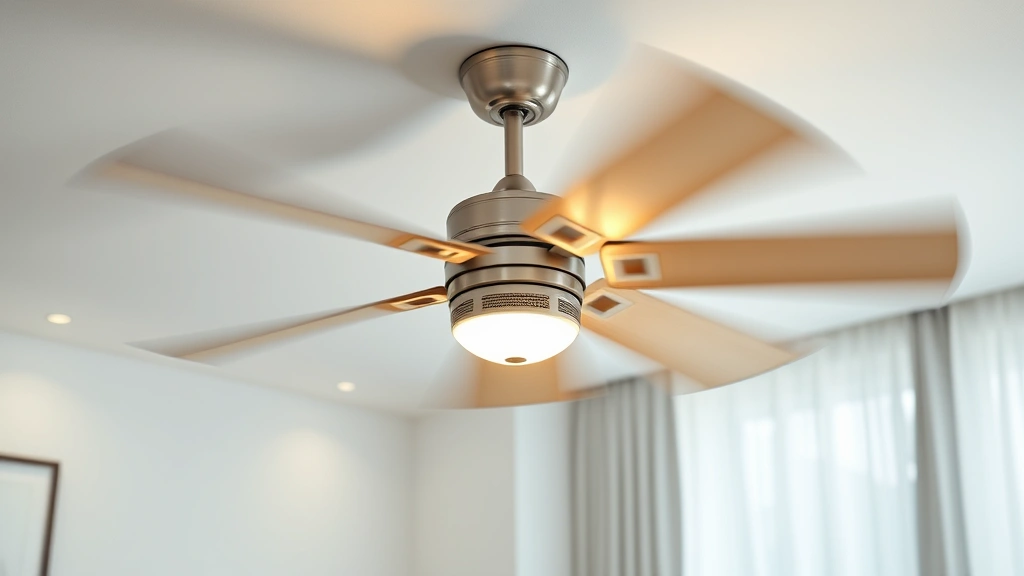
Learning how to balance a ceiling fan is one of those skills that’ll save you money, eliminate annoying wobbles, and keep your fan running smoothly for years. A wobbly ceiling fan isn’t just annoying—it’s a sign that something’s out of whack, and fixing it takes maybe 30 minutes and a few basic tools you probably already have lying around.
Table of Contents
Why Ceiling Fans Wobble
Before you start fixing anything, understand what causes the problem. Ceiling fans wobble because the blades aren’t perfectly balanced—meaning their weight distribution is uneven. Think of it like a car tire that needs balancing. When you spin the tire at speed, any weight imbalance creates vibration. Same deal with ceiling fans.
The culprits are usually dust buildup on one blade, bent blades from bumping into something, or blades that weren’t installed evenly in the first place. Sometimes a loose blade holder or mounting bracket is the real villain. The faster the fan spins, the more noticeable the wobble becomes, which is why it’s worse on high speed.
Gather Your Tools and Materials
You won’t need much to get this job done right. Here’s what to have on hand:
- A stepladder or sturdy chair (safety first, always)
- Balancing kit (comes with weights and adhesive strips—costs $8-15)
- Tape measure or ruler
- A level (optional but helpful)
- Flashlight for close inspection
- Compressed air canister or soft brush for cleaning
- Adjustable wrench or screwdriver set
Most balancing kits come from the fan manufacturer or work universally. If you can’t find one locally, they’re cheap online. Some DIY folks use fishing weights or coins taped to blades, but a proper kit gives you better control.
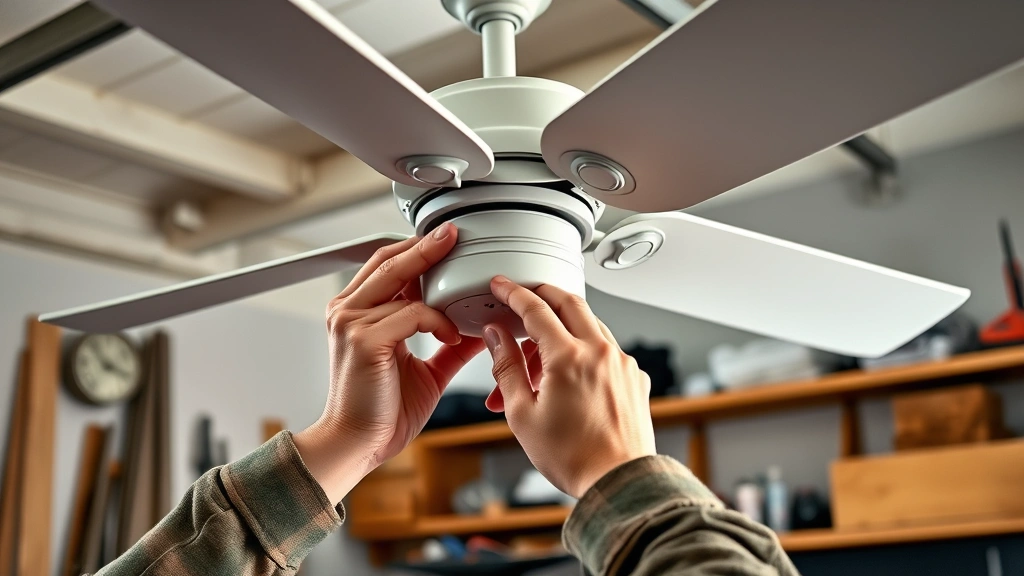
Step 1: Visual Inspection First
Turn off the fan and let it stop completely. Now climb up there and look at each blade carefully. You’re hunting for obvious problems: dust, debris, bent edges, or loose fasteners. Use your flashlight and get your face close to the blades.
Check if all five blades (or however many yours has) are parallel to the ceiling and at the same angle. Even a slight bend or twist throws everything off. Look at the blade holders and the center canopy where the blades attach. Tighten any loose screws you find with your wrench or screwdriver.
Wipe down each blade with a soft brush or compressed air. You’d be surprised how much dust accumulates on one side over time. This simple step fixes wobbles about 20% of the time. Clean blades are balanced blades.
Step 2: Check Blade Weight
This is where the balance kit comes in handy. Most kits include small adhesive weights that you stick to the blades. The idea is to add weight to the lighter blade until everything matches.
Turn the fan on at medium speed and watch which blade seems to dip lower or move more than the others. That’s your problem blade—it’s heavier than its neighbors. Or conversely, the opposite blade is lighter. You’re trying to identify the imbalance.
If you can’t tell by watching, try this: turn the fan off, then manually spin it slowly and feel for resistance. The heavier side will want to drop. Mark that blade with a piece of tape so you remember which one needs adjustment.
Step 3: Install Balance Kit
Take your balance kit and read the instructions—they vary slightly between brands. Most kits have a clip or adhesive weight. Start with the lightest weight and stick it to the top surface of the blade that’s causing the wobble, about halfway between the center and the tip.
Don’t just slap it on randomly. The placement matters. Start closer to the center and move outward if needed. The farther from the center you place the weight, the less weight you need. Think of it like a seesaw—weight closer to the fulcrum has less effect.
Turn the fan back on at medium speed. The wobble should decrease. If it’s still there, turn off the fan and try the next weight size up, or move the existing weight slightly outward.
Step 4: Test and Adjust
This step requires patience and a methodical approach. Run the fan on high speed for about a minute and observe. Is the wobble gone? Reduced? Worse? If it’s worse, you’ve got the wrong blade marked—try the adjacent blade instead.
The goal is to get the wobble down to almost nothing. You might not eliminate it 100%, but you should get it to where you barely notice it. Most people are happy when the fan runs smoothly without rattling or swaying noticeably.
If adding weight to one blade didn’t work, you might need to check whether a blade is actually bent. Look at the blade edge-on from the side. A bent blade will show a curve. If that’s the case, you might need to replace that blade rather than balance it. Many fans sell replacement blade sets affordably.
Step 5: Fine-Tune the Wobble
Once you’ve got the major wobble under control, fine-tuning is about getting it perfect. Run the fan at different speeds and listen for vibration. Sometimes a wobble at high speed disappears at medium speed, which is fine—you’ve fixed the problem.
If there’s still a slight shimmy, try adjusting the weight position slightly. Move it a quarter-inch outward and test again. Or try a slightly heavier weight. This is where patience pays off. Spend an extra 10 minutes here and you’ll have a fan that runs like it came from the factory.
Once you’re satisfied, make sure the weight is secure. Check it again after a week of use. Occasionally weights can shift or adhesive can loosen, so a quick inspection keeps things running smooth.
Common Mistakes to Avoid
Don’t make these errors that’ll waste your time or damage your fan. First, never try to balance a fan while it’s running—obvious safety issue, but people do it. Always turn it off completely and let blades stop.
Second mistake: using the wrong weight. Too much weight and you’ve just created a different imbalance. Start light and work up. Third: ignoring bent blades. You can’t balance your way around a bent blade—you need to replace it. That’s like trying to balance a bent car wheel.
Fourth: forgetting to check the mounting bracket. Sometimes the wobble isn’t the blades at all—it’s a loose bracket or canopy. Tighten everything before you assume the blades are the problem. Fifth: using non-adhesive weights that fall off. Stick with proper balance kits designed for ceiling fans. Fishing weights and coins are cheap but unreliable.
When to Call a Professional
Most wobbles are DIY-fixable, but know when to wave the white flag. If your fan has multiple bent blades, replacement is easier than balancing. If the motor sounds wrong—grinding, squealing—that’s an electrical issue beyond balancing.
If the mounting bracket is bent or damaged, you might need an electrician to safely remove and reinstall the fan. If the wobble persists after you’ve tried balancing multiple times and the blades look straight, the motor bearings might be wearing out. That’s a replacement situation.
Don’t keep running a severely wobbling fan. It puts stress on the motor and can eventually cause electrical failure. A quick professional inspection costs $75-150 and might save you a $300+ fan replacement. Related to maintenance, checking that your wood glue dries properly is important if you’re doing any blade repairs with wood components.
Frequently Asked Questions
How much does a ceiling fan balance kit cost?
Balance kits typically run $8-15 at hardware stores or online. Some manufacturers include them free with new fans. It’s one of the cheapest fixes you can do, so don’t skip it thinking the cost isn’t worth it.
Can I use coins or fishing weights instead?
Technically yes, but it’s not ideal. Coins and weights can shift, fall off, or create an imbalance at different speeds. A proper adhesive balance kit is designed to stay put and distribute weight correctly. Spend the extra few bucks.
Why does my fan wobble only at high speed?
Wobbles often get worse at higher speeds because vibration amplifies. A slight imbalance you don’t notice at medium speed becomes obvious at high. This is actually good news—it means the imbalance is minor and easier to fix.
How do I know if a blade is bent?
Look at the blade from the side, edge-on. A bent blade will show a curve or twist. Compare it to the other blades. If one clearly looks different, it’s bent. You can sometimes carefully straighten a slightly bent blade, but severely bent ones need replacement.
Should I balance all five blades or just the problem one?
You’re adding weight to the lighter blade to match the heavier ones. You’re not balancing all five individually—you’re correcting the imbalance. Identify which blade is causing the wobble and adjust that one.
How often should I rebalance my fan?
Once balanced properly, a ceiling fan should stay balanced. Check the weight annually to make sure it hasn’t shifted, but you shouldn’t need to rebalance unless something changes—like a blade gets bent or dust buildup returns.
Can a wobbly fan damage my ceiling?
Yes, over time. A severely wobbling fan puts stress on the mounting bracket and can loosen fasteners. This can eventually damage the ceiling drywall or electrical wiring. Fix the wobble promptly to prevent bigger problems.
What if balancing doesn’t fix the wobble?
Check three things: Are the blades actually bent? Is the mounting bracket loose? Is the canopy secure? If all of those check out and balancing doesn’t work, the motor bearings might be failing, which requires professional service or fan replacement.
Wrapping It Up
Balancing a ceiling fan is straightforward work that takes maybe 30-45 minutes from start to finish. You’ll save the $150-300 cost of a service call and get your fan running smoothly again. Start with a visual inspection and cleaning, then use a balance kit to correct any remaining imbalance.
The key is patience and methodical testing. Don’t rush the adjustment phase. Spend the extra time getting it right, and you’ll have a fan that runs like it’s brand new. For more DIY tips on home maintenance, check out resources like Family Handyman, This Old House, and Bob Vila for comprehensive guides.
If you’re tackling other home projects, understanding how different materials work together helps. For instance, knowing how to align garage door sensors uses similar troubleshooting logic—identify the problem, test systematically, adjust, and verify. The same methodical approach works across most DIY fixes.
Keep your fan clean, check it periodically, and you’ll get years of quiet, wobble-free operation. That’s the kind of small fix that makes a real difference in daily comfort.


