
Learning how to bake lobster tails is one of those skills that sounds fancy but is honestly easier than most people think. I’ve been cooking seafood for years, and I can tell you that baked lobster tails deliver restaurant-quality results right in your own kitchen without all the stress. Whether you’re planning a special dinner or just want to treat yourself to something impressive, this method works every single time.
Table of Contents
Choosing Quality Lobster Tails
Start with good raw materials, and everything else falls into place. When you’re at the fish counter, look for lobster tails that are firm and smell like the ocean—not fishy or ammonia-like. The shell should be intact without cracks or soft spots. I typically grab tails that are 4 to 8 ounces each; they cook evenly and serve one person nicely, though you can go larger if you’re feeding serious appetites.
Fresh is ideal, but frozen tails work great too. If you’re using frozen, thaw them in the refrigerator overnight. Never thaw at room temperature—you’ll invite bacteria to the party, and nobody wants that. The meat should be translucent and slightly firm when thawed, not mushy or discolored.
Preparing Your Lobster Tails
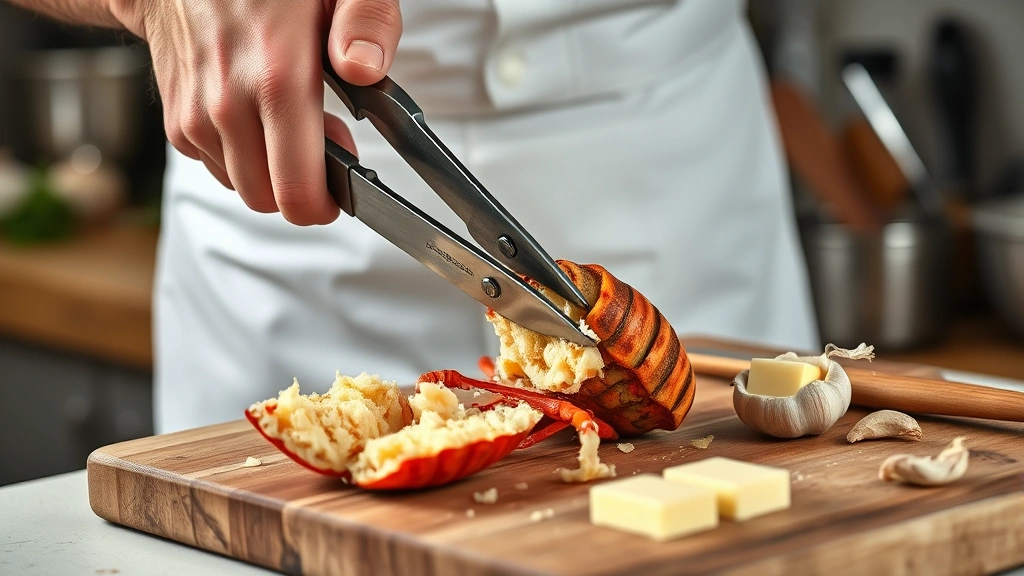
This is where technique matters. Pat your tails dry with paper towels first—moisture is the enemy of crispy shells. Using kitchen shears or a sharp knife, cut down the center of the shell lengthwise, cutting about three-quarters of the way through. You’re not trying to separate it completely; you want to expose the meat while keeping the shell intact as a natural serving vessel.
Gently pull the meat up and out slightly, nestling it on top of the split shell. This presentation looks professional and helps the heat penetrate evenly. If the meat clings stubbornly, run a thin knife between the meat and shell to loosen it. Don’t force it—patience here prevents tears in the meat.
Arrange your prepared tails on a baking sheet, meat-side up. This is your foundation for success.
Creating the Perfect Butter Topping
Butter is your best friend here. Combine softened butter with minced garlic, fresh lemon juice, and a pinch of salt. I use about 2 tablespoons of butter per tail, which is enough to keep everything moist without making it greasy. Some folks add a touch of white wine or fresh herbs like tarragon or dill—both are excellent choices.
Spread this mixture generously over the exposed meat. Don’t be shy; the butter melts down and flavors everything beautifully. If you’re feeling adventurous, try adding a Creole seasoning recipe base to your butter for something with more kick. The garlic and spices complement lobster perfectly without overpowering the delicate sweetness of the meat.
Seasoning Options That Work
Beyond the butter base, you’ve got options. A simple approach is kosher salt, fresh cracked pepper, and a squeeze of lemon. This lets the lobster shine. If you want more complexity, try Old Bay seasoning—it’s a classic pairing that enhances rather than masks the natural flavor.
Fresh herbs are always welcome. Parsley, chives, and tarragon all work beautifully. Paprika adds color and a subtle smokiness. Even a tiny pinch of cayenne pepper can wake things up without making it spicy. The key is restraint; you’re seasoning lobster, not covering it up.
For Asian-inspired preparations, check out easy Asian recipes that use ginger, soy, and sesame oil. A brushing of this mixture creates an entirely different experience while staying true to the baking method.
Getting Temperature and Timing Right
Preheat your oven to 425°F. This temperature is hot enough to cook the meat through quickly without drying it out. For 4 to 5-ounce tails, bake for 12 to 14 minutes. Larger 6 to 8-ounce tails need 14 to 18 minutes. Start checking at the lower end of the range; it’s better to catch them early than to overcook.
The exact time depends on your oven’s personality. Some run hot, others cool. I always set a timer for the minimum time and then peek. You’re looking for the meat to turn from translucent to opaque white throughout. The shell might brown slightly at the edges—that’s fine and actually adds flavor.
Unlike how long to bake pork tenderloin, which requires careful temperature monitoring, lobster is more forgiving. You’re watching for visual doneness rather than hitting a specific internal temperature, though 145°F in the thickest part is the safe target.
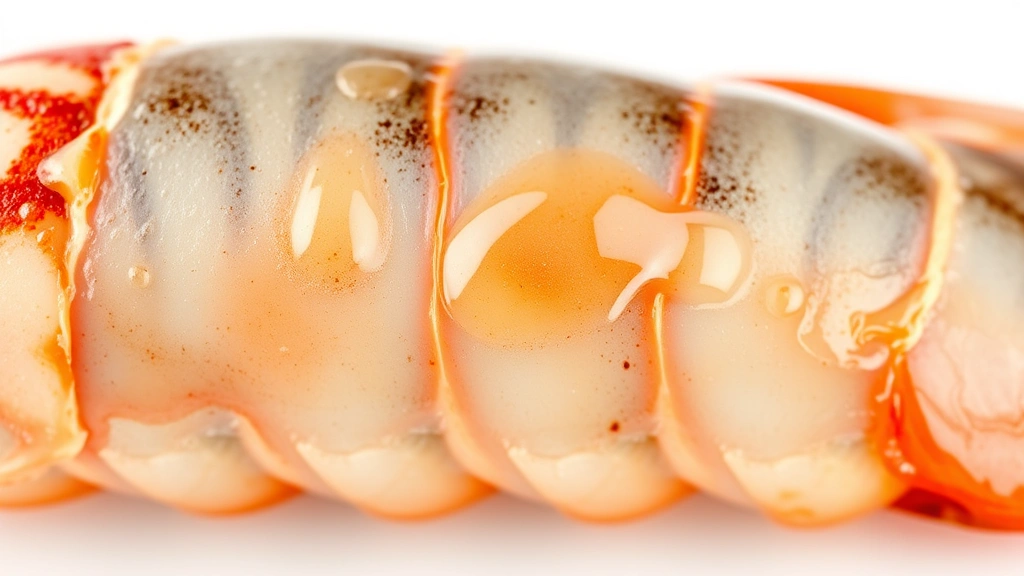
Testing for Perfect Doneness
The meat should be opaque and white, not translucent or gray. If you press it gently with a fork, it should flake slightly but still feel slightly firm. Overcooked lobster becomes rubbery and loses its sweetness—nobody wants that. Undercooked is a food safety issue, so split the difference and aim for that perfect opaque-white stage.
The shell edges might darken slightly, and that’s actually desirable. It adds visual appeal and a hint of caramelization. If the edges are blackening significantly, your oven’s probably running hot, so dial it back to 400°F next time.
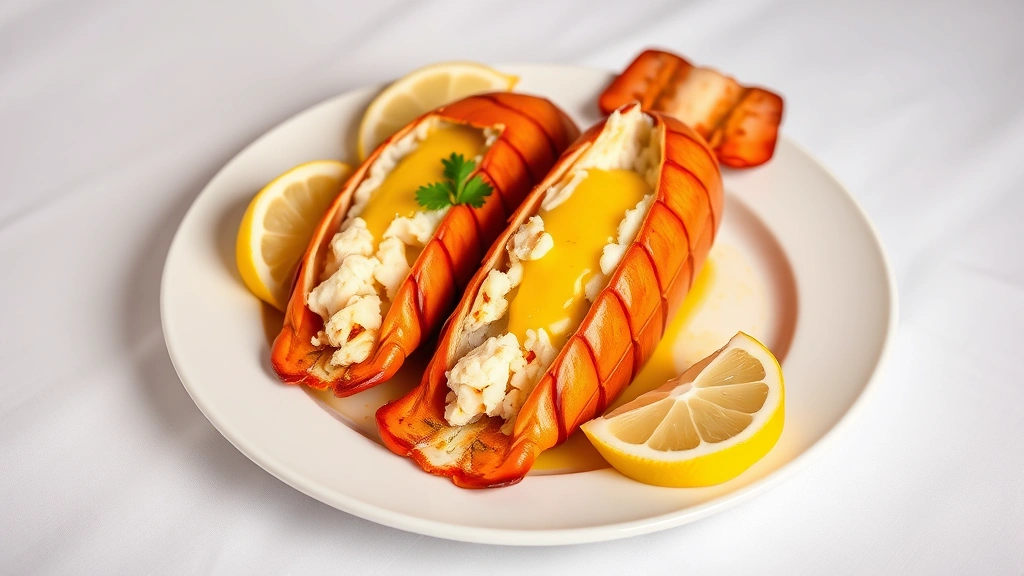
Serving Your Baked Lobster
Remove your tails from the oven and let them rest for 2 minutes. This allows carryover cooking to finish and the meat to settle. Serve immediately with extra melted butter on the side for dipping. A squeeze of fresh lemon brightens everything. Pair with buttermilk cornbread recipe for a complete meal that feels special but isn’t complicated.
A simple green salad and some crusty bread round things out nicely. If you’re going vegetarian for part of your meal, air fried tofu recipe preparations can sit alongside without competing for attention.
Common Mistakes to Avoid
The biggest mistake is overcooking. Lobster cooks faster than people expect. Set a timer, check early, and don’t wander off. Second mistake: not patting the tails dry before baking. Moisture prevents browning and extends cooking time unnecessarily.
Third mistake: using cold butter. Room-temperature butter spreads easily and distributes evenly. Cold butter clumps and doesn’t coat the meat properly. Fourth: skipping the lemon. Acid brightens seafood flavors dramatically—don’t skip it.
Finally, don’t crowd the baking sheet. Lobster tails need air circulation. If they’re touching, they steam rather than bake. Use two sheets if necessary.
Frequently Asked Questions
Can I bake frozen lobster tails without thawing?
Technically yes, but I don’t recommend it. Frozen tails cook unevenly; the outside finishes before the center defrosts. Thaw overnight in the refrigerator for consistent, reliable results. If you’re in a pinch, thaw in cold water for 30 minutes, changing the water every 10 minutes.
How do I know if my lobster tail is fresh?
Fresh tails smell like clean ocean, not ammonia or fish. The shell is firm, not soft or slimy. The meat inside is translucent and firm, not mushy. When in doubt, ask your fishmonger—they know their inventory.
What’s the difference between Maine and spiny lobster tails?
Maine lobster tails are larger and meatier with more flavor. Spiny lobster tails are smaller and slightly sweeter but less substantial. Both bake beautifully; adjust timing based on size. Maine tails typically need the full 14 to 18 minutes, while spiny tails might only need 10 to 12.
Can I add wine to the butter mixture?
Absolutely. Use dry white wine—about 1 tablespoon per tail. It adds complexity and acidity that complements the sweetness. Some people use brandy or cognac for something richer. The alcohol cooks off, leaving just the flavor.
Should I cover the tails while baking?
No. You want direct heat exposure for even cooking and slight browning. Covering creates steam, which extends cooking time and prevents that nice caramelization on the shell edges.
How do I store leftover lobster tail?
Refrigerate in an airtight container for up to 3 days. Reheat gently in a 300°F oven for about 5 minutes, covered with foil to prevent drying. Leftover lobster makes excellent salads or pasta dishes.
Final Thoughts
Baking lobster tails is genuinely simple once you understand the basics. Good ingredients, proper preparation, right temperature, and careful timing are all you need. This method delivers consistent, restaurant-quality results that impress without requiring culinary school. Start with one tail and get comfortable with the process, then scale up when you’re confident. You’ve got this.


