
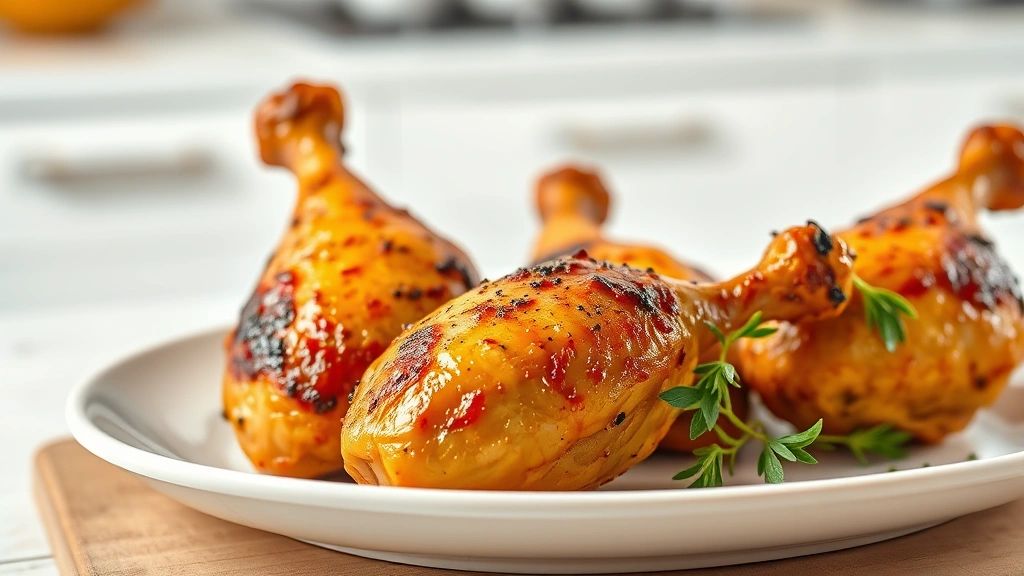
Learning how to bake chicken legs is one of those kitchen skills that transforms your weeknight dinners from boring to genuinely delicious. I’ve been cooking chicken legs for years, and I’m going to walk you through exactly what I do to get them crispy on the outside and juicy on the inside, every single time.
Table of Contents
Choose Quality Chicken Legs
Here’s the truth: you can’t bake bad chicken and get good results. Start by selecting chicken legs that look fresh and have good color. I always go for bone-in, skin-on legs because the bone conducts heat evenly and the skin crisps up beautifully. If you’re grabbing frozen legs, thaw them completely in the fridge overnight—don’t rush this step.
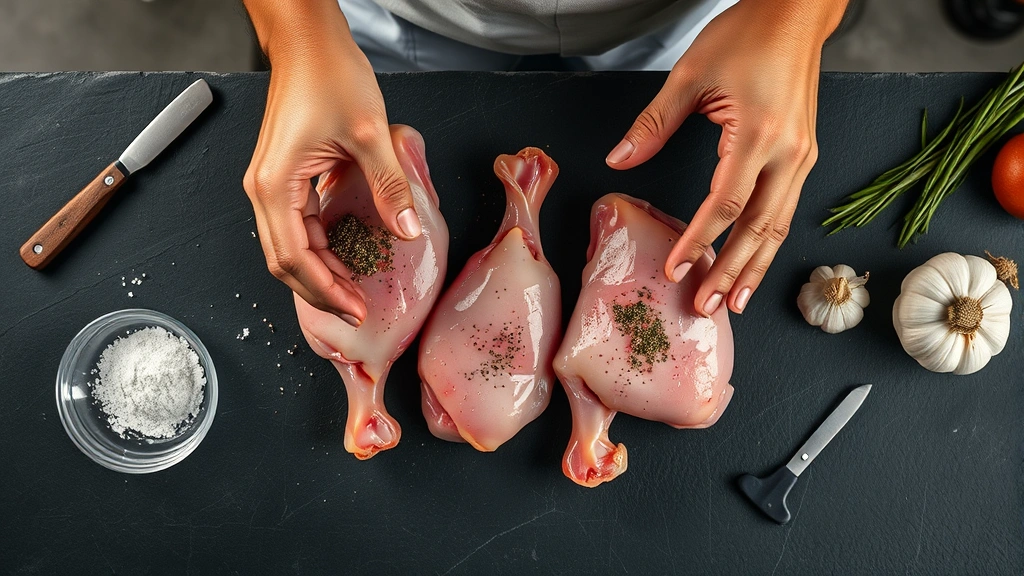
Pat your chicken completely dry with paper towels. This is non-negotiable. Moisture is the enemy of crispy skin. Take your time here, get every bit of dampness off the surface and between the thighs and drumsticks.
Prep Your Pan Right
Use a heavy-bottomed baking sheet or cast iron skillet. I prefer cast iron because it holds heat like a champ and gives you that restaurant-quality crust. Line your sheet with aluminum foil for easy cleanup, then lightly oil it. Don’t skip the oil—it’s what creates that golden, crispy exterior.
Position your oven rack to the lower third of your oven. This matters because the bottom heat creates the initial sear that locks in juices. Preheat your oven to 425°F for at least 15 minutes. A properly preheated oven is the difference between mediocre and magnificent chicken legs.
Season Generously
Don’t be shy with seasoning. Rub your chicken legs with olive oil first, then hit them with salt and pepper. I mean really season them—more than you think you need. Add garlic powder, paprika, and dried thyme. If you want to get fancy, mix in some complementary spices that work with your dinner plan.
Let the seasoned chicken sit at room temperature for 15-20 minutes. This allows the seasonings to penetrate and the meat to cook more evenly. Cold chicken straight from the fridge will cook unevenly, so patience here pays off.
High Heat Start Method
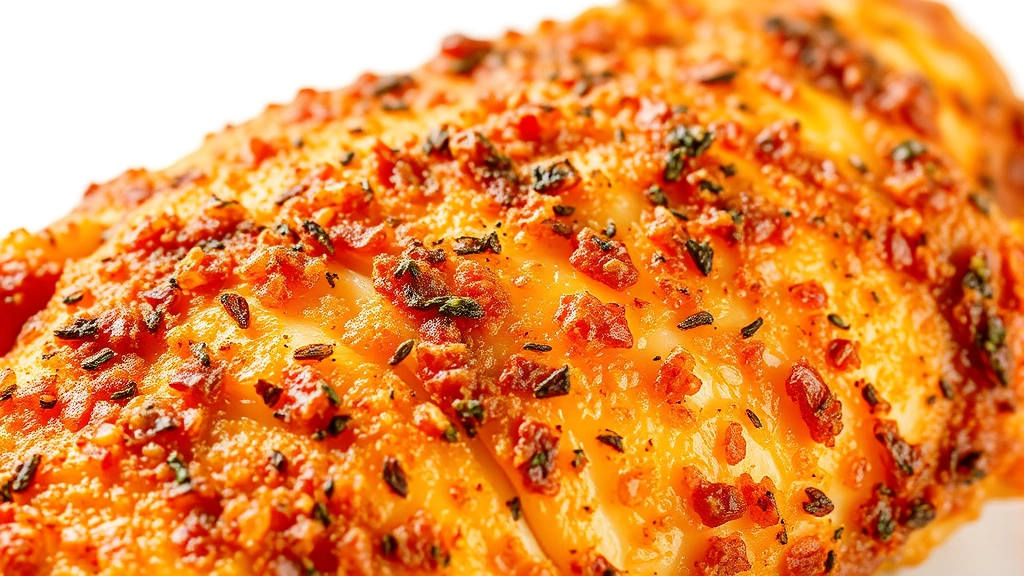
Arrange your chicken legs skin-side up on your prepared pan, making sure they’re not touching. They need breathing room for air circulation. Place the pan in your preheated 425°F oven and bake for 15 minutes at this high temperature. This initial blast creates that crispy, golden skin everyone loves.
After 15 minutes, reduce the heat to 375°F and continue baking. This two-stage approach is the secret weapon. The high heat kickstarts the crisping process, and the lower heat finishes cooking the meat through without burning the exterior.
Nail the Timing
Total baking time is usually 35-45 minutes, depending on the size of your legs. Smaller legs might be done in 35 minutes, while larger ones could take up to 50. I check them at the 40-minute mark for the first time. You want to look for golden-brown, crispy skin that’s pulled back slightly from the bone.
Flip your legs halfway through if you want extra-crispy skin on both sides. I do this at about the 20-minute mark, right when I’m lowering the heat. It takes 30 seconds and gives you restaurant-quality results. If you’re using a cast iron skillet, be careful—it’s hot as heck.
Test for Doneness
The most reliable way to know if your chicken is done is with a meat thermometer. Insert it into the thickest part of the thigh without touching bone. You’re looking for 165°F. This takes the guesswork out completely.
If you don’t have a thermometer, pierce the thickest part with a sharp knife or fork. The juices should run clear, not pink. The meat should be white and opaque throughout. When in doubt, use a thermometer—it costs $15 and eliminates food safety concerns.
Rest Before Serving
This step is absolutely crucial and often overlooked. Remove your chicken from the oven and let it rest on the pan for 5 minutes. This allows the juices to redistribute throughout the meat instead of running out onto your plate. You can transfer to a serving platter if you want, but don’t skip the resting time.
While your chicken rests, you can prepare sides. Try steaming broccoli or roasting vegetables. The residual heat from your oven can handle sides while your chicken settles.
Flavor Variations
Once you master the basic technique, experiment with different flavor profiles. Try a Mediterranean approach with lemon, oregano, and garlic. Go Asian-inspired with soy sauce, ginger, and sesame oil. Create a spicy version with cayenne, cumin, and chili powder.
You can also brush your chicken with glazes during the last 10 minutes of cooking. Honey mustard, barbecue sauce, or a balsamic reduction all work beautifully. Just brush them on carefully to avoid burning.
Troubleshooting Guide
Skin isn’t crispy: Your oven temperature might be off. Invest in an oven thermometer—many ovens run cool. Also ensure you patted the chicken completely dry. Moisture prevents crispiness.
Skin is crispy but meat is dry: You’re cooking too long or at too high a temperature. Use a meat thermometer and pull at 165°F exactly. Don’t go higher.
Uneven cooking: Make sure your oven rack is positioned correctly and your chicken pieces are roughly the same size. Arrange them so heat circulates evenly around each piece.
Sticking to the pan: Use enough oil on your pan and make sure it’s hot before you place the chicken. Preheating matters here.
Frequently Asked Questions
Can I bake chicken legs at a lower temperature for longer?
You can, but you won’t get the crispy skin. The high-heat start is what creates that desirable texture. If you use 350°F the whole time, you’ll get cooked chicken with pale, rubbery skin. Not worth it.
Should I cover the chicken with foil while baking?
No. Foil traps steam and prevents crisping. Let that skin breathe and crisp up. If the skin starts burning before the meat is done, lower your oven temperature slightly, but don’t cover it.
Can I use boneless, skinless chicken legs?
Technically yes, but you’re missing out. Boneless, skinless legs dry out easily and won’t develop that crispy exterior. Bone-in, skin-on is the way to go for the best results.
How do I store leftover baked chicken legs?
Cool them completely, then store in an airtight container in the fridge for up to 4 days. Reheat in a 350°F oven for 10-15 minutes to restore crispiness. Microwaving will make the skin soggy.
Can I prepare the chicken the night before?
Yes. Season and pat dry the night before, cover loosely, and refrigerate. The next day, let it come to room temperature for 20 minutes before baking. This actually helps the seasoning penetrate deeper.
What’s the best side dish for baked chicken legs?
Roasted vegetables work great. You can also serve with rice, potatoes, or a fresh salad. Check out creative cooking techniques for other meal inspiration.
Final Thoughts
Mastering how to bake chicken legs is genuinely simple once you understand the fundamentals: start with quality chicken, pat it dry, season generously, use two-stage heat, and test for doneness with a thermometer. That’s it. You’re going to make this your go-to weeknight dinner, and your family is going to ask for it constantly.
The beauty of this method is that it’s forgiving. Once you nail the temperature and timing for your specific oven, you can make it in your sleep. And honestly, there’s something deeply satisfying about pulling a tray of golden, crispy-skinned chicken legs out of the oven. You’ve got this.
For more kitchen skills and cooking techniques, explore how to master different cooking methods that will level up your entire cooking game.


