
Learning how to anneal PCCF is a game-changer if you work with polycarbonate composite fibers or similar materials that need stress relief and improved workability. Annealing is the controlled heating and cooling process that transforms brittle, stressed material into something flexible and durable—think of it as giving your project a fresh start at the molecular level.
Table of Contents
What Is PCCF Annealing?
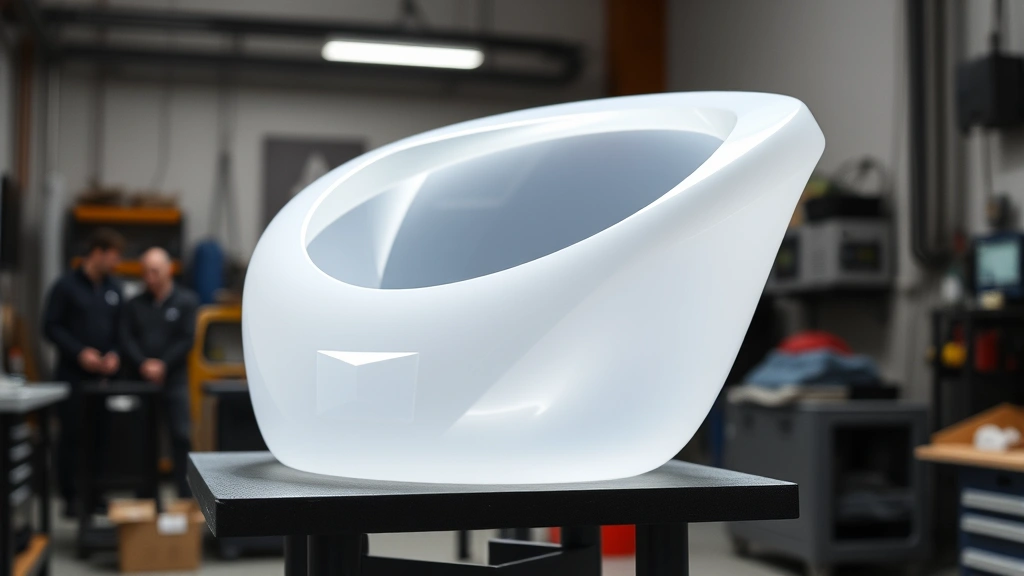
PCCF stands for polycarbonate composite fiber, a material used in everything from aerospace components to custom automotive parts. When you manufacture or machine PCCF, internal stresses build up in the material’s structure. These stresses make the material brittle and prone to cracking or warping over time. Annealing is the solution—it’s a heat treatment that relieves those internal stresses and restores the material’s natural flexibility and strength.
Think of it like this: your PCCF is wound up tight, like a coiled spring under pressure. Annealing carefully releases that tension in a controlled way, so your finished product won’t fail unexpectedly down the road.
Why Annealing Really Matters
You might be tempted to skip annealing and move straight to assembly or finishing. Don’t. Unannealed PCCF will develop micro-fractures, dimensional changes, and brittleness that show up weeks or months after you’ve already installed it. That’s a disaster if you’re building something that has to perform under stress.
Annealing increases toughness, reduces warping, and improves machinability for future work. If you’re doing precision work—and if you’re bothering with PCCF, you probably are—annealing is non-negotiable. It’s the difference between a project that lasts years and one that fails in months.
Tools & Equipment You’ll Need
Don’t try to wing this with a regular kitchen oven or heat gun. You need precision temperature control. Here’s what actually works:
- Convection oven or laboratory oven: Must hold steady temperature within ±5°F. A standard kitchen oven won’t cut it—too much temperature swing.
- Thermometer or thermocouple: Accurate to at least ±2°F. Digital is better than analog here.
- Heat-resistant gloves: You’re handling hot material.
- Stainless steel or aluminum tray: Never use bare metal that’ll rust. The tray distributes heat evenly.
- Timer: Precision matters. A smartphone timer works fine.
- Insulation blanket (optional but smart): Helps maintain temperature stability during cooling phases.
- Cooling rack or metal mesh: For the controlled cooling stage.
Temperature Settings Guide
This is where most people mess up. PCCF annealing temperature depends on the specific formulation, but the standard range is 250°F to 300°F (120°C to 150°C). Check your material’s technical data sheet—different manufacturers have slight variations, and you want to hit the sweet spot for your specific batch.
Going too hot risks melting or degrading the polymer matrix. Going too cool wastes your time because the stress relief won’t happen. The magic number for most standard PCCF is around 275°F (135°C).
The holding time at temperature is equally critical. Most PCCF needs 2 to 4 hours at the target temperature. Thicker pieces need longer. A good rule: add 30 minutes per quarter-inch of thickness beyond the first inch.
Step-by-Step Annealing Process
Step 1: Prepare Your Workspace
Make sure your oven is clean and functioning properly. Run a test cycle without your material to confirm temperature stability. You don’t want surprises mid-anneal.
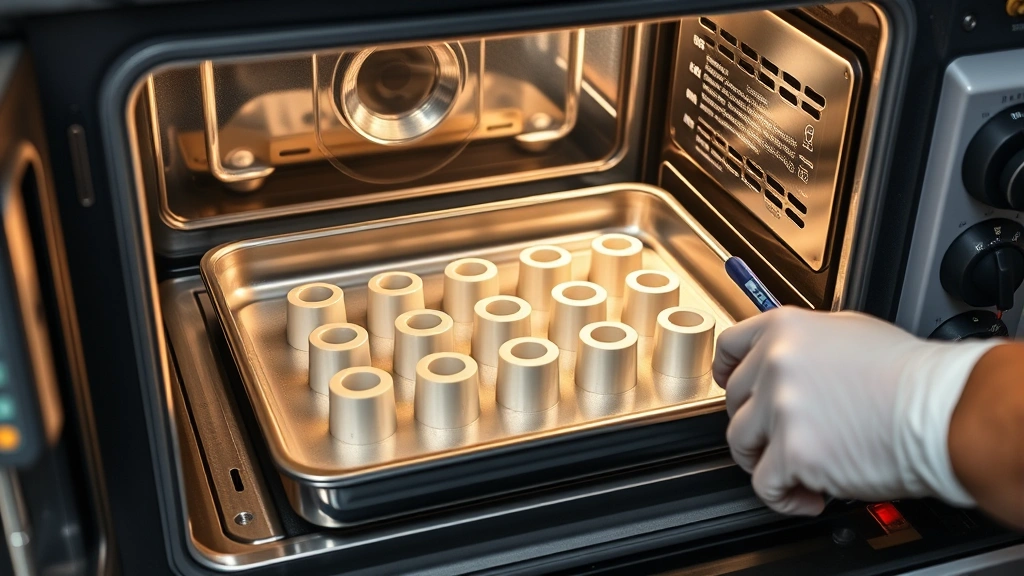
Step 2: Arrange Your PCCF
Place your parts on the stainless steel tray in a single layer. Don’t stack them—heat needs to reach all surfaces evenly. Leave at least 2 inches between pieces. If you’re annealing multiple items, group similar thicknesses together so they all finish at the same time.
Step 3: Insert and Heat Gradually
Here’s the critical part: don’t shock the material with sudden temperature changes. Start your oven at room temperature, place your parts inside, then gradually increase the temperature at a rate of about 5-10°F per minute. This slow ramp prevents thermal shock and uneven stress relief. If your oven has a preheat function, skip it for this reason.
Step 4: Hold at Temperature
Once you hit your target temperature (275°F for standard PCCF), set your timer. Don’t open the oven door during this phase—every time you do, you lose heat and mess with the process. Just let it sit. This is when the magic happens: the polymer chains relax and internal stresses dissipate.
Step 5: Monitor Closely
Check your thermometer every 30 minutes to confirm the oven is maintaining temperature. Temperature swings of more than 10°F during holding time will compromise your results. If your oven is drifting, adjust it now.
The Cooling Phase (This Is Critical)
Cooling is where people rush and ruin everything. You can’t just pull your hot PCCF out and let it cool on the counter. Rapid cooling reintroduces stresses and defeats the entire purpose of annealing.
Controlled Cooling Steps:
- Stage 1 (Oven cooling): Turn off the oven. Leave the door closed and let the temperature drop naturally to about 150°F. This takes 1-2 hours depending on oven size. Don’t open the door.
- Stage 2 (Intermediate cooling): Crack the oven door open about 2 inches. Let it cool to about 100°F. Another 30-45 minutes.
- Stage 3 (Room temperature): Remove your parts and place them on a cooling rack in a draft-free area. Let them reach room temperature naturally. Don’t use fans or cool water—that’s thermal shock and you’ll undo everything.
The entire cooling process should take 3-4 hours minimum. Yes, it’s slow. Yes, it’s worth it. Rushing cooling is the #1 reason annealing fails.
Common Mistakes to Avoid
Mistake 1: Wrong Temperature
Using a guess instead of checking the material spec sheet. Your PCCF might have a different softening point than standard. Get the exact number.
Mistake 2: Uneven Heat Distribution
Stacking parts or placing them too close together. Heat can’t reach all surfaces, so some areas stay stressed. Spread them out.
Mistake 3: Opening the Oven Door
“Just peeking” to see how it’s going. Every opening causes temperature swings that interfere with stress relief. Trust the timer.
Mistake 4: Fast Cooling
Pulling hot parts out and letting them cool quickly. You’re reintroducing stresses. Slow and steady wins here.
Mistake 5: Wrong Oven Type
Using a microwave, toaster oven, or kitchen range. These don’t maintain steady temperature. You need a convection oven with proper temperature control. If you don’t have one, rent or borrow from a maker space or university lab.
Testing Your Annealed PCCF
How do you know if annealing actually worked? There are a few ways to check:
Visual Inspection: Look for any warping, discoloration, or surface changes. Good annealing leaves the material unchanged in appearance.
Flexibility Test: Carefully flex or bend a sample piece (if you have scrap material). Annealed PCCF should have slightly more give than unannealed material. It shouldn’t be floppy, but it shouldn’t be brittle either.
Dimensional Check: Measure your parts before and after annealing. Properly annealed PCCF shouldn’t show significant size changes. If dimensions shifted more than 0.5%, your temperature was too high or cooling was too fast.
Stress Testing (Advanced): If you have access to testing equipment, measure residual stress using X-ray diffraction or thermal analysis. Most home shops won’t have this, but professional shops sometimes do.
For most DIY and small-shop applications, the visual and flexibility tests are enough. If your parts look good and feel appropriately flexible, you’re probably fine.
Frequently Asked Questions
Can I anneal PCCF in a regular kitchen oven?
Technically yes, but I wouldn’t recommend it. Kitchen ovens have poor temperature stability and uneven heat distribution. You’ll get inconsistent results, and you risk damaging the oven or the material. Borrow a lab oven or convection oven from a maker space instead.
How long does annealing take total?
Plan on 8-10 hours from start to finish: 1-2 hours for gradual heating, 2-4 hours at temperature, and 3-4 hours for controlled cooling. It’s not a quick process, but you can’t rush it without compromising results.
What if I don’t have a thermometer?
Get one. A cheap digital thermometer costs $10-20 and is essential for this process. Guessing temperatures is how you ruin material. It’s a non-negotiable investment.
Can I anneal PCCF multiple times?
Yes, but each cycle stresses the material slightly. If you need to anneal more than once, wait at least 24 hours between cycles and keep temperatures consistent. Most projects only need one anneal cycle.
What’s the difference between annealing and tempering?
Annealing relieves all internal stresses through slow heating and cooling. Tempering (used for metals) reintroduces controlled stress for hardness. For PCCF, you want annealing, not tempering.
Does annealing weaken PCCF?
No—it actually strengthens it by relieving stresses that cause failure. Properly annealed PCCF is tougher and more durable than unannealed material. The weakness comes from skipping annealing.
Can I anneal PCCF after machining?
Yes, and you should. Machining introduces stress. Aneal after cutting, drilling, or shaping to relieve that stress before assembly or finishing. This is when precision timing matters most—the sooner after machining, the better.
What if my oven temperature fluctuates?
Most ovens drift a few degrees, which is normal. If it’s swinging more than ±10°F, your oven needs recalibration or repair. Contact the manufacturer or have a technician check it. Don’t proceed with annealing until it’s stable.
Final Thoughts on PCCF Annealing
Annealing PCCF isn’t complicated, but it demands patience and precision. You’re essentially giving your material a chance to relax and settle into its strongest, most stable form. Skip this step and you’re gambling with your project’s durability. Do it right, and you’ve got parts that’ll last.
The key takeaway: slow heating, steady holding temperature, and slow cooling. Those three phases are everything. Invest in proper equipment, follow the material spec sheet, and don’t rush the process. Your future self—and your finished project—will thank you.
If you’re working with materials that need time to set properly, understanding how long does it take for super glue to dry and how long does cement take to dry helps you plan your workflow around annealing cycles. And if you’re finishing your annealed parts, how long does it take paint to dry becomes relevant for the final stages.


