
Learning how to align garage door sensors is one of those skills that’ll save you a fortune in service calls and keep your garage door working safely. If your door’s been acting weird—reversing when it shouldn’t, refusing to close, or just being generally stubborn—misaligned sensors are usually the culprit. The good news? This is totally fixable, and you don’t need a degree in electronics to handle it.
Table of Contents
Why Sensors Matter
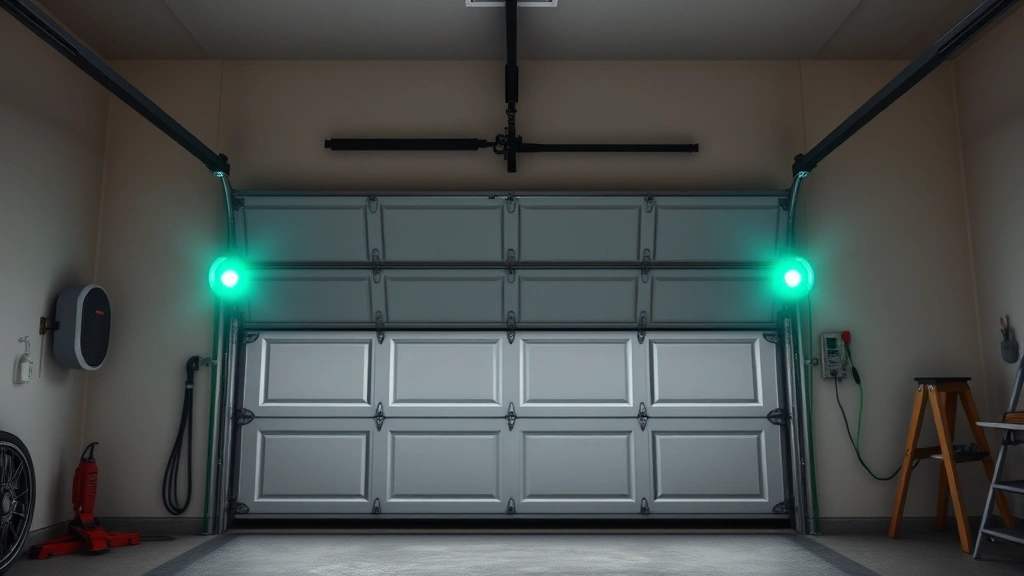
Your garage door sensors are the safety guardians of your entire system. They’re infrared devices mounted on either side of the garage door opening, about 6 inches off the ground. When something blocks the beam between them—a kid, a pet, a box—the door stops and reverses. It’s a federal safety requirement, and honestly, it’s kept countless accidents from happening.
Without properly functioning sensors, your garage door becomes a potential hazard. A 400-pound door moving at speed can cause serious injury. That’s why manufacturers made these sensors non-negotiable. And when they’re misaligned, they get paranoid—they think there’s an obstruction even when there isn’t one.
Understanding Sensor Basics
Garage door sensors work in pairs: a transmitter and a receiver. The transmitter shoots an invisible infrared beam across the doorway to the receiver. As long as that beam stays unbroken, the door operates normally. The moment something interrupts it, the safety system kicks in.
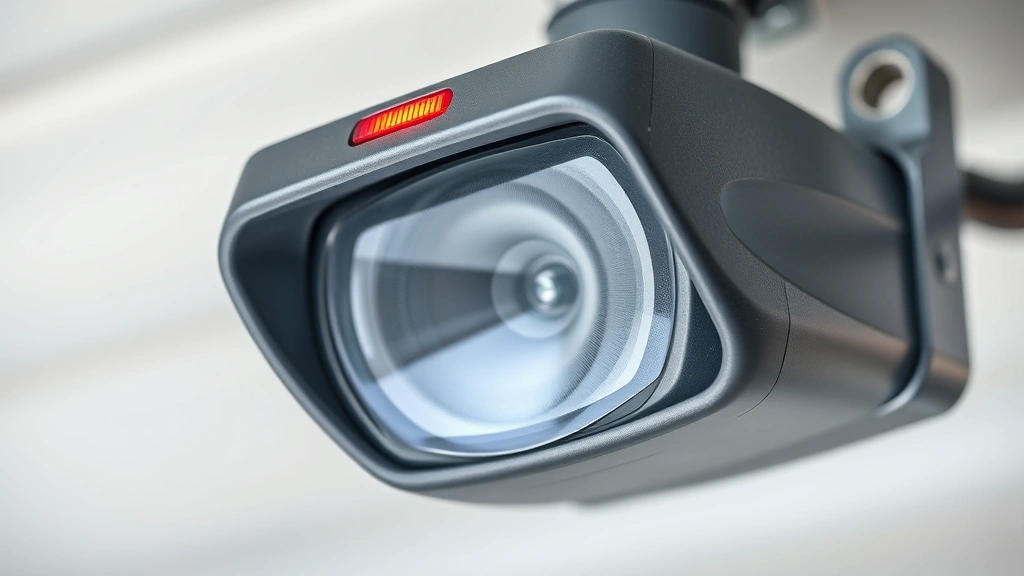
These sensors are usually mounted on metal brackets attached to the door frame. The transmitter (typically the one with the red light) sends the signal, while the receiver (usually with a green light) picks it up. Both need to be perfectly aligned for the system to trust that the path is clear.
The alignment tolerance is surprisingly tight—we’re talking a few millimeters. That’s why even a small bump or vibration from the door closing can throw things off. Over time, brackets loosen, sensors shift, and suddenly you’ve got a garage door that won’t cooperate.
Signs of Misalignment
Before you start troubleshooting, make sure you’re actually dealing with a sensor problem. Here’s what misaligned sensors look like in action:
The door won’t close at all: You press the button, and the door immediately reverses or just sits there blinking the light. This is the most common symptom.
The door closes partway then reverses: Sometimes the door gets halfway down before deciding something’s wrong and backing up again.
You see a red or amber light on the sensor: Most systems have indicator lights. If one isn’t green, something’s off.
The receiver light won’t turn on: If the receiver isn’t getting the signal, it won’t light up at all.
The door works on some days but not others: This weird behavior often means the sensors are barely out of alignment, and temperature changes or vibration are making things worse.
Tools You Need
The beauty of this job is that you don’t need much. Here’s your toolkit:
A flashlight or headlamp: You’ll be working in the shadows under your door. Good light makes everything easier.
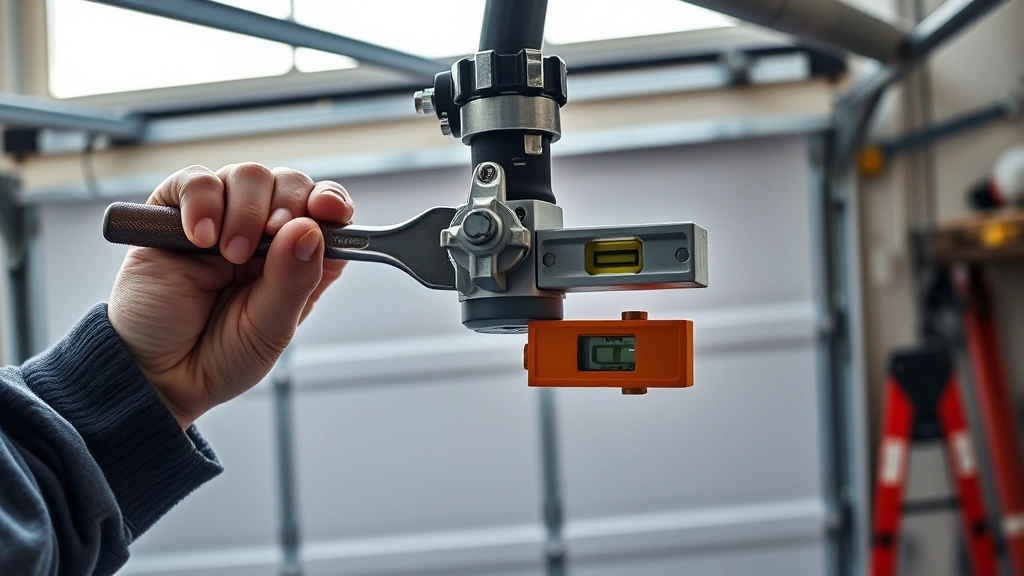
A level: A small torpedo level is perfect. You need to verify that your sensors are perfectly vertical.
Masking tape: This lets you mark the current sensor position before you start moving things around.
A soft cloth: You might need to wipe dust or debris off the sensor lenses.
An adjustable wrench or socket set: The mounting brackets usually have bolts that need loosening.
A straightedge: A ruler or piece of wood helps you visually check alignment.
That’s it. You’re not doing surgery here—just careful, methodical adjustment.
Step-by-Step Alignment
Step 1: Unplug the door opener
Safety first, always. Unplug the garage door opener from the outlet. You don’t want the door moving while you’re working underneath it. Seriously, don’t skip this step.
Step 2: Clean the sensor lenses
Grab that soft cloth and gently wipe both sensor lenses. Dust, spider webs, and debris can block the beam just as effectively as misalignment. Sometimes this alone fixes the problem. Use a microfiber cloth if you have one—avoid anything abrasive.
Step 3: Inspect the brackets
Look at how the sensors are mounted. Are the brackets bent? Are the bolts loose? Gently try to wiggle each sensor. If there’s movement, the bracket bolts need tightening. Use your wrench to snug them up, but don’t over-tighten—you just want them firm enough that the sensor won’t move.
Step 4: Mark the current position
Use masking tape to mark where each sensor currently sits on its bracket. This gives you a reference point if you need to backtrack.
Step 5: Check vertical alignment with a level
Place your level against the side of each sensor. Both sensors should be perfectly vertical. If one is tilted, that’s your problem. Loosen the mounting bolts just enough that you can rotate the sensor, then adjust until the level shows vertical. Tighten the bolts again.
Step 6: Align the beam heights
This is where it gets precise. Both sensors need to be at the exact same height. Measure from the ground to the center of each sensor lens. They should match—typically 4 to 6 inches off the ground, depending on your door. If they’re different, loosen one sensor and slide it up or down until the measurements match.
Step 7: Verify the beam path
Imagine a straight line running horizontally between the two sensor lenses. That line should be unobstructed and level. Use your straightedge to help visualize this. If there’s anything in the way—a shelf, a tool, whatever—move it.
Step 8: Test the indicator lights
Plug the opener back in. Look at the sensor lights. The transmitter should show red (or amber), and the receiver should show green. If the receiver isn’t green, the sensors aren’t properly aligned yet. Go back and make small adjustments until that green light comes on.
Step 9: Make fine adjustments
If the receiver light is still off, you need to make micro-adjustments. Loosen the receiver bracket bolts slightly and try moving it a quarter-inch at a time—up, down, left, or right. Check the light after each tiny adjustment. Once that green light comes on, you’re in business.
Testing Your Work
Don’t just assume everything’s fixed. Put the door through its paces. Here’s how to properly test your alignment work:
Full cycle test: Close the door all the way, then open it all the way. Do this at least three times. The door should operate smoothly without reversing.
Obstruction test: Once the door is halfway down, hold a broom handle in the beam path. The door should immediately reverse. This confirms the safety system is working. Remove the broom and try closing again.
Light check: Throughout all these tests, watch the sensor lights. They should stay steady green on the receiver. Any flickering means alignment is still off.
Listen for hesitation: A properly aligned door is quiet and smooth. If you hear clicking, grinding, or the motor hesitating, something’s still not right.
Common Mistakes to Avoid
Over-tightening the mounting bolts: You’ll crack the plastic bracket or strip the threads. Just snug them until they’re firm.
Forgetting to unplug the opener: This is how people get hurt. Always disconnect power first.
Assuming the sensor position is correct: Just because it looks aligned doesn’t mean it is. Use your level and measuring tape.
Ignoring the indicator lights: Those lights are telling you the truth. If the receiver isn’t green, keep adjusting.
Not checking both vertical and horizontal alignment: Sensors need to be vertical AND at the same height. Miss either one, and the system won’t work reliably.
Adjusting one sensor instead of both: Sometimes you need to move both sensors slightly to get them perfectly aligned. Don’t assume the transmitter position is the correct one.
Maintenance Tips
Once you’ve got your sensors aligned, keep them that way. Here’s how:
Clean them monthly: Dust accumulates, especially in garages. A quick wipe with a soft cloth keeps the lenses clear.
Check alignment seasonally: Temperature changes can cause slight shifts in mounting brackets. A quick level check twice a year catches problems early.
Keep the beam path clear: Don’t store stuff in front of the sensors. That shelf of paint cans? Move it.
Inspect the brackets: Look for rust, bending, or loose bolts during your seasonal checks. Tighten any loose bolts immediately.
Watch for warning signs: If the door starts acting weird again, don’t ignore it. Check the sensors before the problem gets worse.
When to Call a Pro
Most sensor alignment jobs are DIY-friendly, but there are situations where you should call a professional. If you’ve done everything above and the sensors still won’t align, there might be a deeper issue—a bent door frame, a damaged opener, or faulty sensors that need replacement. That’s when you need someone with diagnostic equipment.
Also, if you’re uncomfortable working with electrical components or working at height, there’s no shame in calling a garage door technician. These folks charge around $100-$200 for a service call, which is worth the peace of mind.
For more detailed guidance on home safety systems, check out resources like Family Handyman or This Old House, which have comprehensive guides on garage door maintenance. You might also find helpful information about other home projects like how to remove a car battery or how to build a table on our site.
Summary
Aligning garage door sensors is straightforward once you understand what you’re doing. Start with cleaning, check your brackets for looseness, verify vertical alignment with a level, match the sensor heights, and watch for that green indicator light. Test thoroughly before you call the job done. Most misalignment issues clear up in 15-30 minutes of careful work. Your garage door will thank you with smooth, reliable operation, and you’ll have the satisfaction of knowing you fixed it yourself.
Frequently Asked Questions
How do I know if my garage door sensors are misaligned?
The most obvious sign is a garage door that won’t close or reverses unexpectedly. You might also notice that the receiver sensor light isn’t green, or the door works intermittently. If closing the door is becoming a guessing game, misalignment is usually the culprit.
Can I adjust the sensors without unplugging the garage door opener?
Technically yes, but I wouldn’t recommend it. Unplugging the opener takes 10 seconds and eliminates the risk of the door moving while you’re underneath it. Safety beats convenience every time.
What if one sensor light won’t turn on at all?
First, make sure the opener is plugged in and the light bulb hasn’t burned out. Then clean the sensor lenses thoroughly. If the light still won’t come on, the sensor itself might be defective and need replacement. That’s a job for a professional.
How often should I check my garage door sensor alignment?
Twice a year is ideal—maybe spring and fall. If you notice any door misbehavior between those checks, inspect immediately. Regular maintenance catches problems before they become expensive repairs.
Is it normal for garage door sensors to need frequent realignment?
Not really. If you’re realigning them constantly, something else is going on—a bent bracket, a damaged door frame, or vibration issues. A professional inspection might be worth the investment.
Can dust or spider webs cause the same problems as misalignment?
Absolutely. Dirty sensor lenses can block the beam just as effectively as misalignment. Always clean your sensors before assuming you have an alignment problem. It solves about 30% of sensor issues on the first try.


