Learning how to add music to iMovie is one of the quickest wins you can grab when editing videos on Mac or iPad. Whether you’re working on a family vacation montage, a birthday tribute, or just want to spice up your content, adding the right soundtrack transforms your footage from silent clips into a polished, professional-feeling production. The good news? It’s dead simple, and I’m going to walk you through every method available.
Table of Contents
iMovie Basics First
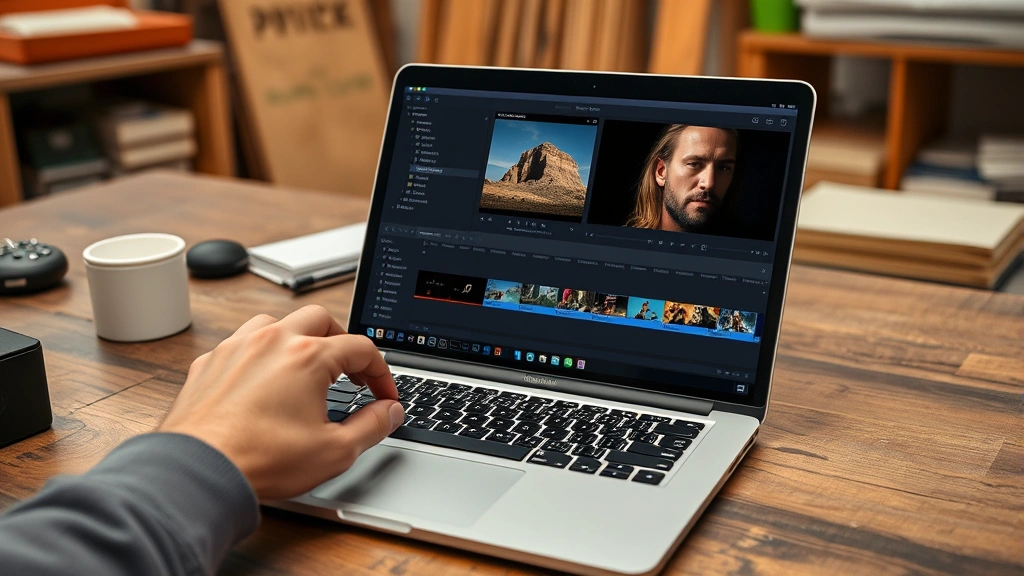
Before we dive into the music side of things, let’s make sure you’ve got the fundamentals down. iMovie is Apple’s free video editing software available on Mac, iPad, and iPhone. The interface is designed to be beginner-friendly, but there’s enough power under the hood for real creative work. You’ll find your audio controls in the timeline at the bottom of your screen—that’s where the magic happens when you’re adding and adjusting music.
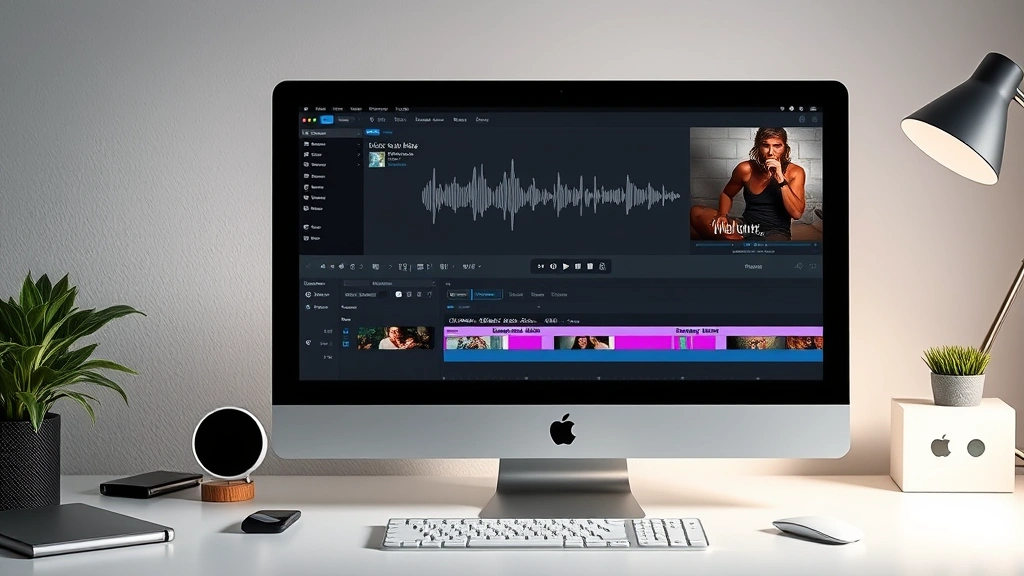
The key thing to understand is that audio and video sit on separate tracks in iMovie. This separation is actually your friend because it means you can add multiple audio layers without affecting your video clips. Think of it like a mixing board: your video is one channel, your music is another, and any voiceovers or sound effects are their own channels too.
Where to Find Your Soundtrack
You’ve got several solid options for sourcing music. First, there’s your personal music library—anything you’ve purchased from iTunes or added to your Mac will be available. Second, iMovie comes loaded with royalty-free sound effects and background music tracks that you can use freely. Third, there are tons of free and paid services online like Epidemic Sound, Artlist, or Pixabay Music that offer tracks specifically licensed for video use.
Here’s the critical part: check the licensing. If you’re posting your video publicly on YouTube or social media, you need to make sure you have the rights to use whatever music you pick. Copyrighted tracks without permission will get your video flagged or muted. Stick with royalty-free options if you’re unsure, and always read the terms of service for any music platform you use.
Adding Music from Your Library
This is the most straightforward method. Open your iMovie project and locate the audio browser. On Mac, click the “Audio” button in the top toolbar—it looks like a musical note. On iPad, tap the “+” button and select “Audio.” You’ll see three tabs: Music, Sound Effects, and Ambience.
Navigate to your personal music library by selecting “Music” in the left sidebar. Your iTunes library or Music app songs will populate here. Find the track you want, and simply drag it into your timeline. You can drop it right above your video clip, and it’ll create a new audio track. That’s literally it—you’ve just added music to your iMovie project.
If you want to add music at a specific point rather than at the beginning, scrub through your timeline to find the exact moment, then drag the track to that location. iMovie will automatically snap it into place. You can also add multiple music tracks if you want to layer them or transition between different songs.
Using iMovie’s Built-In Sounds
iMovie’s sound library is genuinely impressive for a free tool. Click the “Audio” button and browse the “Sound Effects” and “Ambience” tabs. You’ll find everything from ambient background noise (coffee shop chatter, rain, ocean waves) to royalty-free music tracks organized by mood and genre.
The advantage here is that everything is already licensed for use in your videos. No copyright worries, no downloads needed. Just drag and drop directly into your timeline. The ambience tracks are especially useful as background layers—imagine adding subtle rain sounds or a gentle forest ambience underneath your main music track for depth.
Browse through categories like “Inspiring,” “Upbeat,” “Dramatic,” or “Chill” to find the vibe that matches your project. Preview any track by clicking it before adding it to your timeline. This library gets updated regularly, so check back if you’re working on multiple projects.
Adjusting Volume and Mixing
Now that you’ve got music in your timeline, you’ll probably need to adjust its volume so it doesn’t drown out any dialogue or voiceovers. Click on the music clip in your timeline to select it. You’ll see a volume slider appear above the clip—it looks like a horizontal line with a dot on it.

Drag that slider down to reduce the volume. A good rule of thumb: if you’ve got dialogue or narration, your music should sit at about 40-60% volume so the spoken words remain clear. If your video is purely visual with no talking, you can push the music up to 80-100% without issues.
You can also adjust volume over time by adding keyframes. Click once on the volume line where you want to make a change, then drag that point up or down. This lets you create dynamic mixing—maybe the music starts quiet while someone’s talking, then swells when they finish speaking. It’s a pro-level technique that’s surprisingly easy in iMovie.
Adding Fades and Effects
A fade-in at the beginning of your music track and a fade-out at the end make your video feel more polished. Select your music clip, then look for the fade handles—they’re small icons at the beginning and end of the audio waveform. Drag these inward to create a fade effect. The further you drag, the longer the fade takes.
A typical fade-in or fade-out lasts about 1-2 seconds. This small detail prevents your music from starting or stopping abruptly, which always sounds amateurish. It’s like the difference between someone walking into a room versus gracefully entering—the fade is that grace note.
You can also add crossfades between two music tracks. If you’re transitioning from one song to another, overlap the clips slightly and iMovie will automatically create a crossfade. Adjust the overlap length to control how long the transition takes. This is perfect for montages or videos where you want to switch the mood mid-way through.
Syncing Music to Your Footage
The real artistry comes when you sync your music to your video. This means timing your cuts, transitions, and visual moments to hit on the beat or at key moments in the music. It’s not required, but it makes a huge difference in how professional your video feels.
Start by playing your timeline with the audio on. Listen for the natural rhythm and beats in your music. Then manually adjust where your video clips sit relative to the music. Drag clips around to align important moments—a jump cut, a scene change, a title card—with the music’s rhythm.
If you’re working with a fast-paced song, more frequent cuts and transitions will feel right. Slow, ambient music benefits from longer, more contemplative shots. This is where editing becomes creative rather than technical. Spend time here; it’s where good videos become great ones.
Exporting Your Video
Once your music is perfectly mixed and synced, it’s time to export. Go to File > Share (on Mac) or tap the Share button (on iPad). Choose your destination—YouTube, Facebook, Mail, or save to your Mac. Select your quality settings. For online sharing, 1080p is standard. For archival, go 4K if your original footage supports it.
iMovie will encode your video with all audio tracks mixed down into the final file. This process takes time depending on your video length and quality settings. A 5-minute video at 1080p might take 5-10 minutes to export. Don’t interrupt the process—let it finish completely.
Once exported, play it back on the platform where you’ll share it. Make sure the audio levels sound right, the music comes through clearly, and there are no sync issues. Sometimes audio can shift slightly during export, so this final check is important.

Common Issues and Fixes
If your music isn’t showing up in the audio browser, make sure the tracks are in a compatible format (MP3, AAC, WAV) and that they’re actually in your Music app or iTunes library. Sometimes freshly downloaded files need to be imported into your music library first.
Audio syncing issues often happen because you’re working at different frame rates or if you’ve made heavy edits. Try exporting at a lower quality first to test. If the sync is off, you can manually adjust individual clips by dragging them slightly left or right in the timeline.
If your music sounds muffled or distorted, you’ve probably got the volume too high. Reduce it by 10-20% and re-export. Also check that you’re not mixing too many audio tracks at maximum volume—the cumulative effect creates distortion.
For those working on similar technical projects, understanding how different systems handle audio can be helpful. Just like how how to change mouse polling rate affects precision in other applications, audio settings in iMovie affect your final output quality. If you’re managing multiple projects and subscriptions, staying organized matters—similar to how you’d how to cancel chegg subscription when you’re done with a service, you should clean up old project files to keep your Mac running smoothly.
Frequently Asked Questions
Can I add copyrighted music to my iMovie project?
Technically yes, but it’s risky. If you upload to YouTube or social media, the platform will detect copyrighted music and either mute it, claim it (giving ad revenue to the copyright holder), or remove your video entirely. For personal, private videos, it’s fine. For anything public, stick with royalty-free music.
How do I add multiple music tracks to the same video?
Just drag additional audio clips into your timeline. Each one creates a new audio track, and they’ll all play simultaneously. Adjust the volume of each track so they blend well together. This is great for layering ambient sounds under a main music track.
Can I edit the music itself in iMovie?
Not really. iMovie isn’t a full audio editor. You can adjust volume, add fades, and trim the length of a clip, but you can’t do things like EQ adjustments or effects processing. If you need that level of control, edit the audio in GarageBand or Audacity first, then import the finished version into iMovie.
What’s the best format for audio files in iMovie?
MP3 and AAC are most reliable. WAV and AIFF work too. Avoid lossless formats like FLAC unless you specifically need them—they’re unnecessarily large. Stick with MP3 or AAC, and you won’t have any compatibility issues.
How do I remove music from a clip in iMovie?
Select the audio clip in your timeline and press Delete. That’s it. If you want to keep the video but remove just the audio, select the clip and use the audio browser to mute or delete just that track.
Can I adjust the tempo of music in iMovie?
Not directly in iMovie. If you need to speed up or slow down a track, do that in GarageBand or another audio editor first, then import it. iMovie will preserve whatever tempo the file has.
That’s the complete rundown on how to add music to iMovie. You’ve got the technical steps, the creative techniques, and the troubleshooting knowledge. Start with a simple project—add one music track, adjust the volume, throw on some fades, and export. Once you’re comfortable with the basics, layer in multiple tracks, sync to the beat, and experiment with crossfades. Your videos will go from silent and flat to engaging and professional-feeling. The music is often what transforms a video from “nice” to “wow.” Now go make something great.


