
Knowing how long to pressure cook chicken is the game-changer that separates dry, rubbery meat from tender, juicy perfection in a fraction of traditional cooking time. Whether you’re using an Instant Pot, stovetop pressure cooker, or electric pressure cooker, the timing is everything—and I’m going to walk you through exactly what you need to know to nail it every single time.
Table of Contents
Pressure Cooking Basics Explained
Let me be straight with you: pressure cooking works by trapping steam inside a sealed vessel, which raises the boiling point of water above 212°F. This means your chicken cooks faster while staying incredibly moist. The steam penetrates the meat fibers, breaking down collagen and connective tissue in a way that would normally take hours in a regular pot.
The magic happens because the increased pressure forces heat into the meat more efficiently. A chicken breast that would take 20-30 minutes in a regular skillet takes just 8-10 minutes under pressure. That’s not a typo—it’s one of the best-kept secrets for weeknight dinners.
Your pressure cooker has two main components: the sealed pot and the pressure regulator. The regulator maintains the pressure level, and that’s where your control comes in. Most modern pressure cookers are incredibly safe with multiple failsafes, but understanding how they work makes you a better cook.
Cooking Times by Chicken Cut
This is where precision matters. Different cuts of chicken have different densities and fat content, which affects cooking time dramatically.
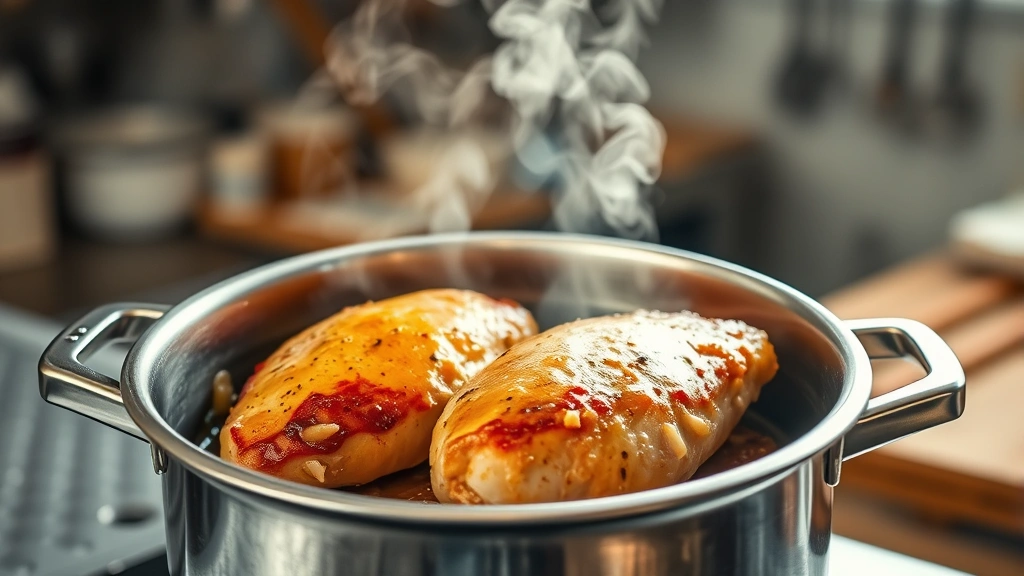
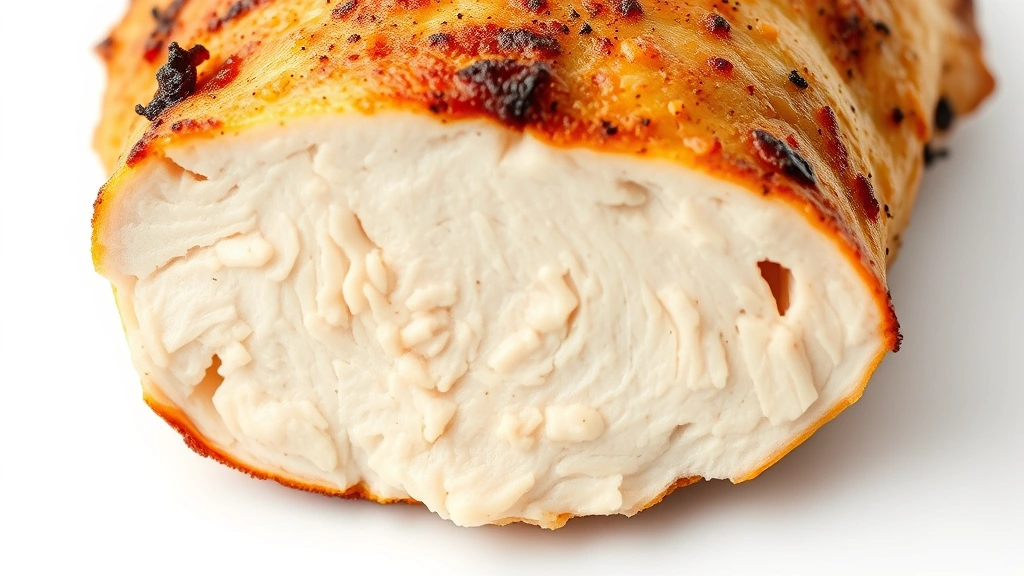
Chicken Breasts (Boneless, Skinless): 8-10 minutes at high pressure. These are lean and cook fast. Overcook them by even a minute and you’ll get that rubbery texture nobody wants. If you’re doing thick breasts (over 1.5 inches), bump it to 10-12 minutes.
Chicken Thighs (Boneless, Skinless): 10-12 minutes at high pressure. Thighs have more fat and connective tissue, so they need slightly longer. The upside? They’re harder to overcook and stay juicier than breasts.
Bone-In, Skin-On Pieces: 12-15 minutes at high pressure. The bone conducts heat differently, requiring extra time. The skin also acts as insulation, slowing penetration. These cuts are forgiving and produce incredible flavor.
Whole Chicken: 15-20 minutes at high pressure, depending on size. A 3-4 pound bird needs about 15 minutes. Add 2 minutes per pound if you’re going larger. This is the ultimate time-saver compared to roasting.
Chicken Drumsticks and Wings: 12-15 minutes at high pressure. Wings are small but dense, and drumsticks have bones that need time to render properly.
Fresh vs Frozen Chicken
Here’s the beautiful part: pressure cookers handle frozen chicken like a boss. You don’t need to thaw it first, which saves you planning time.
Fresh Chicken: Use the times I listed above. Fresh meat cooks slightly faster because water penetrates it more easily.
Frozen Chicken: Add 5 minutes to your cooking time for any cut. A frozen chicken breast goes from 8-10 minutes to 13-15 minutes. Frozen whole chickens need about 20-25 minutes. The ice crystals slow heat transfer, but the pressure cooker still handles it beautifully.
Pro tip: If you’re cooking frozen chicken, make sure you have enough liquid in the pot. The ice will melt and create steam, but you want a minimum of 1 cup of liquid to maintain pressure properly. I usually use chicken broth for extra flavor.
High vs Low Pressure Settings
Most recipes call for high pressure, and there’s a reason: it’s faster and more consistent. But low pressure has its place.
High Pressure: This is your go-to. It reaches about 15 PSI (pounds per square inch) and cooks chicken in roughly half the time of low pressure. Use high pressure for everything unless you have a specific reason not to.
Low Pressure: Reaches about 5-8 PSI and cooks slower. Some people use low pressure for delicate dishes or when they want more control, but honestly, for chicken, high pressure is superior. It’s faster and the results are identical.
If your pressure cooker only has one setting, don’t worry—it’s almost certainly high pressure, and you’re good to go.
Natural vs Quick Release Methods
After the timer goes off, you have two ways to release pressure: natural and quick. This choice affects texture and how much carryover cooking happens.
Quick Release: You manually release the pressure valve immediately when the timer goes off. The pressure drops in 1-2 minutes. Use this when you want to stop the cooking process immediately. It’s best for chicken breasts where overcooking is a real risk. Your meat stays firmer and less tender.
Natural Release: You let the pressure drop on its own, which takes 10-20 minutes depending on how much food is in the pot. The residual heat continues cooking the chicken gently during this time. This method produces more tender, fall-apart chicken—perfect for thighs, drumsticks, or any bone-in pieces. It also allows the meat fibers to relax and reabsorb juices.
My recommendation: Use quick release for breasts, natural release for everything else. If you’re making shredded chicken for tacos or salads, natural release is your secret weapon.
Seasoning and Prep Work
Don’t skip seasoning because you think pressure cooking will wash it away. It won’t. Season your chicken generously before it goes in the pot.
Pat your chicken dry with paper towels—this helps browning and prevents excess water from diluting your broth. If you have time, sear the chicken in a bit of oil on the sauté function of your pressure cooker before adding liquid. This creates a flavorful crust and adds depth to your final dish. It’s an extra 5 minutes but worth it.
For liquid, use chicken broth instead of water whenever possible. The broth adds flavor that water can’t match. You need at least 1 cup of liquid for the pressure cooker to build steam properly, but you can use more—up to halfway up the chicken—without affecting cooking time.
Add aromatics: onions, garlic, herbs, and spices all go in before pressurizing. They won’t lose their flavor; they’ll infuse it into the chicken and broth.
Troubleshooting Common Issues
Chicken Came Out Dry: You likely overcooked it. Use quick release next time and drop your cooking time by 1-2 minutes. Also, make sure you’re not cutting into the chicken immediately after cooking—let it rest for 5 minutes so juices redistribute.
Chicken Didn’t Cook Through: Not enough pressure built up. Check your liquid level—you need minimum 1 cup. Also verify your pressure cooker’s seal is clean and properly seated. If the seal is damaged, it won’t maintain pressure.
Meat is Tough and Stringy: This usually means you used low pressure or cooked too long. Stick with high pressure and reduce cooking time by 2-3 minutes.
Broth is Too Thin: Pressure cookers don’t reduce liquid like stovetop cooking does. If you want a thicker sauce, use the sauté function after releasing pressure and let it simmer uncovered for a few minutes. Or mix a tablespoon of cornstarch with 2 tablespoons of cold water, stir it in, and simmer for 2 minutes.
Pressure Won’t Build: Check your liquid level first. Second, make sure the sealing ring is clean and properly positioned. Third, verify the steam release valve isn’t stuck open. If none of these work, your seal might be damaged and need replacement.
Recipe Variations and Flexibility
The beauty of pressure cooking chicken is how adaptable it is. Once you master the basic timing, you can build on it.
Chicken in Broth: Cook with chicken broth, onions, and herbs. Use the times I mentioned. The resulting broth is liquid gold for soups or sauces.
Salsa Chicken: Replace broth with salsa (same amount). Cook for the same time. Shred it after cooking and you’ve got filling for tacos, enchiladas, or salads. Check out our best fall recipes for inspiration on what to do with your cooked chicken.
Asian-Style Chicken: Use soy sauce, ginger, garlic, and a splash of rice vinegar instead of plain broth. Cook for the same time. The result is tender chicken ready for stir-fries or rice bowls.
Creamy Chicken: Cook chicken in broth, then after quick release, stir in cream and herbs on the sauté function. This is comfort food at its finest.
You can also layer vegetables on top of the chicken rack (if your cooker has one) and they’ll steam simultaneously. Just remember that delicate vegetables like spinach should go in after cooking, while hardy vegetables like carrots and potatoes can cook the whole time.
Safety Tips and Best Practices
Pressure cookers are incredibly safe when used properly, but respect the equipment.
Always check your sealing ring before cooking. A damaged ring won’t seal properly, and pressure won’t build. Most manufacturers recommend replacing it every 12-18 months depending on use.
Never fill your pressure cooker more than two-thirds full. This leaves room for steam to circulate. Overfilling can cause liquid to spray out the steam vent.
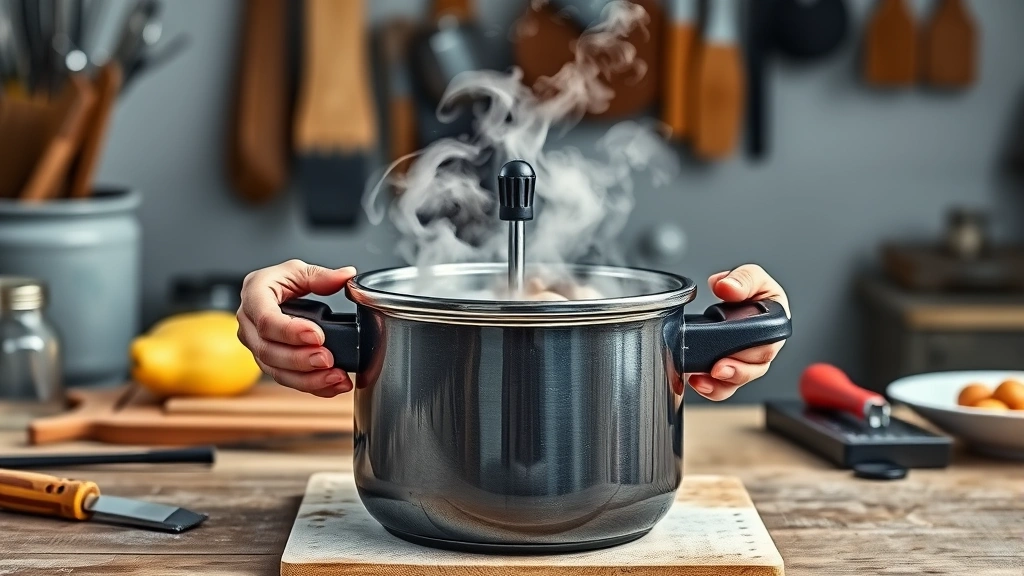
Make sure the steam release valve is in the correct position before pressurizing. Most cookers have a sealing position and a venting position. You want sealing.
Don’t force the lid open after cooking. If it’s stuck, there’s still pressure inside. Let it release naturally or use the quick release valve first.
Keep your vent pipe clean. Food particles can block it and prevent proper pressure buildup. A simple pipe cleaner works great for this.
Always have at least 1 cup of liquid in the pot before pressurizing. Without it, you’ll get a burn notice (if you have an electric cooker) or risk damage to your stove (if using stovetop).
Frequently Asked Questions
Can I cook chicken from frozen in a pressure cooker?
Absolutely. Add 5 minutes to your normal cooking time. Frozen chicken breasts take 13-15 minutes instead of 8-10 minutes. Make sure you have enough liquid—at least 1 cup—to create steam.
What’s the difference between Instant Pot and regular pressure cooker?
Instant Pot is a brand of electric pressure cooker with preset programs. Regular pressure cookers can be stovetop or electric. The cooking times are the same regardless of brand. The main difference is convenience—Instant Pots have timers and automatic pressure release options, while stovetop models require more hands-on attention.
Can I cook boneless chicken breasts without drying them out?
Yes, but you need quick release. Cook for 8-10 minutes at high pressure, then immediately use quick release. Don’t let it sit under pressure longer than needed. Also, don’t cut into the chicken right away—let it rest for 5 minutes so juices redistribute.
How much liquid do I actually need?
Minimum 1 cup. You can use up to 2-3 cups without affecting cooking time. More liquid creates more steam and helps prevent burning on the bottom, but it also means a thinner final broth. I usually use 1.5 cups for chicken breasts and 2 cups for bone-in pieces.
Should I release pressure before opening the lid?
Always. Never force open a pressure cooker lid. Either wait for natural pressure release or use the quick release valve. Only open the lid once all pressure has been released and it opens freely.
Can I add cream or dairy during cooking?
No. Dairy can curdle under pressure. Add it after cooking on the sauté function. This applies to milk, cream, sour cream, and yogurt. Broth and water are fine.
Why does my pressure cooker say “burn” on the display?
This means there’s not enough liquid, or liquid is stuck to the bottom of the pot preventing steam from building. Add more liquid or deglaze the bottom with a wooden spoon. This is common with stovetop cookers if you sear chicken too aggressively.
Can I cook chicken with bones and skin on?
Yes. Add 2-3 minutes to your cooking time compared to boneless cuts. Bones conduct heat differently and require extra time. The skin acts as insulation, slowing heat penetration. These cuts are forgiving and produce incredible flavor in your broth.
How do I know when my pressure cooker is fully pressurized?
Electric cookers beep or display a message. Stovetop cookers will hiss and steam will escape from the vent. Once you see consistent steam, put the regulator weight on and start timing. It takes 3-5 minutes for a stovetop cooker to fully pressurize.
Can I double the recipe?
Yes, but don’t double the liquid. Use the same amount of broth (1-2 cups). More food needs slightly more liquid, but not proportionally. Add maybe 1/4 cup extra if you’re doubling. Cooking time stays the same because pressure is uniform throughout the pot.
Bottom Line: Mastering how long to pressure cook chicken gives you a superpower in the kitchen. Chicken breasts take 8-10 minutes, thighs take 10-12 minutes, and whole chickens take 15-20 minutes at high pressure. Add 5 minutes if cooking from frozen. Use quick release for breasts, natural release for everything else. Season generously, use broth instead of water, and always maintain at least 1 cup of liquid. Once you nail these basics, you’ll wonder how you ever cooked chicken any other way. Check out our how long to smoke chicken guide for another fantastic cooking method, or explore our campfire recipes for outdoor cooking inspiration. Your pressure cooker is about to become your favorite kitchen tool.


