

Knowing how long to let super glue dry on stripped screw holes is the difference between a quick fix and a complete project restart. I’ve been there—you’re trying to reassemble something, the screw spins uselessly in its hole, and suddenly you’re holding a piece of plastic that’s about as useful as a chocolate hammer. Super glue can actually save you here, but timing matters more than you’d think.
Table of Contents
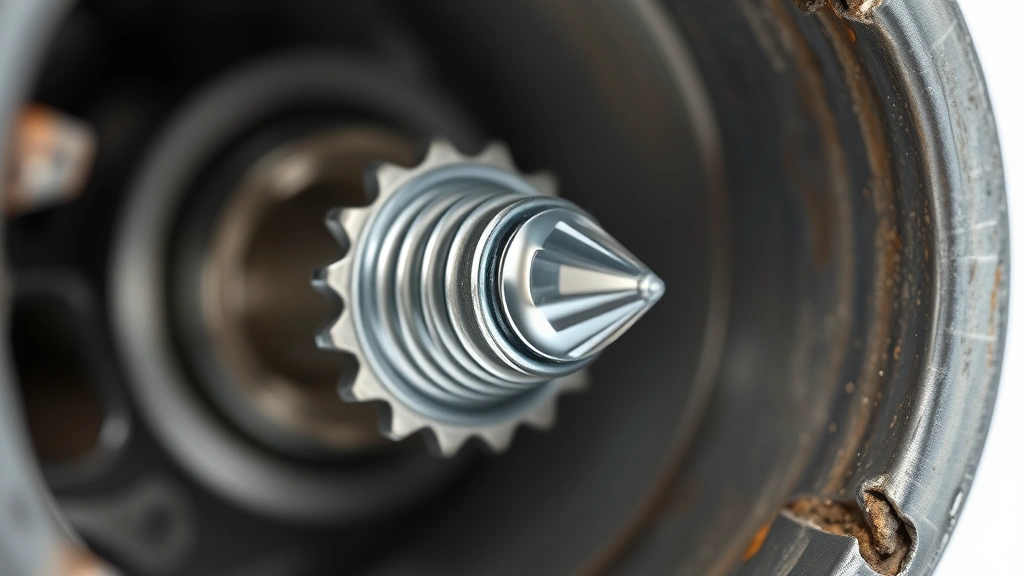
Why Screws Strip in First Place
Stripped screws happen when the threads inside a hole lose their grip. This usually occurs in softer materials like plastic, particle board, or stripped metal. You turn the screwdriver, the screw spins, and nothing happens. The problem is that the screw’s threads no longer have anything to bite into. At this point, you’ve got maybe three options: drill out and use a larger screw, use a screw insert, or—and this is where super glue comes in—use an adhesive to create friction where threads used to work.
Understanding Super Glue Chemistry
Super glue (cyanoacrylate) works differently than you probably think. It doesn’t actually dry like water-based glues. Instead, it undergoes a chemical reaction called anionic polymerization. This reaction happens almost instantly when the glue contacts moisture—which is why your fingers stick together so fast. The glue hardens through a chain reaction, not through evaporation. This is crucial because it means drying time and curing time are two different animals entirely.
Most super glue reaches initial set in 30 seconds to 2 minutes. That’s the point where it feels hard. But full cure—where it reaches maximum strength—takes significantly longer. This distinction is where most people mess up their stripped screw repair.
Actual Drying Times Explained
Here’s the real timeline for super glue on a stripped screw:
Initial Set: 30 seconds to 2 minutes. The glue will feel hard, but don’t be fooled. This is just the surface beginning to polymerize.
Handling Strength: 5 to 10 minutes. You can gently touch it and move things slightly, but you shouldn’t apply real stress.
Functional Strength: 24 hours. This is when the glue has reached about 80-90% of its maximum strength. For most applications, this is when you can actually use the repair without babying it.
Full Cure: 24 hours for standard super glue, though some formulations claim full cure in 12 hours. The bottom line: if you want maximum reliability, wait a full day before putting serious load on it.
The humidity and temperature matter too. In a cold, dry workshop, curing takes longer. In a warm, humid environment, it speeds up. I typically tell people: if you’re in a hurry, wait at least 4-6 hours before using the repaired item. Better yet, do the repair in the evening and let it sit overnight.
Prepping Your Stripped Hole
Before you squeeze any glue into that hole, clean it out properly. Use compressed air or blow it out by mouth to remove dust and debris. Any particles in there will create weak points in your glue bond. If the hole is wet or damp, let it dry completely first. Remember, super glue needs moisture to cure, but too much moisture creates a weak bond and can cause foaming.
If the hole is particularly large or the threads are completely gone, consider wrapping the screw threads with a single layer of thread-seal tape (PTFE tape, the white plumber’s tape). This creates micro-texture that helps the glue grip better. It’s a pro move that most people don’t know about.
Application Technique Matters
This is where people usually go wrong. Don’t just squirt glue into the hole and screw it in. Here’s the proper method:
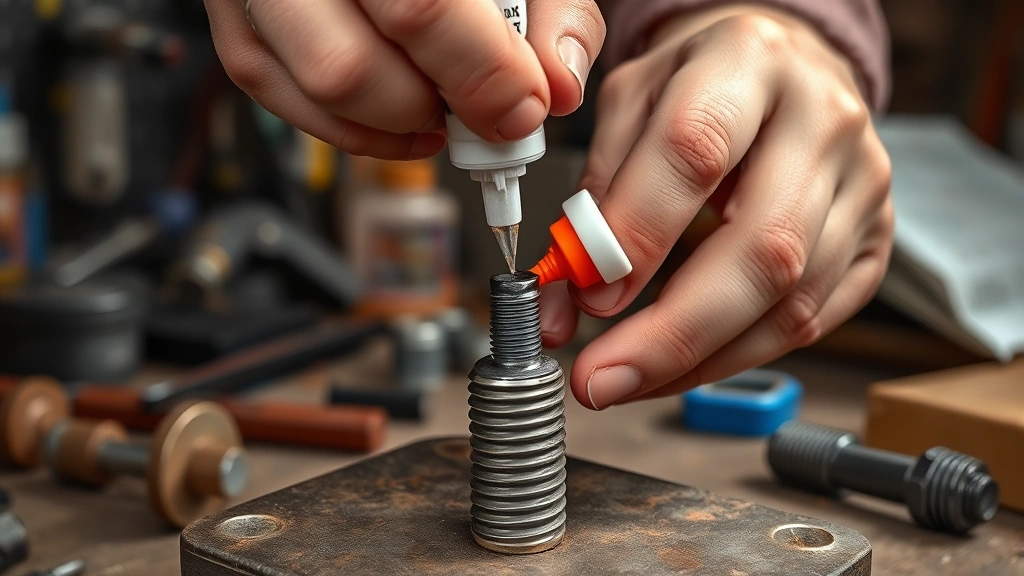
Apply a small amount of super glue directly to the screw threads—not into the hole. Use just enough to coat the threads lightly. Too much glue creates overflow and weak bonds. Insert the screw into the hole and turn it slowly back and forth about a quarter turn each direction. This distributes the glue evenly around the threads. Then stop and hold it in position.
The back-and-forth motion is critical. It helps the glue penetrate into the remaining thread material and any micro-texture in the hole. Once you’ve done that quarter-turn motion, stop moving it immediately. Any continued movement during the initial set will weaken the bond.
Curing Versus Drying
I mentioned this earlier, but it’s worth expanding on because it trips up a lot of people. Drying is what water-based adhesives do—the water evaporates and the glue hardens. Super glue doesn’t work that way. It cures through a chemical reaction. The glue starts curing the moment it contacts moisture (including the moisture in the air and in the material you’re gluing).
This means you can’t speed up super glue curing by heating it or putting it in sunlight. You can actually slow it down by reducing humidity. If you want faster curing, breathe on the joint (the moisture in your breath will speed up the reaction), or use an accelerator spray designed for cyanoacrylate. These sprays are available at woodworking and craft stores and can cut curing time in half.
When It’s Actually Ready
The real test isn’t time—it’s stress. After the initial set (2-5 minutes), try to gently wiggle the screw. If it moves easily, the glue hasn’t set enough. If it’s solid, wait at least another hour before applying any real load. For something you’re going to use regularly (like a doorknob, hinge, or electronic device), I’d honestly recommend waiting overnight.
If you’re repairing something that won’t see much stress (like a decorative item or a one-time-use assembly), 30 minutes is probably sufficient. But if it’s something you’ll use repeatedly, don’t rush it. The glue will continue to strengthen for 24 hours, and you’re better off being conservative here.
This is similar to the principles behind installing devices like a Ring doorbell, where proper assembly and adhesive curing ensures long-term reliability.
Common Mistakes to Avoid
Mistake 1: Applying too much glue. More glue doesn’t mean stronger bond. Excess glue creates a weak, brittle layer that fails easily. Use just enough to coat the threads.
Mistake 2: Moving the screw during curing. That quarter-turn application motion is the only movement you should do. After that, leave it alone. Every movement disrupts the polymerization chain.
Mistake 3: Not waiting long enough. I know it’s tempting to use the repair immediately, but super glue needs time. At minimum, wait 30 minutes. Better: wait several hours or overnight.
Mistake 4: Using old or dried-out glue. Super glue has a shelf life. Once opened, it starts to thicken and lose effectiveness. If your glue is thick or stringy, it’s past its prime. Replace it.
Mistake 5: Ignoring humidity. Super glue needs moisture to cure. If your workshop is extremely dry, the process takes longer. If it’s very humid, it speeds up. Plan accordingly.
Better Alternatives Exist
Before you commit to the super glue route, consider whether there’s a better solution. For many stripped screw situations, other methods work better and faster.
Screw inserts: These are threaded metal sleeves you glue or press into the hole. Once installed, they provide fresh threads for a new screw. This is the professional solution and works great for repeated assembly/disassembly. Check out how-to guides on Family Handyman for detailed insert installation.
Larger screws: If you have space, simply use a larger diameter screw. Drill a new hole and use a bigger fastener. This works well for many applications and is faster than waiting for glue to cure.
Epoxy putty: For plastic holes, epoxy putty can work better than super glue. You knead it, fill the hole, let it cure, then drill a new hole for the screw. It gives you more control and creates a stronger repair.
Wooden toothpicks or dowels: For wood, you can fill the hole with glue and wooden toothpicks, let it cure, then drill out a new hole. This is a classic woodworking fix that’s surprisingly effective.
The super glue method is fastest, but it’s not always best. Consider your material, the load on the joint, and whether you’ll need to disassemble it again in the future.
Frequently Asked Questions
Can I use super glue on plastic stripped screws?
Yes, super glue works on plastic. However, plastic is prone to stress cracking around the glue joint. If the screw will experience vibration or flexing, consider an epoxy putty or screw insert instead. For static loads, super glue is fine.
How much super glue should I use?
Less than you think. A small drop on the screw threads is sufficient. Aim for just enough to coat the threads without excess running into the hole. Excess glue creates weak, brittle joints.
What if I need to remove the screw after gluing?
This is tough. You’ll need to heat the screw with a soldering iron or heat gun to soften the glue, then carefully extract it. Prevention is better here—if you think you might need to remove it later, use a screw insert or mechanical fastener instead.
Does super glue work on metal stripped screws?
Yes, but metal is harder to glue than plastic or wood. Clean the screw and hole thoroughly with a degreaser first. Metal needs good surface contact for super glue to work effectively. Consider mechanical solutions like oversized screws or inserts instead.
Can I use accelerator spray to speed things up?
Yes. Cyanoacrylate accelerator spray can cut curing time roughly in half. Spray the joint lightly after insertion (don’t oversaturate) and the glue will cure much faster. This is helpful if you’re on a tight timeline, but the joint may be slightly more brittle than glue that cures naturally.
What temperature affects super glue curing?
Super glue cures faster in warm conditions and slower in cold. Below 60°F, curing slows significantly. Above 80°F, it speeds up. Humidity also matters—very dry air slows curing, while humid air speeds it up. Room temperature (68-72°F) with moderate humidity is ideal.


