
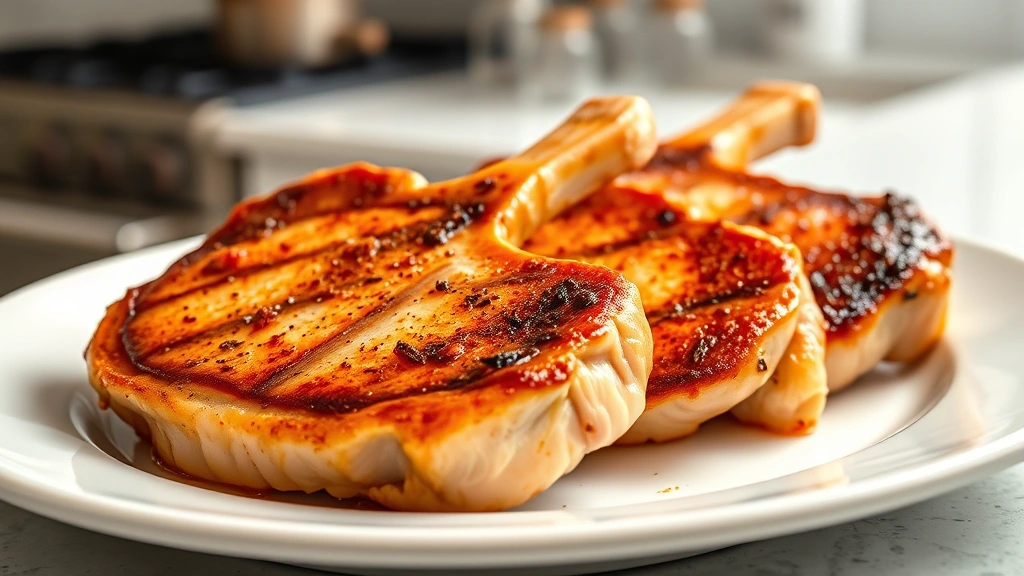
Knowing how long to cook boneless pork chops in oven is the difference between a dry, rubbery disaster and a juicy, tender masterpiece that’ll have everyone asking for seconds. I’ve spent years perfecting this in my workshop kitchen, and I’m going to walk you through exactly what works, no guessing games.
Table of Contents
Basic Timing Guidelines
Here’s the straightforward answer: boneless pork chops typically take 12-15 minutes at 400°F (204°C) in a preheated oven. If you’re cooking thicker cuts (around 1.5 inches), aim for the longer end. Thinner chops (3/4 inch) might be done in 10-12 minutes. The key is that internal temperature matters way more than the clock—we’ll get to that in a moment.
I’ve found that this temperature range hits the sweet spot. It’s hot enough to develop a nice exterior while giving you enough time to avoid overcooking the interior. Too low and your meat stays pale and takes forever. Too high and you’re fighting the clock to pull it out before it dries out.
Temperature Matters Most
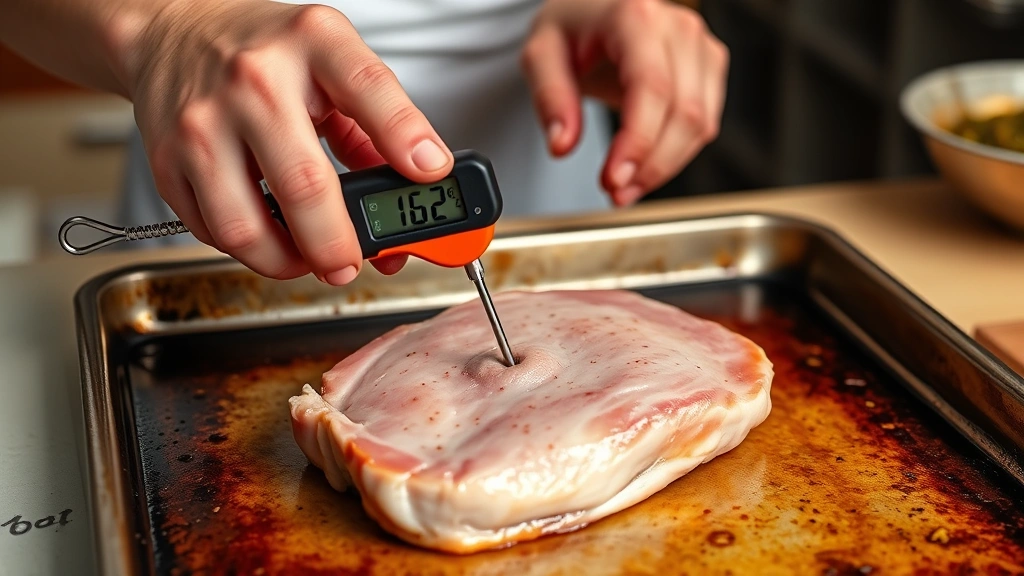
This is where most home cooks go wrong. They set a timer and hope for the best. Instead, you need to understand that pork chops are safe to eat at 145°F (63°C) internal temperature, according to USDA guidelines. That’s medium doneness, and it’s perfectly safe—not the overcooked 160°F that older recipes call for.
Invest in a good instant-read meat thermometer. Seriously, this one tool will transform your cooking. Insert it into the thickest part of the chop, away from bone, and you’ll know exactly when to pull them out. The difference between 140°F and 150°F is the difference between a juicy chop and one that’s starting to get tough.
I use the Thermapen-style thermometers because they’re fast and accurate. You can grab one for under $30 and it’ll pay for itself in perfect meals.
Prep Work Sets You Up
Before your pork chops even see the oven, preparation is crucial. Start by removing them from the refrigerator 15-20 minutes before cooking. Cold meat cooks unevenly—the outside overcooks while the inside catches up. Room temperature chops cook more uniformly.
Pat them dry with paper towels. Moisture is the enemy of browning, and browning equals flavor. Season generously with salt and pepper at least 10 minutes before cooking—this allows the salt to penetrate the meat rather than just sitting on the surface.
If you want to get fancy, consider a quick sear on the stovetop before moving to the oven. Heat a cast-iron skillet over medium-high heat, add a touch of oil, and get a golden crust on both sides (about 2 minutes per side). Then transfer the whole skillet to the oven. This is restaurant-quality technique that takes maybe 5 extra minutes.
The Cooking Method
Preheat your oven to 400°F and let it sit for at least 15 minutes. A properly preheated oven is non-negotiable. Place your seasoned chops on a baking sheet lined with parchment paper or a light coating of oil. Space them out so they’re not touching—air needs to circulate.
If you did the stovetop sear, your skillet goes straight into the oven. If not, a regular baking sheet works fine. The oven should be hot enough that you hear a gentle sizzle when the meat hits the surface.
Set your timer for 12 minutes and start checking at the 10-minute mark with your thermometer. This is where patience pays off. You’re looking for that 145°F sweet spot. Some chops might hit it at 11 minutes, others at 14—thickness varies even within the same package.
Testing for Doneness
The thermometer is your primary tool, but there’s a backup method that works in a pinch. The touch test: press the thickest part of the chop with your finger. If it feels as firm as the fleshy area below your thumb when your hand is relaxed, it’s around 145°F. If it feels as firm as when you touch your thumb to your middle finger, it’s getting overdone.
This takes practice, but it’s a useful skill when you don’t have a thermometer handy. That said, don’t rely on it exclusively. Meat thermometers are cheap insurance against dry pork.
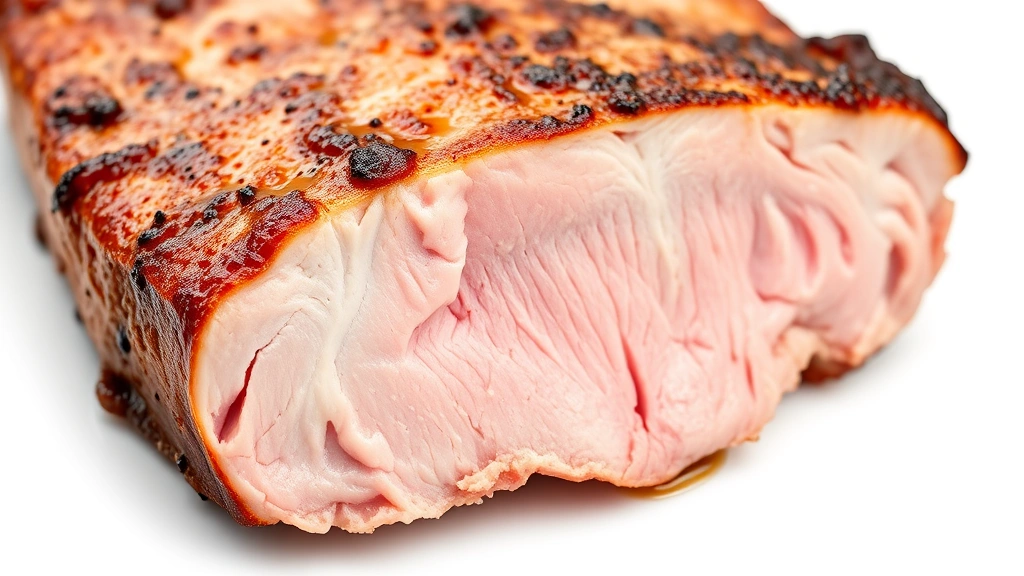
Another trick: cut into the thickest chop slightly. You’re looking for just a hint of pink in the very center. The carryover cooking (heat that continues cooking the meat after you remove it) will finish that off during the resting period.
The Resting Period
This step is absolutely critical and most people skip it. Remove your pork chops from the oven when they hit 140°F—yes, 5 degrees under target. Tent them loosely with foil and let them rest for 5 minutes on the counter.
During this rest, the internal temperature will climb another 5 degrees (carryover cooking) and the juices redistribute throughout the meat instead of running all over your plate. This is the difference between a juicy chop and a dry one. I cannot stress this enough.
Those 5 minutes also give you time to plate your sides. If you’re making spaghetti squash or fingerling potatoes, time your oven so everything finishes together.
Common Mistakes to Avoid
The biggest mistake is cooking from a frozen state. Thawed pork chops cook evenly; frozen ones cook from the outside in and you’ll end up with overdone edges and a cold center. Plan ahead and thaw in the refrigerator overnight.
Second mistake: overcrowding the pan. Pork chops steaming in their own moisture isn’t cooking—it’s boiling. Give them space. If you’re cooking for a crowd, work in batches.
Third: not using a thermometer and relying on time alone. Every oven is different. Some run hot, some run cool. Thickness varies. Your eyes and a thermometer are infinitely more reliable than a timer.
Fourth: skipping the resting period. I see people pull perfectly cooked chops from the oven and cut into them immediately. All those juices end up on the plate instead of in the meat. Patience here pays dividends.
Adding Flavor Variations
Basic salt and pepper work, but you can elevate things quickly. A simple glaze of honey and Dijon mustard brushed on during the last 2 minutes of cooking adds sophistication. Garlic powder, smoked paprika, and a pinch of cayenne create a more complex seasoning profile.
For Asian-inspired flavor, try a mix of soy sauce, ginger, and sesame oil brushed on before cooking. Mediterranean style? Oregano, lemon zest, and olive oil. The technique stays the same—only the seasoning changes.
If you’re pairing with other proteins, consider how butterflied chicken breast techniques might inspire thicker-cut pork preparations, or explore game meat recipes for bold flavor inspiration.
Wine reduction sauces work beautifully too. Deglaze your hot skillet with a splash of white wine after removing the chops, scrape up the browned bits, and you’ve got an instant pan sauce.
Frequently Asked Questions
Can I cook boneless pork chops at 350°F instead of 400°F?
Yes, but it takes longer—about 20-25 minutes. The lower temperature gives you more margin for error, but you won’t get as nice a crust if you’re not searing first. I prefer 400°F for the speed and browning, but 350°F works if you’re multitasking.
How do I know if my pork is overcooked?
Overcooked pork becomes dry and tough, sometimes with a grayish color throughout. If you cut into it and there’s zero pink anywhere and it feels like rubber, you’ve gone too far. This is why the thermometer at 145°F is your friend—it stops you right at the edge of perfect.
What’s the difference between bone-in and boneless cooking times?
Bone-in chops take slightly longer because the bone conducts heat differently. Add 2-3 minutes to your cooking time for bone-in cuts. The thermometer still tells the true story though.
Can I cook pork chops at a lower temperature for a longer time?
Technically yes, but there’s no advantage. Lower temperatures mean longer cooking times, which increases the chance of drying out. The 400°F method is optimized for retaining moisture while cooking quickly.
Should I cover the pork chops while cooking?
No. Covering traps steam and prevents browning. You want dry heat to develop flavor. The only exception is if you’re finishing a sauce—then you might tent loosely for the last minute.
Can I cook multiple batches without preheating again?
After the first batch, your oven should maintain temperature, but give it 5 minutes to recover before starting the next batch. The oven temperature can drop when you open the door, and you want it back to 400°F before adding cold meat.
The Bottom Line
Perfect boneless pork chops in the oven come down to three things: proper temperature (400°F), a meat thermometer (145°F target), and patience with the resting period. That’s it. No fancy techniques required, just solid fundamentals.
Once you nail this method, you’ll have a reliable weeknight dinner that tastes like you spent hours in the kitchen. Your family will think you’re a culinary genius. And honestly, the technique is so simple that you’ll be making these once a week.
For more kitchen inspiration, check out Family Handyman’s kitchen organization guide to set up your workspace properly, or explore This Old House’s kitchen resources for broader cooking setup advice. And if you want to understand food safety better, the USDA’s food safety page has all the official guidance.


