
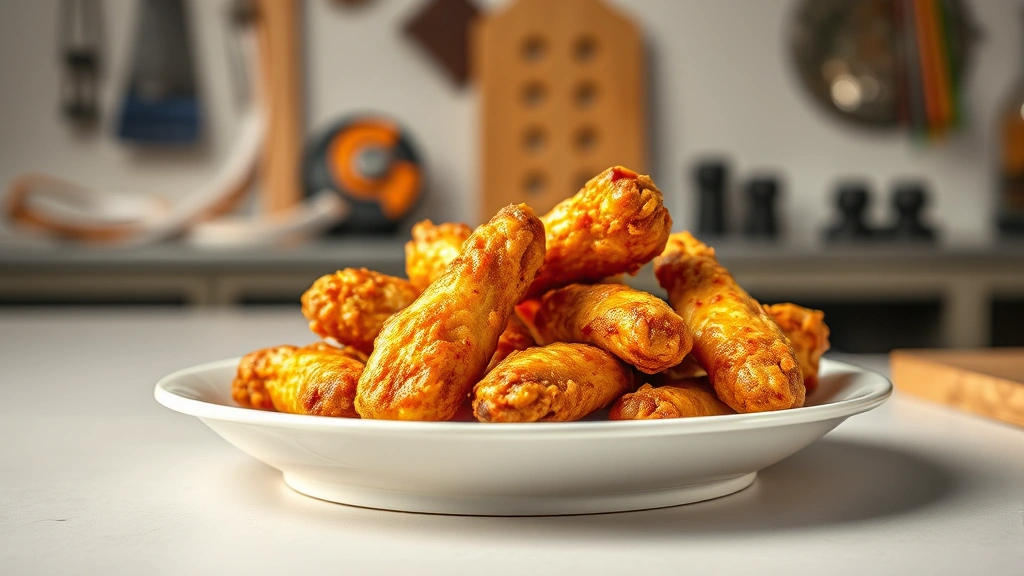
So you’re wondering how long to cook chicken wings in oven at 400—the short answer is 30-40 minutes, but stick with me because getting them perfectly crispy on the outside and juicy inside is more about technique than just time. I’ve cooked thousands of wings in my workshop kitchen, and I’m going to walk you through exactly what works, what doesn’t, and why your results will blow away anything you’ve made before.
Table of Contents
Timing and Temperature Basics
Here’s the real deal: how long to cook chicken wings in oven at 400 degrees depends on wing size and whether you’re starting with fresh or frozen. At 400°F, you’re looking at a solid 30-40 minute window. Fresh, medium-sized wings typically hit that sweet spot around 35 minutes. Bigger wings? Add 5-10 minutes. Smaller wings? Subtract 5 minutes. The goal is internal temperature hitting 165°F at the thickest part near the bone.
I always use a meat thermometer—not because I’m fancy, but because it takes the guesswork out. Stick it into the thickest part of a few wings without touching bone. When you hit 165°F, you’re done. Your oven might run hot or cold, so don’t trust the clock alone. That’s how you end up with rubbery wings or undercooked chicken, and nobody wants that.
Why Prep Really Matters
Before we even talk timing, let’s talk prep. Pat your wings completely dry with paper towels. Moisture is the enemy of crispy skin. I’m talking bone-dry here—take an extra 30 seconds and really get them dry. Wet wings steam instead of roast, and steamed wings are sad wings.
Season generously on all sides. I use a simple mix of salt, pepper, garlic powder, and paprika. You can get fancy with specific rubs, but honestly, the basics work best. Don’t be shy with seasoning—it should look like you overdid it. Trust me on this. Related to this, if you want to explore other protein cooking methods, check out how long does chicken take to boil for comparison.
Arrange wings on your baking sheet in a single layer. Don’t pile them up. They need air circulation all around each piece. Crowding the pan is the second biggest mistake people make (after not drying them).
The Flip Technique That Works
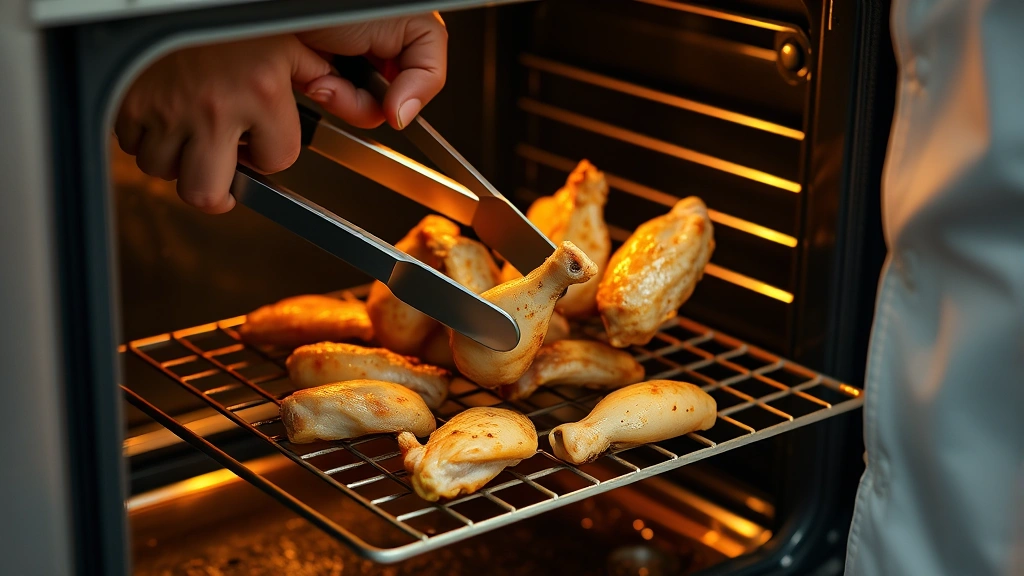
Here’s where most home cooks go wrong: they don’t flip. At the 18-20 minute mark, flip every single wing. Then flip again at 28-30 minutes if you’ve got time. I know it sounds tedious, but flipping ensures even browning and crispiness on both sides.
Use tongs—don’t use your fingers. You’ll burn yourself, and you’ll also transfer oils that make wings stick. With tongs, you’ve got control and precision. Flip each wing methodically. This takes maybe 2 minutes total. Worth it? Absolutely.
After that second flip, you’re in the final stretch. This is when the wings really develop that golden-brown crust you’re after.
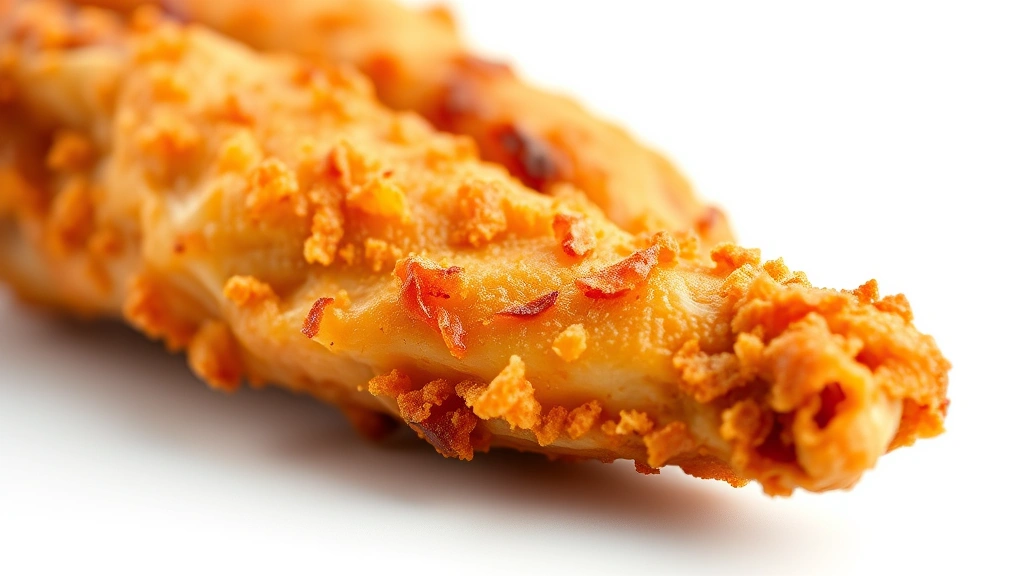
Getting Crispy Skin Every Time
The secret to crispy skin at 400°F is threefold: dry wings, proper spacing, and a wire rack. Use a baking sheet with a wire rack on top. Place wings on the rack, not directly on the pan. The air circulation underneath is what creates crispiness. The rendered fat drips down, and the wing skin gets exposed to heat from all angles.
If you don’t have a wire rack, make one. Crumple aluminum foil into 4-6 balls and arrange them on your baking sheet. Set the wings on top. It works surprisingly well.
Also, consider preheating your baking sheet. Pop it in the oven for 5 minutes before adding wings. The initial heat blast helps crisp the skin immediately. It’s a small detail that makes a real difference.
When to Add Sauce
This is crucial: if you’re saucing your wings, do it in the last 5-10 minutes of cooking. Adding sauce early means it burns and tastes bitter. Add it too late and it doesn’t adhere properly. The sweet spot is those final minutes when wings are mostly cooked but still have time to caramelize the sauce.
Toss wings in sauce after pulling them from the oven, or brush it on in that final window. If you’re making cowboy butter recipe sauce, that’s perfect for tossing right at the end. The butter melts and coats everything beautifully.
Troubleshooting Common Problems
Wings still soggy after 40 minutes? Your oven’s probably running cool. Bump it to 425°F next time, or just add 5-10 more minutes. Check with a thermometer—if they’re at 165°F, they’re done regardless of appearance.
Wings burning on the outside but raw inside? Your oven’s too hot or wings are too crowded. Lower to 375°F, give wings more space, and use that wire rack. Also make sure you’re not putting wings directly above a heating element.
Skin still not crispy enough? Go back to basics: were they dry? Were they on a rack? Was there proper spacing? Usually it’s one of these three. Also, some people finish wings under the broiler for 2-3 minutes at the very end. Just watch them like a hawk—broilers are aggressive.
Oven Rack Position Matters
Put your rack in the upper-middle position, not at the very top. Too high and the tops brown before the bottoms cook through. Too low and you get the opposite problem. Upper-middle is the Goldilocks zone. This positioning lets heat circulate evenly around the entire wing.
If your oven has hot spots (and most do), rotate the baking sheet halfway through cooking. Turn it 180 degrees. This compensates for uneven heating and ensures consistent results across all wings.
The Resting Period Secret
After pulling wings from the oven, let them rest for 3-5 minutes. I know you want to dive in immediately—I do too—but this resting period is when the magic happens. Juices redistribute throughout the meat. Wings continue cooking slightly from residual heat. You end up with juicier, more tender wings.
Use this time to prepare your dipping sauce or side dishes. Set wings on a clean plate or cutting board. Don’t cover them—you want air to keep that crispy skin crispy.
Frequently Asked Questions
Can I cook frozen chicken wings at 400°F?
Yes, but add 10-15 minutes to cooking time. I recommend thawing first though—frozen wings cook unevenly. Thaw overnight in the fridge, pat dry, and proceed as normal. You’ll get better results and more consistent cooking.
What if my wings are really large?
Larger wings need 40-45 minutes at 400°F. Check temperature at 35 minutes, then every 2-3 minutes after. Size variation is real—drumettes cook faster than flats. If you’re mixing sizes, separate them or arrange smaller wings toward the edges where it’s slightly cooler.
Should I oil the wings before cooking?
Lightly, yes. A thin coating of oil—maybe 1 tablespoon per 2 pounds of wings—helps browning and crisping. Don’t drench them. Just a light toss in oil before seasoning. This also helps seasonings stick better.
Can I cook wings at a different temperature?
Absolutely. At 375°F, add 10-15 minutes. At 425°F, subtract 5-10 minutes. The principle stays the same: 165°F internal temperature. Higher heat = faster cooking but potentially more burning. Lower heat = slower cooking but more even results. 400°F is the sweet spot for most home ovens.
How do I reheat leftover wings?
Reheat at 350°F for 8-10 minutes. They won’t be quite as crispy as fresh, but they’ll be edible and warm. For maximum crispiness on leftovers, use an air fryer at 375°F for 5 minutes. That’s genuinely better than reheating in a regular oven.
What about drumettes versus flats?
Both cook in the same time at 400°F, but flats cook slightly faster because they’re thinner. If you’re mixing them on one pan, put flats toward the edges. They’ll be done at the same time as drumettes in the center.
For more protein cooking inspiration, check out crab roll recipe or green enchilada recipe for other delicious options.
Final Thoughts
Cooking chicken wings at 400°F is straightforward once you understand the principles: dry them completely, space them properly, use a wire rack, flip them, and hit 165°F internal temperature. Most wings will be done in 30-40 minutes, but your thermometer is the real timer here.
The difference between mediocre wings and amazing wings comes down to these details. Dry wings. Proper spacing. Wire rack. Flipping. That’s it. Master these four things and you’ll never serve disappointing wings again. Your friends will ask for your secret. Just tell them you paid attention to the fundamentals.
Start with fresh wings, follow this process, and you’ll nail it. After a couple batches, you’ll develop instincts about your specific oven. Then you can adjust accordingly. That’s when you become the wing expert at every gathering.


