
Knowing how long to boil brats is the difference between juicy, perfectly cooked sausages and rubbery disappointments that’ll make your guests regret showing up. Most folks boil brats for 15-20 minutes, but there’s more to it than just dumping them in hot water and walking away. Let me break down exactly what you need to know to nail this every single time.
Table of Contents
Boiling Time Basics
The standard timeline for boiling brats is 15-20 minutes at a gentle boil. This assumes you’re working with standard bratwurst links at room temperature. The exact time depends on thickness—thinner brats finish closer to 15 minutes, while thicker ones need the full 20. If you’re boiling from frozen, add 5-7 minutes to the total time.
Here’s the thing: most people think boiling is the final step, but it’s actually just the cooking method. After boiling, you’ll want to finish them properly—more on that in a bit. The boiling phase is about cooking them through safely and evenly without splitting the casings.
Start timing once the water reaches a gentle boil, not when you first put the brats in. Cold water to boiling takes about 5-10 minutes depending on your pot size and stove power. Many folks underestimate this waiting period and end up with inconsistent cooking times.
Prep Before Boiling
Don’t just toss raw brats straight into water. Proper prep makes a huge difference in the final result. First, poke each brat 2-3 times with a fork—not all the way through, just enough to break the surface. This prevents them from bursting during cooking and lets some of the fat render out naturally.
Remove brats from the fridge 15-20 minutes before boiling. Cold sausages cook unevenly; the outside finishes before the inside is done. Room temperature brats cook more consistently throughout. If you’re in a hurry, you can skip this, but it’s worth the wait.
Pat them dry with paper towels. Excess moisture on the surface prevents proper browning if you’re finishing them on the grill or in a pan afterward. You’re not making them bone-dry, just removing the slick coating from the package.
Water Temperature Matters
Use water, not broth, for the initial boil. I know that sounds counterintuitive, but here’s why: plain water allows you to control the cooking temperature precisely. Broth can scorch or reduce too quickly, and you lose that control. Save the flavor additions for after boiling.
Fill your pot with enough water to cover brats by about an inch. Too little water and the temperature drops dramatically when you add cold sausages. Too much and you’re waiting forever for it to heat up. A good rule: use a pot that’s about 2/3 full before adding brats.
Keep the heat at medium-high until you reach a gentle boil—not a rolling boil. A rolling boil can actually cause casings to split if the water’s moving around too aggressively. You want steady, small bubbles breaking the surface, not a volcanic situation. This is where patience pays off.
The Simmer Technique
Once brats hit the water, reduce heat slightly to maintain that gentle boil. Think of it as a confident simmer—not quite a full boil, but definitely more than a poach. You should see consistent bubbling, but the water shouldn’t be thrashing around.
Don’t cover the pot. An uncovered pot lets steam escape and helps you monitor what’s happening inside. Plus, covered pots tend to boil more aggressively, which increases the risk of splitting casings. Keep it open and watch your work.
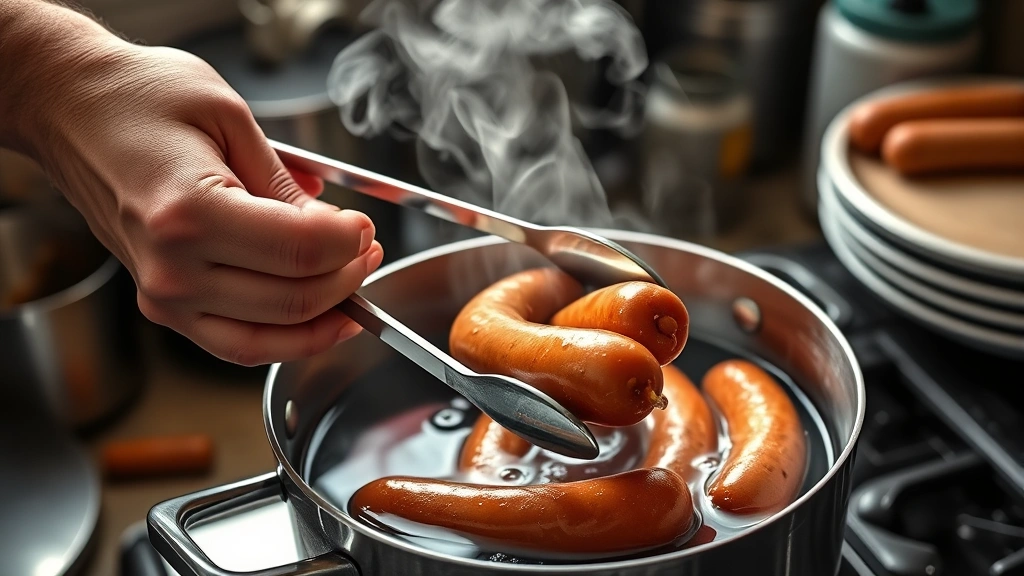
Resist the urge to move them around too much. Let them sit in the water and cook. Poking and stirring constantly can damage the casings and cause them to leak. Check them once or twice during cooking, but mostly just let them do their thing.
Signs Your Brats Are Done
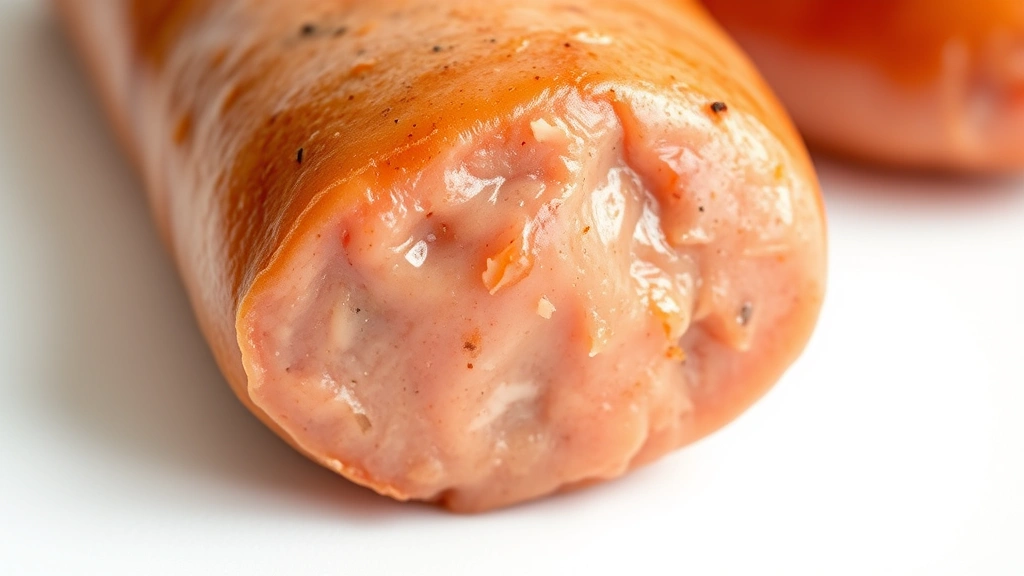
The most reliable test is internal temperature. Use a meat thermometer and aim for 160°F (71°C) in the thickest part of the brat. This is the safe internal temperature for pork sausages. If you don’t have a thermometer, cut one open carefully—the meat should be no longer pink inside and juices should run clear.
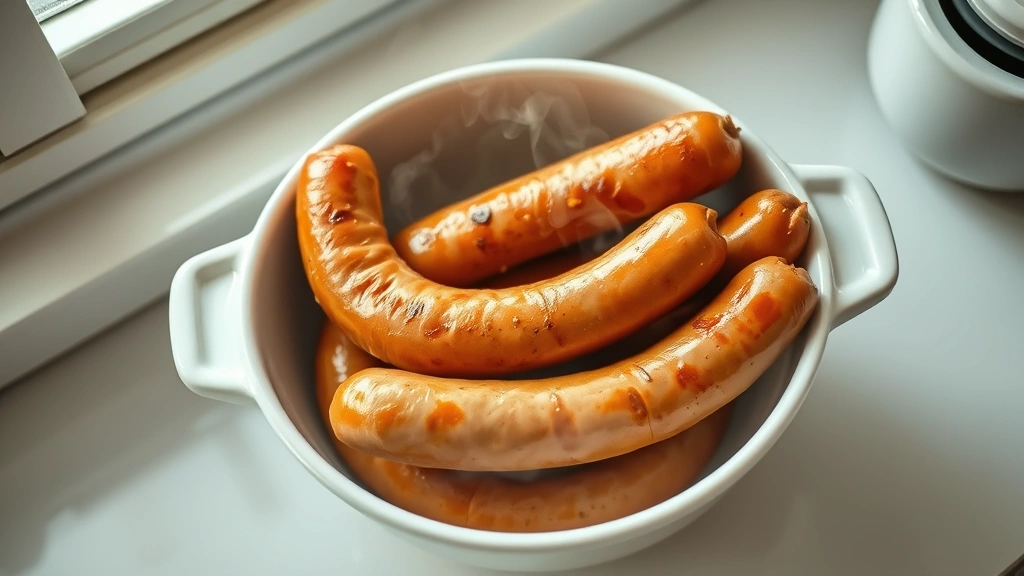
Visual cues matter too. Fully cooked brats will float to the surface of the water. This isn’t a foolproof indicator, but it’s a good sign to start checking. The skin should look slightly puffed but not split or bursting. If casings are cracking, you either overcooked them or had the heat too high.
Feel the firmness. A properly cooked brat feels firm but not hard when you press it gently with tongs. If it feels mushy or overly soft, it needs more time. If it feels like a rock, you’ve definitely overcooked it.
Best Finishing Method
Here’s the secret most people miss: boiling is step one, not the whole process. After boiling, finish brats on a grill or in a hot skillet to develop a proper crust and improve flavor. This takes just 3-5 minutes and transforms them from boiled to restaurant-quality.
Pat boiled brats completely dry before finishing. Moisture prevents browning, so don’t skip this step. Use paper towels and get them as dry as possible. Then brush lightly with oil or butter—this helps them brown and adds flavor.
For grilling: heat your grill to medium-high and cook 2-3 minutes per side, rotating once. You’re not cooking them through; they’re already done. You’re just adding color and crust. For pan-finishing: use a cast iron skillet over medium-high heat with a bit of butter, 2-3 minutes per side until golden brown.
Common Boiling Mistakes
The biggest mistake is boiling at too high a temperature. A rolling boil creates pressure inside the casings and causes them to split. You end up with meat floating around in the water instead of intact sausages. Medium heat is your friend here.
Overcrowding the pot is another killer. Too many brats in one pot means the water temperature drops significantly, cooking becomes uneven, and they end up sticking together. Work in batches if needed. It takes a few extra minutes but produces much better results.
Skipping the finishing step is a common shortcut that leaves brats looking pale and unappetizing. Boiling alone doesn’t brown the casing or develop flavor. Even 3 minutes in a hot skillet makes a massive difference in the final product. Don’t skip it.
Using flavored liquids instead of plain water can cause uneven cooking. Broths reduce and concentrate, changing the cooking environment. Beer boils are popular, but save that for a secondary step after boiling in plain water—or add beer after the initial boil with the brats already in the pot.
Flavor Additions Worth Trying
After the basic boil, you can add flavor by simmering brats in beer, onions, and broth for 5-10 minutes. This is different from the initial boil—brats are already cooked, so you’re just infusing flavor now. Use a mixture of beer and beef broth with sliced onions for classic brat flavor.
Consider a Cajun seasoning recipe blend added to the water in the finishing phase. Start with the basic boil in plain water, then add seasoning during the final simmer. This gives you control over flavor intensity without affecting cooking time.
Onions and peppers simmered with boiled brats add texture and flavor. Slice them thick so they don’t fall apart, and add them after the main boil. You’re essentially making a braising liquid at this point, which is perfect for keeping brats warm and flavorful during serving.
If you’re making a complete meal, check out how to make gravy from drippings to use the cooking liquid. The fat and meat particles left in the water can make an excellent gravy base if you strain and thicken it properly.
Frequently Asked Questions
Can you boil brats in beer instead of water?
Yes, but do it carefully. Beer can reduce quickly and scorch, changing the cooking environment. If you want beer flavor, start with plain water for the main 15-20 minute boil, then add beer with onions and broth for a final 5-minute simmer. This gives you better control and consistent results.
How do you know if brats are undercooked?
Use a meat thermometer—anything under 160°F is undercooked. Visually, undercooked brats will have pink meat inside when you cut them open. The safest approach is always the thermometer. If you don’t have one, boil for the full 20 minutes plus 3-5 minutes of finishing, and you’ll be safe.
Should you boil brats before grilling?
Not always. You can grill them directly without boiling, but it takes longer (15-20 minutes) and requires more attention to prevent flare-ups. Boiling first shortens grill time to just 3-5 minutes and reduces the risk of burnt exteriors with undercooked interiors. It’s a legitimate shortcut for even cooking.
What’s the difference between boiling and simmering brats?
Boiling is a rolling boil at high heat; simmering is a gentle boil at lower heat. For brats, you want the simmer—consistent small bubbles, not aggressive movement. Simmering prevents casings from splitting and cooks more evenly. The terminology matters less than the actual heat level you maintain.
Can you boil brats ahead of time?
Absolutely. Boil them completely, let them cool, then refrigerate for up to 3 days. When you’re ready to serve, finish them in a hot skillet or on the grill for 2-3 minutes to warm through and brown the casing. This is a great meal prep strategy for busy weeks.
How many brats per person should you plan for?
Figure on 2-3 brats per person as a main course, or 1-2 if serving with other substantial sides. This isn’t a cooking question technically, but it helps with batch planning when you’re boiling. Knowing your total count helps you figure out pot size and boiling time.


