
Learning how long to blanch broccoli is one of those kitchen skills that separates mushy vegetables from perfectly crisp-tender florets. Whether you’re prepping for a stir-fry, freezing for later, or just trying to nail that ideal texture, blanching is your secret weapon. I’ve spent countless hours in the kitchen perfecting this technique, and I’m here to walk you through exactly what you need to know.
Table of Contents
Blanching Basics Explained
Blanching is essentially a quick dip into boiling water followed by an immediate plunge into ice water. This two-step process stops the cooking instantly, which is why it’s so effective. When you blanch vegetables, you’re not fully cooking them—you’re partially cooking them while preserving color, texture, and nutrients. Think of it as hitting the pause button on the cooking process.
The magic happens because hot water breaks down cell walls just enough to soften the vegetable while the ice bath halts all enzymatic activity. This is especially important if you’re planning to freeze your broccoli, as blanching helps preserve quality during storage.
Perfect Timing for Broccoli
Here’s the answer you came for: blanch broccoli florets for 3 to 4 minutes in rapidly boiling water. This timing works for medium-sized florets—the kind you’d typically cut from a fresh head. The result is broccoli that’s tender-crisp with a vibrant green color, perfect for any recipe calling for partially cooked vegetables.
If your florets are particularly small or thin, knock it down to 2 to 3 minutes. Larger, thicker florets might need the full 4 minutes. The key is watching your first batch closely so you can dial in the exact timing for your specific vegetable sizes. Everyone’s broccoli looks slightly different, and that matters.
Step-by-Step Process
Let me walk you through the exact procedure I use every single time:
Step 1: Prepare Your Broccoli – Wash your broccoli head thoroughly under cold running water. Cut it into florets of roughly equal size—aim for about 1.5 to 2 inches across the crown. Uniform sizing ensures even cooking. Trim the stems if they’re particularly thick, and peel them if you want to include them (they’re delicious and shouldn’t be wasted).
Step 2: Boil Your Water – Fill a large pot with water and bring it to a rolling boil. Use enough water so the broccoli won’t cause the temperature to drop dramatically when you add it. I typically use about 4 quarts of water for a medium head of broccoli. Some people add salt to the water (about 1 tablespoon per gallon), which I recommend because it seasons the broccoli and raises the boiling point slightly.
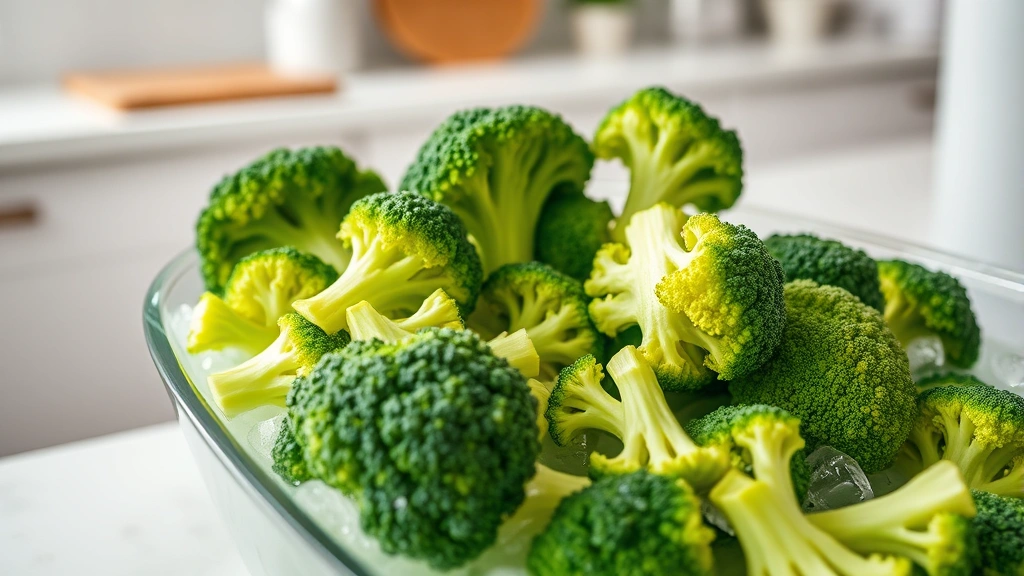
Step 3: Prepare the Ice Bath – While your water heats, fill a large bowl with ice and cold water. This is critical—you need the ice bath ready to go before the broccoli hits the boiling water. There’s no time to waste between these two steps.
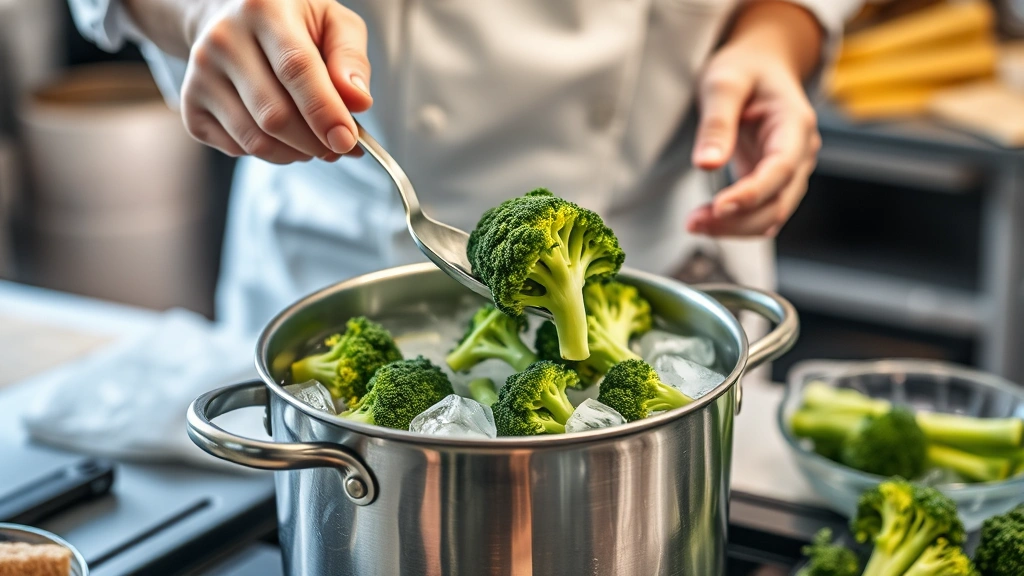
Step 4: Blanch the Broccoli – Carefully place your broccoli florets into the boiling water. The water will stop boiling momentarily; let it return to a rolling boil, then start your timer. Keep the heat high to maintain that vigorous boil throughout the blanching process.
Step 5: Transfer Immediately – When your timer goes off, use a slotted spoon or spider strainer to scoop the broccoli directly into your ice bath. Work quickly—speed is essential here. Let the broccoli sit in the ice bath for at least 3 to 4 minutes, stirring occasionally to ensure even cooling.
Ice Bath Is Non-Negotiable
I can’t stress this enough: skipping the ice bath is the number one mistake people make. If you skip it, residual heat continues cooking your broccoli, and you’ll end up with mushy vegetables instead of crisp-tender ones. The ice bath isn’t optional—it’s the essential second half of the blanching equation.
When broccoli sits in ice water, the cold temperature immediately stops all enzymatic activity and halts the cooking process dead. This is why blanched vegetables maintain their bright color and firm texture. The ice bath is doing the heavy lifting in terms of quality preservation.
Size Matters for Cooking
This is where many people go wrong. If you’re cutting your broccoli into wildly different sizes, you’ll get inconsistent results. Some pieces will be perfect while others are either crunchy or soft. Spend an extra minute cutting everything to roughly the same size, and your blanching will be dramatically more successful.
For standard recipes, I aim for florets about the size of a golf ball or slightly smaller. If you’re preparing broccoli for a stir-fry (like our best Dutch oven recipes), slightly smaller florets work better. For freezing or salads, medium-sized florets are ideal.
Freezing Your Blanched Broccoli
Blanching before freezing is essential if you want quality frozen broccoli. Here’s the process: After your broccoli has cooled completely in the ice bath, drain it thoroughly. Pat it dry with paper towels or a clean kitchen towel—excess moisture causes ice crystals during storage.
Spread the broccoli in a single layer on a baking sheet and freeze for 2 to 3 hours until solid. Then transfer to freezer bags, removing as much air as possible. Properly blanched and frozen broccoli will keep for 8 to 10 months. This is perfect for those times when fresh broccoli isn’t available or when you’re prepping beans and greens recipes in bulk.
Common Blanching Mistakes
Beyond skipping the ice bath, here are other errors I’ve seen repeatedly:
Overcrowding the Pot – Adding too much broccoli at once drops the water temperature below boiling, and you end up steaming instead of blanching. Work in batches if necessary. Your first batch takes 3 minutes, but if you dump in 3 pounds of broccoli at once, you’re looking at 6 to 8 minutes of inconsistent cooking.
Using Warm Water for the Ice Bath – Some people think cool water is sufficient. It’s not. You need actual ice water, and it needs to stay cold throughout. If your ice melts too quickly, add more ice or swap in fresh ice water halfway through the cooling process.
Leaving Broccoli in the Ice Bath Too Long – While you need at least 3 to 4 minutes, leaving it in for 15 or 20 minutes won’t hurt, but it’s unnecessary. Once it’s completely cooled, get it out and drain it.
Inconsistent Heat – Don’t lower your burner once the broccoli goes in. Keep that flame high and maintain a rolling boil. Lower heat means longer cooking time, which means mushier vegetables.
Testing for Perfect Doneness
The best way to know if your broccoli is done is to taste it. After 3 minutes, pull out one floret, let it cool for a few seconds, and bite into it. It should be tender but still have a slight firmness when you bite down. If it’s still too crunchy, give it another minute. If it’s soft and floppy, you’ve gone too far.
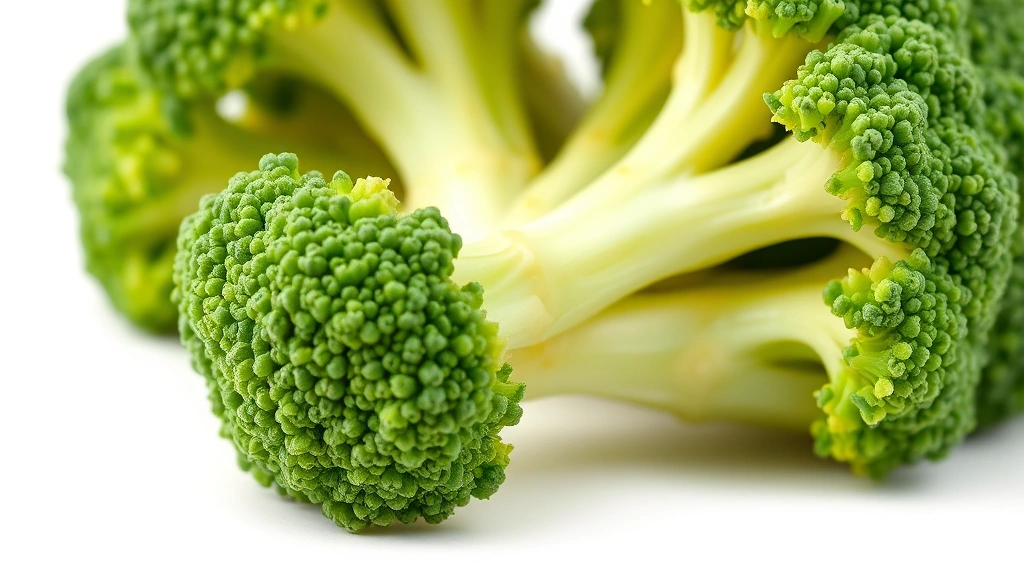
Visual cues help too. Perfectly blanched broccoli should be bright green, not dull or grayish. The color shift happens quickly—undercooked broccoli looks pale, while overcooked broccoli turns darker and loses that vibrant hue. Over time, you’ll develop an intuition for the exact moment it’s done.
When blanching for freezing, you can afford to go slightly longer (closer to 4 minutes) because frozen broccoli will cook a bit more during reheating. But for immediate use in salads or cherry tomato recipes, aim for that perfect tender-crisp texture.
Frequently Asked Questions
Can I blanch broccoli without ice water?
Technically, you can use cold tap water, but ice water works infinitely better. The colder the water, the faster the cooking stops. Cold tap water won’t stop the cooking process as effectively, and you risk ending up with softer broccoli than intended. Ice water is worth the minimal effort.
How do I know if my broccoli is blanched long enough?
Taste it. There’s no substitute for actually sampling your work. Perfectly blanched broccoli should be tender but still have a slight crunch when you bite down. If you’re freezing it, you can go slightly longer. If you’re using it fresh, aim for that crisp-tender texture.
Can I blanch broccoli ahead of time?
Yes, absolutely. Blanch your broccoli up to 24 hours ahead, drain it thoroughly, and refrigerate it in an airtight container. This is perfect for meal prep. Just know that blanched broccoli stored in the fridge will gradually soften over time, so use it within a day or two for best texture.
What’s the difference between blanching and steaming?
Blanching uses direct contact with boiling water, while steaming uses hot steam. Blanching cooks faster and more evenly, plus the ice bath component is what makes blanching special. Steaming doesn’t have that dramatic stop-cooking step, so you’re more likely to end up with inconsistent results.
Do I need to add salt to the blanching water?
It’s not required, but I always do. Salt seasons the broccoli and raises the boiling point of water slightly, which helps maintain heat when you add the vegetables. Use about 1 tablespoon of salt per gallon of water.
Can I blanch broccoli stems?
Absolutely. Broccoli stems are delicious and shouldn’t be wasted. Peel away the tough outer layer, cut them into pieces roughly the same size as your florets, and blanch them for the same amount of time. They’re perfect in celery recipes and stir-fries.
How long does blanched broccoli last in the freezer?
Properly blanched, cooled, and frozen broccoli will maintain good quality for 8 to 10 months. After that, it’s still safe to eat, but quality gradually declines. Use it sooner rather than later for best results.
Final Thoughts
Mastering how long to blanch broccoli is genuinely one of those small skills that elevates your cooking. Three to four minutes in boiling water followed by an ice bath gives you broccoli that’s perfectly tender-crisp, vibrant green, and ready for whatever you’re cooking. Whether you’re prepping for a weeknight stir-fry, building a salad, or freezing vegetables for winter, this technique delivers consistent results every single time. Start with 3 minutes, taste-test your first batch, and adjust from there based on your specific floret sizes. You’ve got this.


